
There is something incredibly comforting about a freshly made onigiri. These traditional Japanese rice balls are simple, satisfying, and surprisingly easy to prepare at home. Made with fluffy seasoned rice and a flavorful filling, onigiri is a popular choice for lunch boxes, quick snacks, picnics, and light meals throughout Japan.
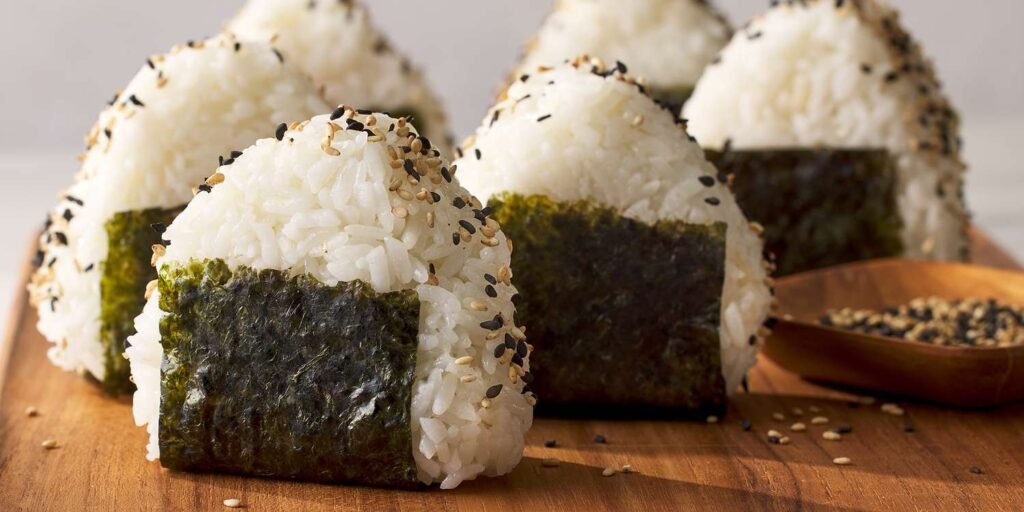
The best part about this Easy Onigiri Recipe is how versatile it is. You can fill each rice ball with classic ingredients like salmon, tuna mayo, or pickled plum, or customize them with your favorite flavors. Wrapped in crisp nori seaweed, every bite delivers the perfect balance of soft rice and savory filling.
Whether you’re making onigiri for the first time or looking to recreate authentic Japanese flavors in your own kitchen, this recipe is beginner-friendly, budget-conscious, and ready with just a handful of pantry staples.
Table of Contents
Why You’ll Love Easy Onigiri Recipe – Authentic and Delicious
- Simple to Make: Even if you’ve never made Japanese food before, this recipe comes together easily with basic ingredients and a few simple shaping techniques.
- Perfect for Meal Prep: Make several rice balls ahead of time for grab-and-go lunches, school lunches, road trips, or healthy afternoon snacks.
- Customizable Fillings: Choose from traditional Japanese fillings or create your own combinations using leftover cooked meats, vegetables, or seafood.
- Naturally Gluten-Free: When prepared with gluten-free fillings and seasonings, onigiri makes a naturally gluten-free meal everyone can enjoy.
- Authentic Japanese Flavor: Soft sushi rice paired with savory fillings and crispy nori creates the comforting taste found in Japanese convenience stores and home kitchens.
Ingredients You’ll Need
This onigiri recipe keeps things simple and authentic, so you end up with rice balls that actually taste like the real thing. Fill them with whatever you love, and they’re great for lunch, a quick snack, or prepping ahead for the week.
One tip: use freshly cooked Japanese short-grain rice if you can. Its natural stickiness is what helps the onigiri hold together.
- Japanese Short-Grain Rice: This sticky rice holds together beautifully and creates the authentic texture needed for perfectly shaped onigiri.
- Water: Used for cooking the rice until tender and fluffy.
- Salt: Helps season the rice lightly while also making it easier to shape with damp hands.
- Nori Sheets: Thin roasted seaweed adds a delicious savory crunch and makes the rice balls easier to hold.
- Cooked Salmon: A classic filling with rich, savory flavor that’s popular throughout Japan.
- Tuna Mixed with Japanese Mayonnaise: Creamy, flavorful, and one of the easiest fillings for beginners.
- Umeboshi (Pickled Plum): Offers a tangy, salty bite that balances the mild flavor of the rice.
- Furikake Seasoning: A Japanese rice seasoning made with sesame seeds, seaweed, and seasonings for extra flavor.
- Sesame Seeds: Add a light nutty flavor and slight crunch.
- Water for Your Hands: Prevents the rice from sticking while shaping.
Step-By-Step Directions
Step 1: Cook the Rice
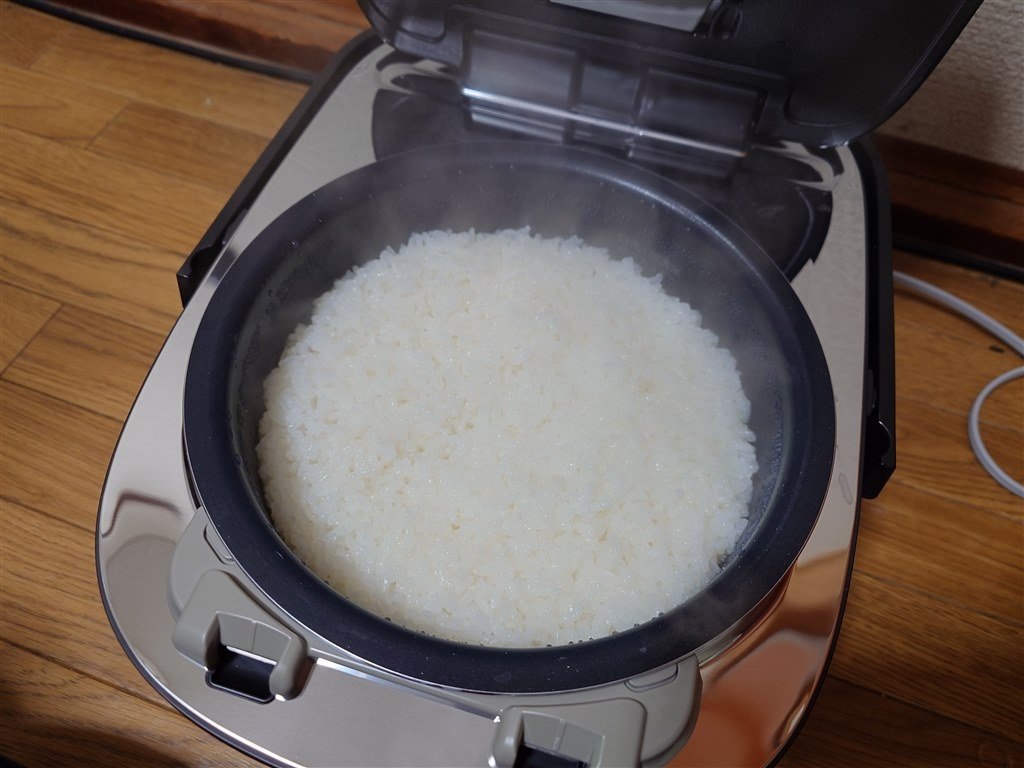
Rinse the Japanese rice several times until the water becomes mostly clear. Cook according to package directions until soft, tender, and slightly sticky. Allow it to cool just enough to handle comfortably while still warm.
Step 2: Prepare the Filling
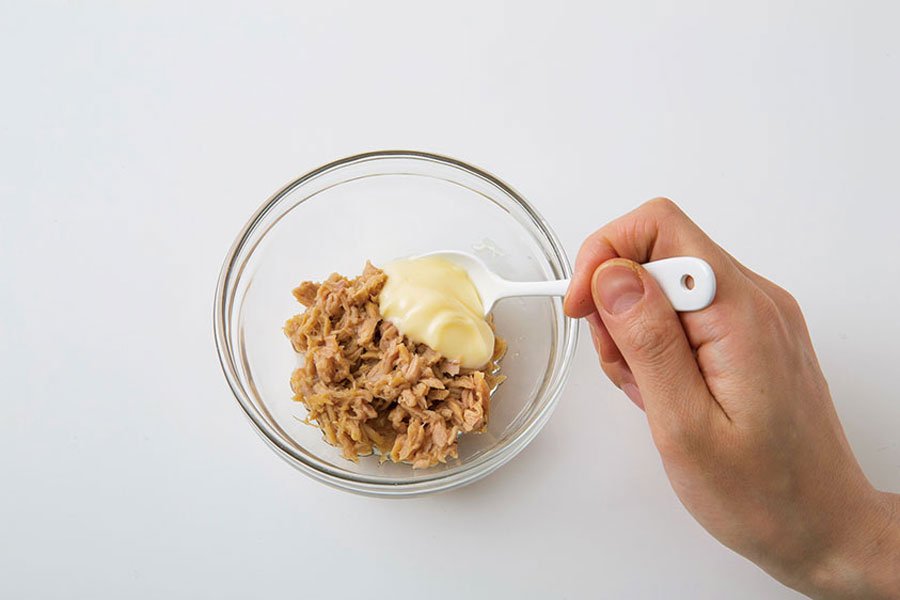
Prepare your preferred filling. Flake cooked salmon into small pieces or mix tuna with Japanese mayonnaise until creamy. Have everything ready before shaping the rice.
Step 3: Wet and Salt Your Hands
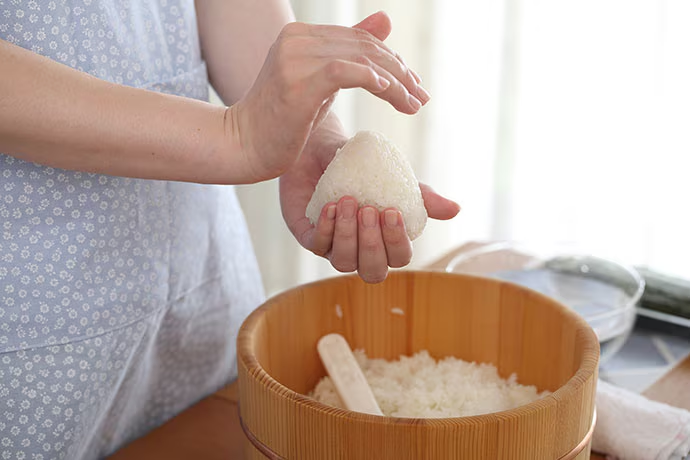
Lightly wet your hands with water and sprinkle on a little salt. This prevents sticking while lightly seasoning the outside of each rice ball.
Step 4: Shape the Rice
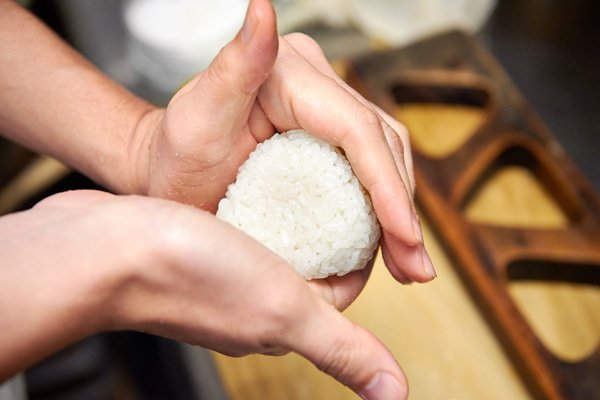
Place warm rice in your palm, create a small indentation, add the filling, and gently cover it with more rice. Carefully shape into a traditional triangle or round ball without pressing too hard.
Step 5: Wrap with Nori and Serve
Wrap each rice ball with a strip of nori just before serving to keep it crisp. Sprinkle with furikake or sesame seeds if desired and enjoy immediately.
Serving Suggestions
Serve onigiri with:
- Miso soup for a comforting Japanese meal.
- Fresh cucumber salad with sesame dressing.
- Pickled vegetables for authentic flavor.
- Steamed edamame.
- Japanese omelet (Tamagoyaki).
- Green tea for a traditional pairing.
- Grilled chicken or teriyaki salmon.
- Bento box lunches with fresh fruit.
Tips for the Best Results
- Use Japanese Short-Grain Rice: Regular long-grain rice won’t stick together properly. Authentic Japanese rice gives the best texture and shape.
- Shape While Warm: Warm rice is much easier to mold and holds together better than cold rice.
- Don’t Overfill: Too much filling makes the rice balls difficult to seal and they may fall apart during serving.
- Wrap Nori Before Eating: Adding the seaweed just before serving keeps it wonderfully crisp instead of becoming soft.
- Handle the Rice Gently: Avoid squeezing too firmly. Gentle pressure keeps the rice light and fluffy while still holding its shape.
Storage Tips
Refrigerator
Store onigiri in an airtight container for up to 2 days. Wrap individually with plastic wrap to help prevent the rice from drying out. Add the nori only before serving for the best texture.
Freezer
Wrap each rice ball tightly in plastic wrap, then place them in a freezer-safe bag. Freeze for up to 1 month.
Reheating
Microwave refrigerated or frozen onigiri until warmed through. If frozen, thaw slightly before reheating. Wrap with fresh nori after reheating to maintain its crisp texture.
Easy Onigiri Recipe – Authentic and Delicious
Ingredients
- 2 cups Japanese short-grain rice rinsed well
- 2¼ cups water
- 1 teaspoon salt plus extra for your hands
- 4 sheets nori cut into strips
- ½ cup cooked salmon flaked
- ½ cup tuna
- 2 tablespoons Japanese mayonnaise
- 2 pieces umeboshi optional
- 2 tablespoons furikake seasoning optional
- 1 tablespoon sesame seeds optional, for garnish
Instructions
- Rinse the Japanese rice several times until the water runs mostly clear. Cook according to the package directions until tender and slightly sticky.
- Allow the cooked rice to cool for about 10 minutes until warm enough to handle.
- Prepare your filling by flaking the cooked salmon or mixing tuna with Japanese mayonnaise until creamy.
- Lightly wet your hands with water and sprinkle a little salt onto your palms.
- Place a scoop of warm rice in your hand and gently flatten it.
- Add a spoonful of your chosen filling to the center.
- Cover with a little more rice and gently seal the filling inside.
- Shape the rice into a triangle or round ball using gentle pressure.
- Wrap each rice ball with a strip of nori just before serving.
- Sprinkle with furikake or sesame seeds if desired and enjoy immediately.
Notes
- Japanese short-grain rice is essential for authentic texture.
- Keep your hands damp while shaping to prevent sticking.
- Avoid overfilling the rice balls.
- Wrap with nori just before serving to keep it crisp.
- Refrigerate leftovers for up to 2 days.
- Freeze individually wrapped onigiri for up to 1 month.
- Try fillings like tuna mayo, salmon, chicken, shrimp, or pickled plum for variety.
Nutrition Facts
- Calories: 320 kcal
- Carbohydrates: 52 g
- Protein: 11 g
- Total Fat: 7 g
- Saturated Fat: 1.5 g
- Unsaturated Fat: 5 g
- Trans Fat: 0 g
- Cholesterol: 18 mg
- Sodium: 520 mg
- Potassium: 180 mg
- Fiber: 2 g
- Sugar: 1 g
- Vitamin A: 4% DV
- Vitamin C: 2% DV
- Calcium: 2% DV
- Iron: 6% DV
Kitchen Tools You’ll Need
| Product | Amazon Search Link |
|---|---|
| Zojirushi Rice Cooker | Buy On Amazon |
| Japanese Short-Grain Sushi Rice | Buy On Amazon |
| Onigiri Rice Ball Mold Set | Buy On Amazon |
| Nori Seaweed Sheets | Buy On Amazon |
Leave a Reply