
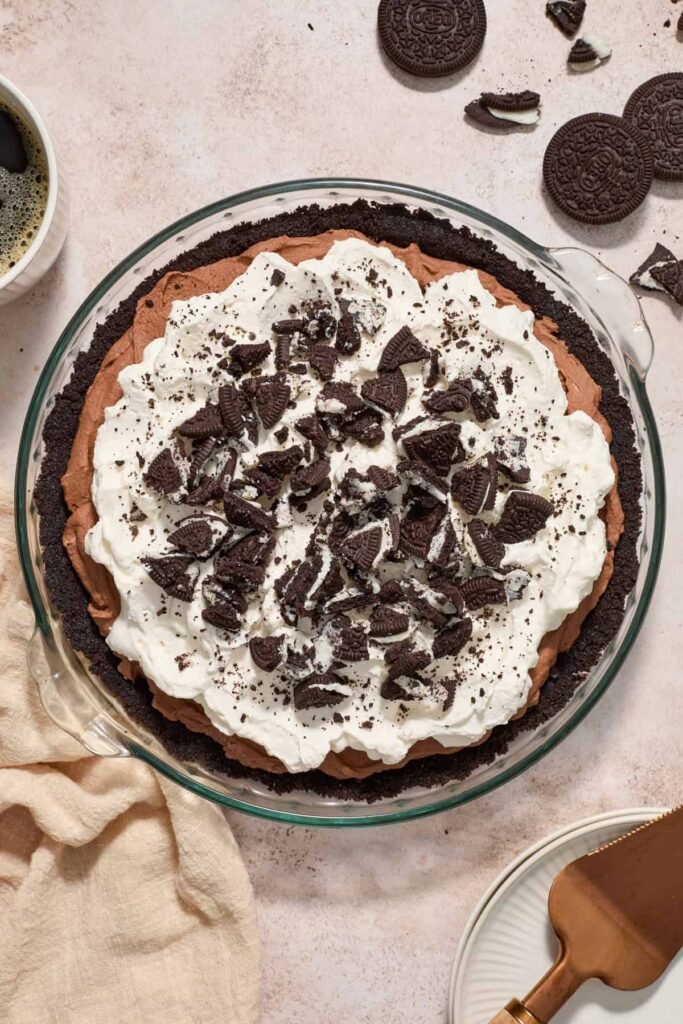
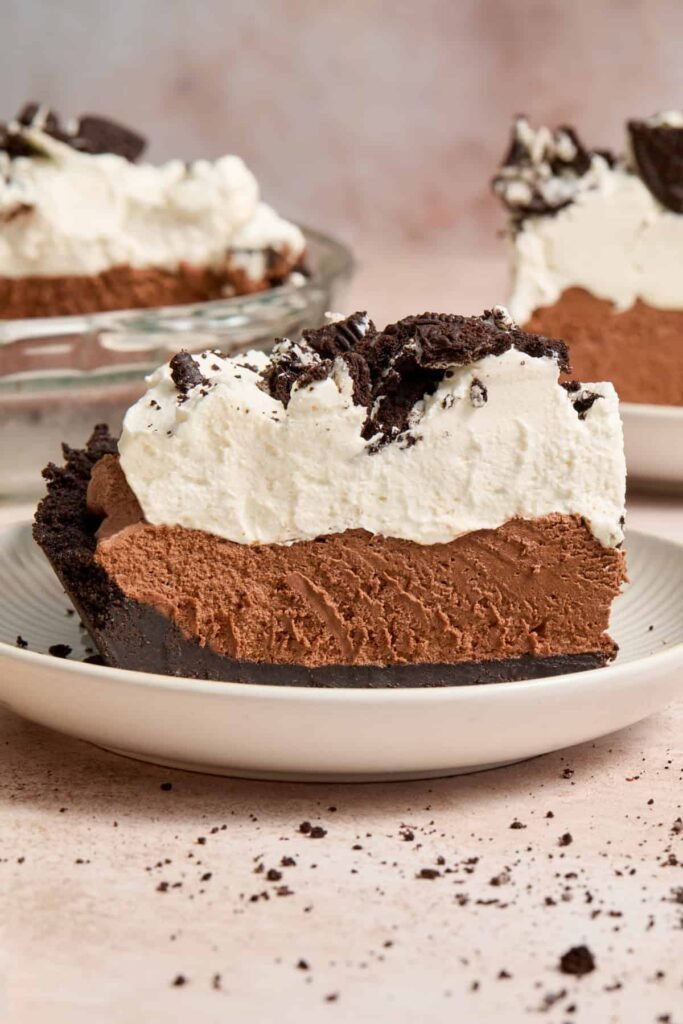
Let’s be honest — some desserts are made to impress, and some are made to disappear. This one does both. A buttery Oreo crust, a cloud of chocolate ganache cream in the middle, and a billowy whipped topping finish it off. No oven. No stress. Just a ridiculously good pie that people will ask about for weeks.
Table of Contents
Why You Will Love This No Bake Chocolate Pie:
- Seven ingredients, zero drama. The ingredient list is short and mostly pantry-friendly. Chances are, you’re one grocery store run away from making this tonight.
- Baking is optional. Chocolate is not. Skipping the oven isn’t a shortcut — it’s a strategy. No-bake recipes are more forgiving, more relaxed, and honestly, more fun. Less waiting, less worrying.
- Three layers of pure indulgence. The magic here is in the layering: a crunchy Oreo base, a thick ganache-folded chocolate cream center, and a cloud of fresh whipped cream on top. Each component is good on its own. Together, they’re extraordinary.
- Make it the night before and sleep easy. The pie needs a few hours to set anyway, which makes it a dream for entertaining. Prep it the evening before, refrigerate overnight, and walk into your gathering like someone who has everything under control.
Recipe Ingredients:
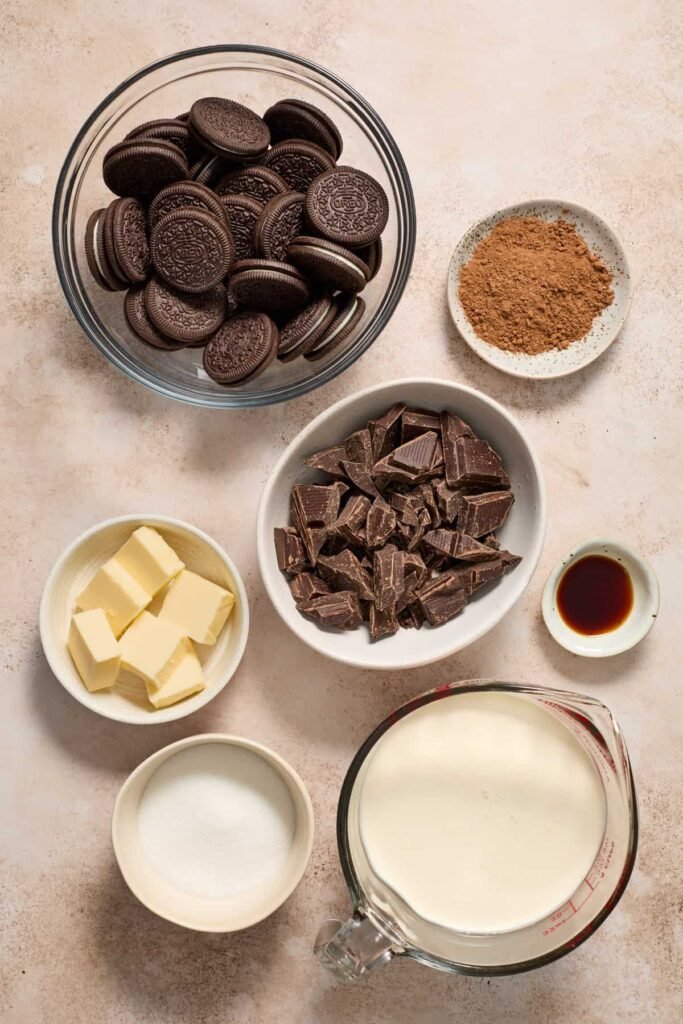
- Oreos — Classic, not Double Stuf (too much filling throws off the crust texture). Gluten-free Oreos work perfectly if needed.
- Unsalted butter, melted — The glue that holds your crust together. Salted butter works in a pinch.
- Heavy whipping cream — This is non-negotiable. The higher fat content is what gives the filling its body and helps everything hold its shape when sliced. Regular whipping cream will leave you with a softer, less stable result.
- Bittersweet chocolate — Go for quality here. Ghirardelli is a great pick. The slight bitterness plays beautifully against the sweet crust and cream topping — it keeps the whole pie from tipping into cloying territory.
- Granulated sugar — Just a small amount, used in both whipped cream layers.
- Unsweetened cocoa powder — Deepens the chocolate flavor in the filling.
- Vanilla extract — Real vanilla, please. It shows up in both cream layers and makes a noticeable difference.
- Optional: espresso powder — A teaspoon stirred into the ganache intensifies the chocolate without making it taste like coffee. Highly recommended if you have it.
Step-By-Step Instructions:
Prepare the Oreo Crust:
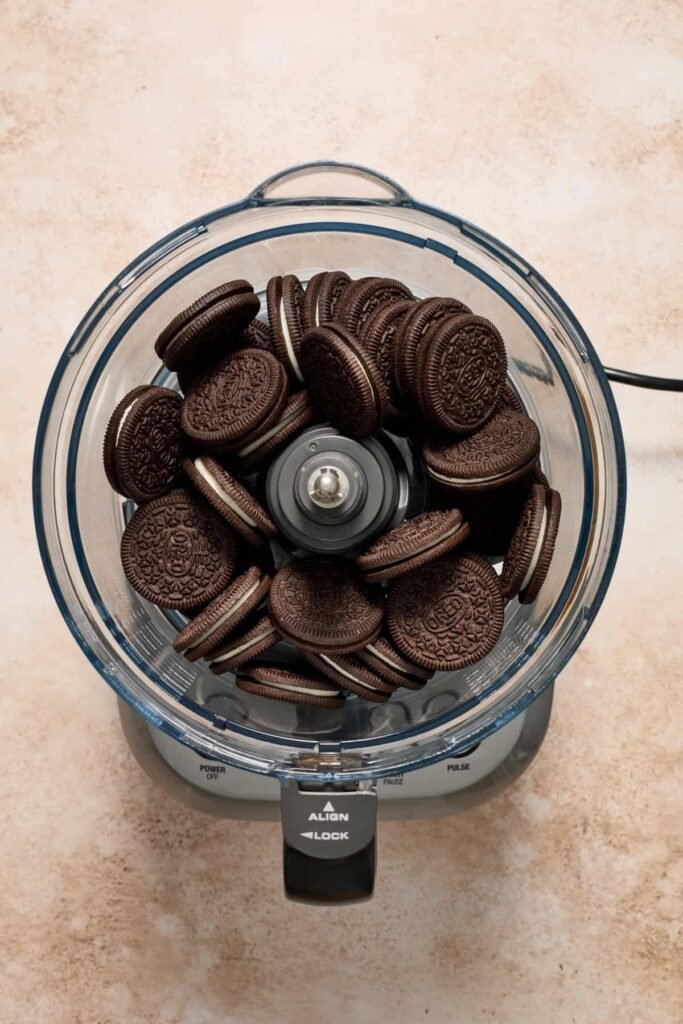
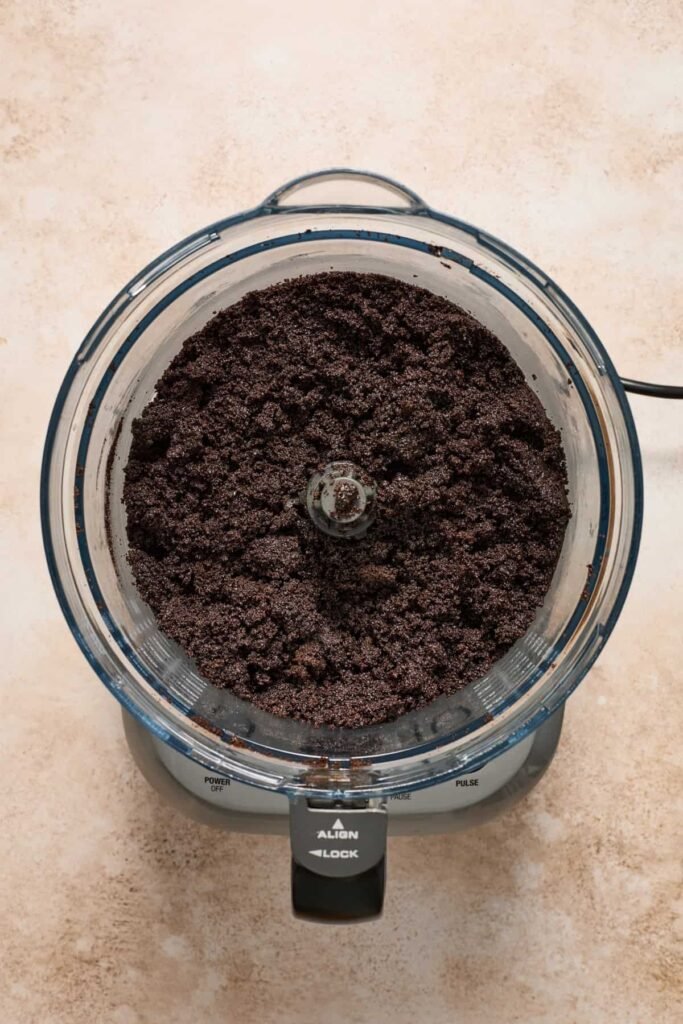
- Start by melting your butter and setting it aside to cool while you tackle the Oreos. Add the cookies to a food processor and blitz until you get a fine, uniform crumb — think breadcrumb texture, not gravel. Any large chunks left behind will make for a crumbly, uneven crust that’s hard to slice cleanly, so take an extra moment to make sure everything is fully broken down.
- A note on pan size: This recipe makes enough crust for a generous, thick base in a 9 to 9½-inch pie pan — exactly what you want. If you’re working with an 8-inch pan, hold back a small amount so the crust doesn’t get too thick. A 10-inch pan? You’re good, use it all.
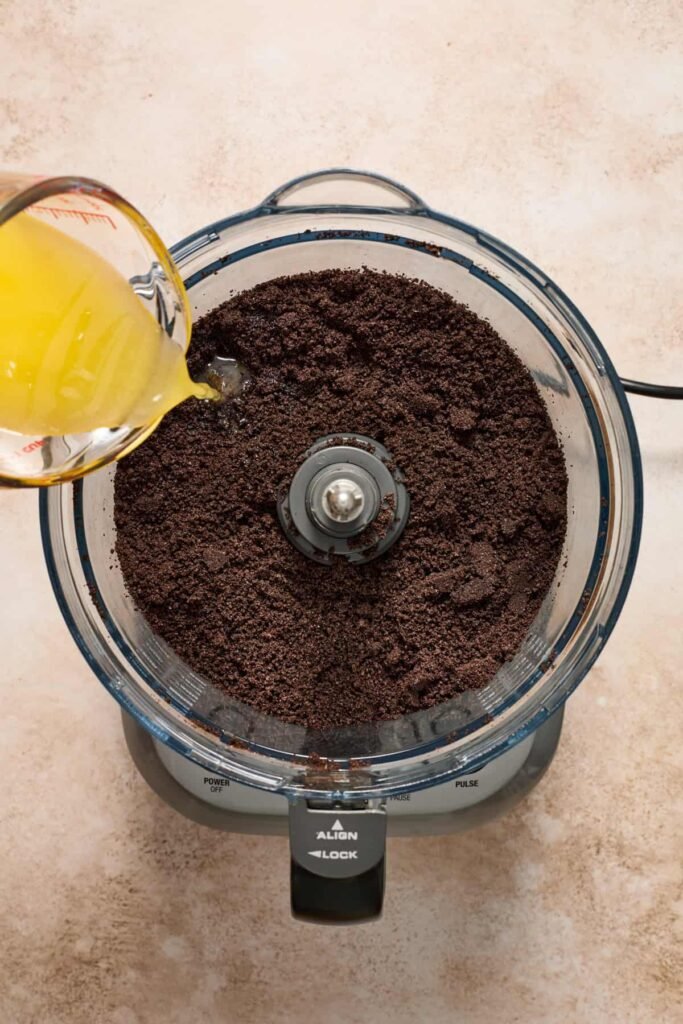
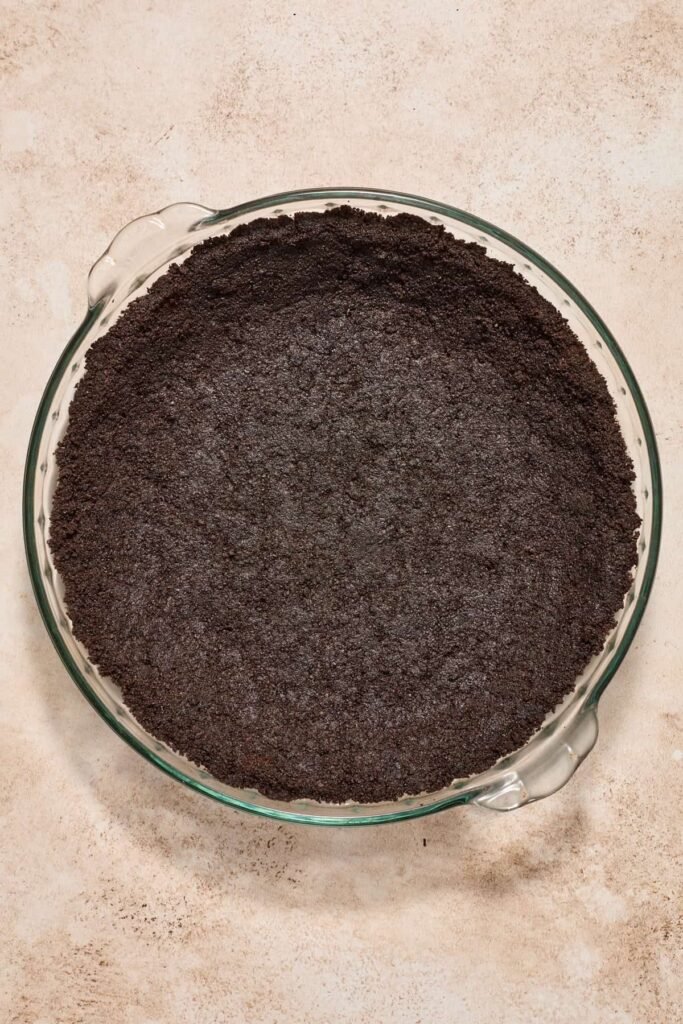
- Combine the Oreo crumbs and melted butter in a bowl and stir until the mixture clumps together like damp sand. Tip it into your pie pan and press it down firmly and evenly across the bottom and up the sides — the flat base of a measuring cup or drinking glass is perfect for this.
- Transfer the crust to the freezer for 30 minutes to firm up before adding the filling.
Make The Chocolate Layer:


- While your crust firms up in the freezer, it’s time for the star of the show. The ganache is intentionally unfussy — no double boiler, no thermometer, no drama.
- Toss the chopped chocolate and heavy cream into a microwave-safe bowl and heat in short 25-second bursts, stirring thoroughly between each round. Don’t rush it. When the chocolate is almost fully melted, turn off the microwave and just stir — the residual heat will take care of the rest, leaving you with a glossy, smooth ganache.
- Now walk away. Let it cool for about 15 minutes before it goes anywhere near the whipped cream. Hot ganache and whipped cream are not friends. Pro tip: make the ganache before you even start the crust — that gives it plenty of time to cool without you watching the clock.
- Once the ganache is resting, pour 1⅓ cups of very cold heavy cream into a large bowl along with the sugar, vanilla, and cocoa powder. If you want to go the extra mile, chill the bowl in the freezer beforehand — cold everything means better, more stable whipped cream.
- Beat it with a hand mixer or stand mixer until stiff peaks form — the kind that hold their shape when you lift the beaters and don’t immediately flop over. Two things to avoid here: stopping too early (soft, unstable peaks won’t set properly in the pie) and going too long (you’ll cross the line into something chunky and butter-adjacent, and there’s no coming back from that).
- When the ganache has cooled and the whipped cream is ready, gently fold the two together. Use a light hand and patient strokes until the mixture is completely uniform — no dark ribbons, no streaks, just one beautifully rich chocolate cloud.
Assemble the Pie:


- Go ahead and steal a spoonful (or three — no judgment) before pouring the chocolate cream into your chilled Oreo crust. Smooth it out to the edges and give the pan a gentle tap on the counter to settle any air pockets.
- Now comes the hardest part: walking away. Tuck the pie into the refrigerator for at least 3–4 hours. This is what separates a pie that slices from one that slides. Give it the time it needs.
- Resist the urge to pile on the whipped topping too early. Once that chocolate layer is fully set and holding its shape, the whipped cream will glide on effortlessly and sit in a clean, distinct layer — exactly the look you’re going for.
- When the waiting is finally over, beat your cold heavy cream with sugar and vanilla until it thickens into proud, sturdy peaks. Mound it onto the center of the pie and sweep it out toward the edges in one generous, even layer.
- Finish with whatever makes you happy — a shower of chocolate sprinkles, elegant curls of chocolate shavings, or a handful of crushed Oreos scattered across the top. That last one is the move.
Recipe TipS
- The warm knife trick is your best friend. Before making that first cut, run your knife under hot water for 30 seconds, then wipe it dry. This gives you clean, bakery-worthy slices every time. Between each cut, wipe the blade with a warm damp cloth and reheat as needed. Also, always slice straight from the fridge — cold filling holds its shape far better than pie that’s been sitting out.
- Skip the grease, try parchment instead. Buttering or spraying the pie dish makes no real difference at serving time. What does help is lining the pan with parchment or a double layer of plastic wrap so you can lift the whole pie out cleanly. A springform pan works beautifully too — just unclip the sides and you’re done. And if a little crust crumbles? Nobody’s complaining once they taste it.
- Cool Whip is a perfectly acceptable shortcut. If time is tight, a tub of Cool Whip works in place of freshly whipped cream. It won’t set up quite as firmly, but it looks great and nobody will feel shortchanged.
- Going store-bought with the crust? Grab a backup. Pre-made Oreo crusts run smaller than a standard pie pan, and this filling is generous. Pick up two just in case. A graham cracker crust is also a great alternative if you want a slightly different flavor contrast.
- Resist the urge to cut big slices. This pie is seriously rich, and a modest portion goes a long way. Ten slices is the sweet spot — though ultimately, you’re the one holding the knife.
Storage:
One of the best things about this pie — beyond the obvious — is how well it plays the long game. Whether you’re planning ahead for a party or just trying to make a slice last until Thursday, here’s how to store it right.
- In the Fridge: This pie keeps beautifully for 4 to 5 days. Cover it loosely with plastic wrap or slide it into an airtight container. To keep the whipped topping intact, stick a few toothpicks around the surface before draping the wrap over — they act as little tent poles and save your topping from getting squashed flat.
- In the Freezer: Good news — this pie freezes like a dream for up to 2 months. You have two options depending on where you are in the process. Freezing before the whipped topping goes on is the tidiest route: once the chocolate layer has set, wrap the whole thing snugly in plastic wrap followed by a layer of foil. If the whipped cream is already on, skip the wrap (it’ll ruin the topping) and go straight for a large freezer-safe container instead — one that fits the whole pie or individual slices without crowding them.
Either way, future-you is going to be very glad present-you planned ahead.
FAQs
Can I use milk chocolate instead of bittersweet?
Yes, but expect a noticeably sweeter pie. The bittersweet chocolate balances the sweetness of the Oreo crust and whipped cream. If you switch to milk chocolate, consider reducing the sugar slightly in the filling.
What if I don’t have a food processor for the Oreos?
No problem — seal the Oreos in a zip-lock bag and crush them with a rolling pin. It takes a little more elbow grease, but you’ll get the same fine crumb texture.
Can I make this dairy-free?
The recipe relies heavily on heavy cream, but full-fat coconut cream (chilled overnight) can work as a substitute for both the ganache and the whipped layers. Use dairy-free chocolate and a dairy-free butter alternative for the crust. The texture will be slightly different but still delicious.
How far in advance can I make this?
Up to two days ahead in the refrigerator, or up to two months in the freezer. If making it a day ahead, hold off on adding the whipped topping until a few hours before serving for the freshest presentation.
Do I need to grease the pie pan?
No — greasing doesn’t significantly help with serving. Your best options for clean removal are lining the pan with plastic wrap, using a springform pan, or simply serving directly from the dish. Any crumbled crust is a bonus for the people who like the crusty bits anyway.
My ganache seized up and looks grainy. Can I fix it?
Yes! Add a small splash of warm heavy cream and stir vigorously. The ganache should smooth out. This usually happens if the cream wasn’t hot enough to fully melt the chocolate, or if water accidentally got into the bowl.

No-Bake Chocolate Pie
Ingredients
For the Oreo Crust:
- 24 — Oreos
- 5 tbsp — Unsalted butter melted
For the Chocolate Filling:
- 1⅓ cups — Heavy whipping cream very cold
- 6 oz — Bittersweet chocolate finely chopped
- ⅓ cup — Heavy whipping cream for ganache
- 2 tbsp — Granulated sugar
- 3 tbsp — Unsweetened cocoa powder
- 1 tsp — Vanilla extract
- 1 tsp — Espresso powder optional
For the Whipped Cream Topping:
- 1 cup — Heavy whipping cream very cold
- 2 tbsp — Granulated sugar
- 1 tsp — Vanilla extract
Optional Garnish:
- Chocolate shavings sprinkles, or crushed Oreos
Instructions
- Group: Make the Ganache1. Combine chopped bittersweet chocolate and ⅓ cup heavy cream in a microwave-safe bowl. Microwave in 25-second intervals, stirring between each, until nearly melted. Stir until completely smooth. Set aside to cool for 15 minutes.Group: Make the Oreo Crust2. Pulse Oreos in a food processor until fine, even crumbs form with no large chunks remaining.3. Stir melted butter into the Oreo crumbs until the mixture resembles damp sand.4. Press the mixture firmly and evenly into a 9–9.5 inch pie pan using the flat bottom of a glass or measuring cup.5. Freeze the crust for 30 minutes.Group: Make the Chocolate Filling6. Add 1⅓ cups very cold heavy cream, sugar, cocoa powder, and vanilla to a large chilled bowl. Beat with an electric mixer until stiff peaks form. Do not overbeat.7. Gently fold the cooled ganache into the chocolate whipped cream until fully combined and no streaks remain.Group: Assemble8. Pour the chocolate filling into the chilled Oreo crust and spread evenly.9. Refrigerate for at least 3–4 hours, or overnight, until fully set.Group: Add the Topping10. Beat 1 cup cold heavy cream, sugar, and vanilla until stiff peaks form.11. Spread the whipped cream evenly over the set chocolate layer.12. Garnish with chocolate shavings, sprinkles, or crushed Oreos. Slice and serve cold.
Notes
- For clean slices, run your knife under hot water for 30 seconds before cutting. Wipe the blade between each slice.
- To prevent the whipped topping from being crushed during storage, insert toothpicks around the surface before covering with plastic wrap.
- This pie freezes well for up to 2 months. Store in a freezer-safe container to protect the whipped topping.
- For a gluten-free version, substitute gluten-free Oreos.
- Cool Whip can replace the fresh whipped topping if you’re short on time.
Leave a Reply