
If you’re a die-hard chocolate fan, this hot cholocate icebox cake is about to become your new obsession. Creamy, dreamy, and completely no-bake, it transforms your favorite winter drink into a spoonable (or sliceable) dessert that tastes like it took hours — when really it only takes about 20 minutes of hands-on time. Soft chocolate grahams, velvety cocoa cream, and fluffy marshmallow creme come together most irresistibly.
It’s genuinely one of those recipes that earns a permanent spot in the rotation after just one try.
Table of Contents
Why We Love This Hot Chocolate Icebox Cake
Every winter, I end up with a nearly-finished canister of hot chocolate mix sitting on the shelf. Instead of letting it collect dust, I started using it in desserts — and this icebox cake was the happy result. My family went absolutely wild for it, and now it disappears before I even get a second slice.
Here’s why you’ll love it:
- Comes together in about 20 minutes of prep
- Fewer than 10 ingredients
- Zero oven time required
- Rich, deep chocolate flavor from start to finish
Ingredient Notes
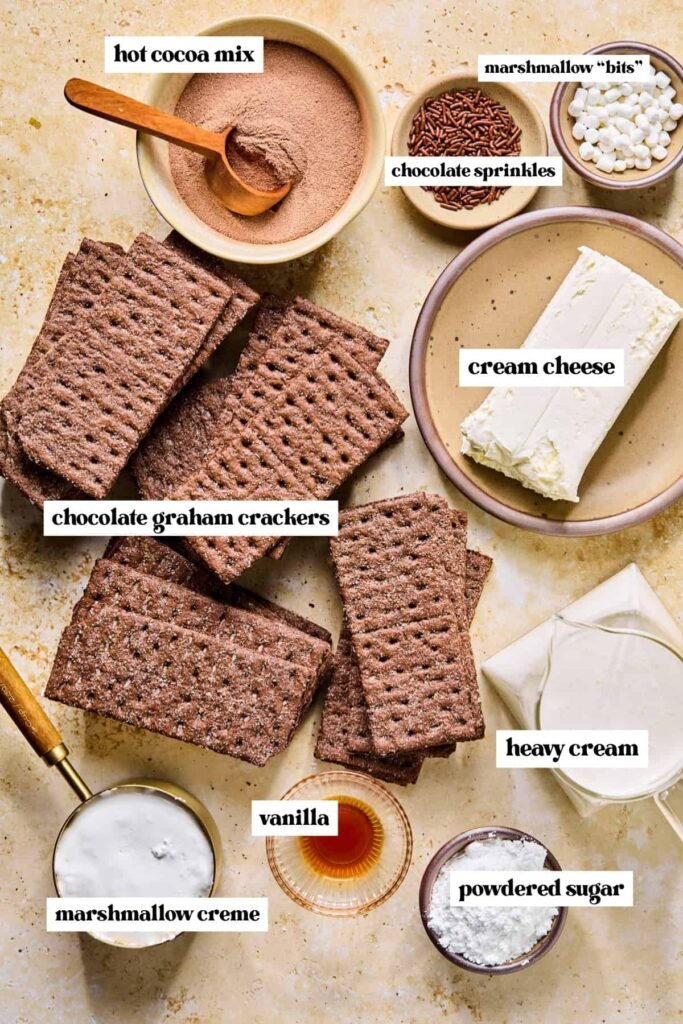
Hot cocoa mix — This is the magic ingredient. Unlike plain cocoa powder, hot chocolate mix already has sweetness and a smooth, rounded flavor built in. Whatever brand you reach for at home will work perfectly here.
Powdered sugar — This helps the cream layer firm up beautifully as it chills. The small amount of cornstarch naturally present in powdered sugar is what gives the cake its clean, sliceable structure.
Heavy whipping cream — Don’t substitute with a light version here. Full-fat cream whips up to the thick, stable consistency this dessert needs. Reduced-fat cream cheese is fine if that’s what you have, but skip the fat-free variety entirely.
Ways to Make It Your Own
Go minty: Swap in a mint hot cocoa mix, or stir in about half a teaspoon of peppermint extract. Crushed candy canes scattered on top make it look as good as it tastes.
Switch up the cookie layer: Classic chocolate grahams are ideal, but thin chocolate wafers, chocolate biscuits, or even the thin-style chocolate sandwich cookies all work beautifully here.
Add a drizzle: A ribbon of caramel, hot fudge, or even a salted butterscotch sauce between the layers — or just over the top — takes this over the edge.
Step-By-Step Instructions
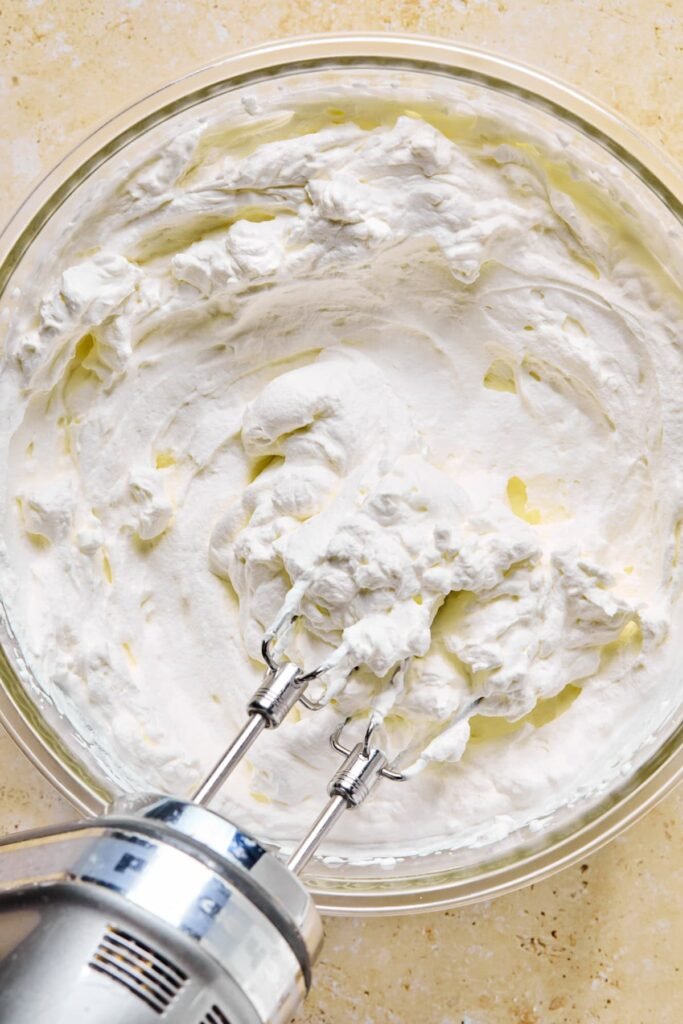
Step 1: Using a stand mixer fitted with the whisk attachment (or an electric hand mixer), beat the heavy cream to stiff peaks. Transfer to a separate bowl and set aside.
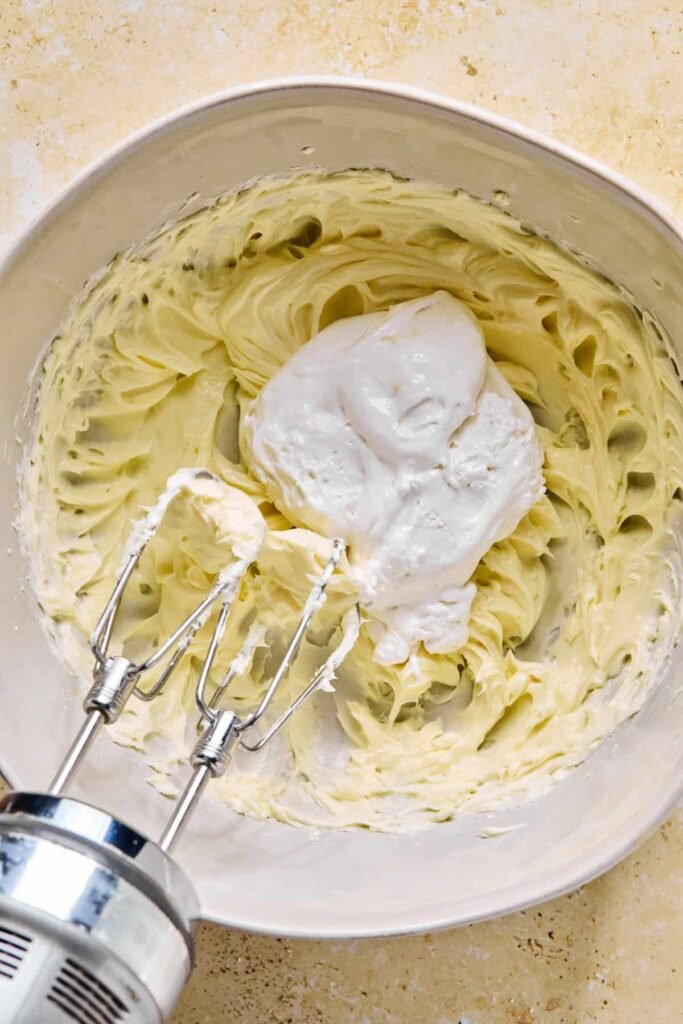
Step 2: In a large bowl, beat together the cream cheese, vanilla extract, and powdered sugar on medium-high speed until completely smooth. Add the marshmallow creme and beat until combined.
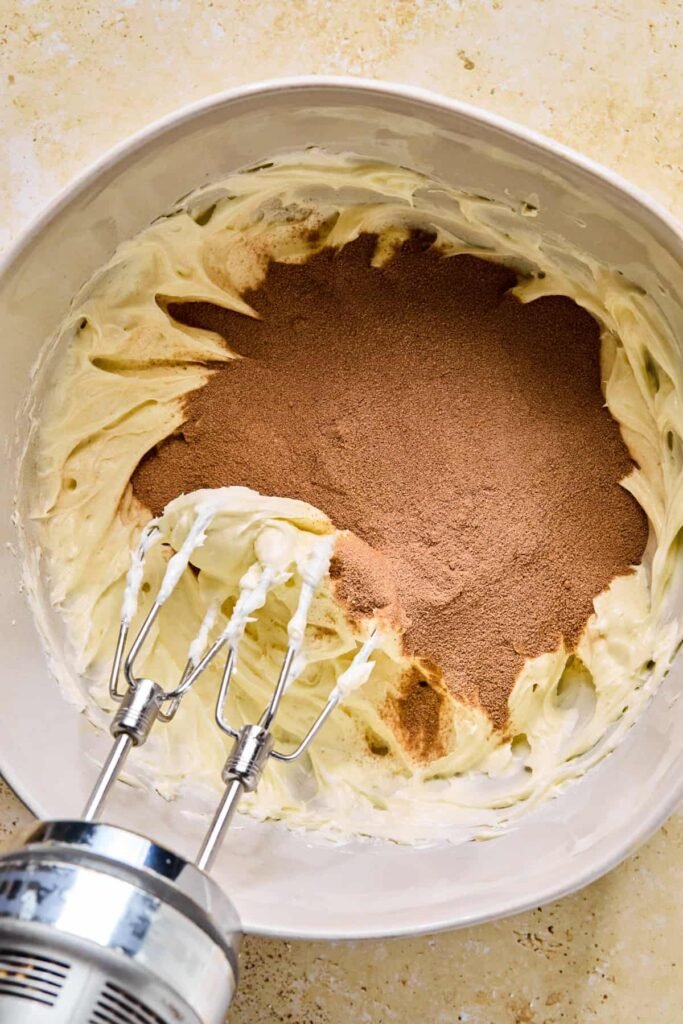
Step 3: Mix in the hot cocoa powder and beat until the mixture is uniform and glossy.
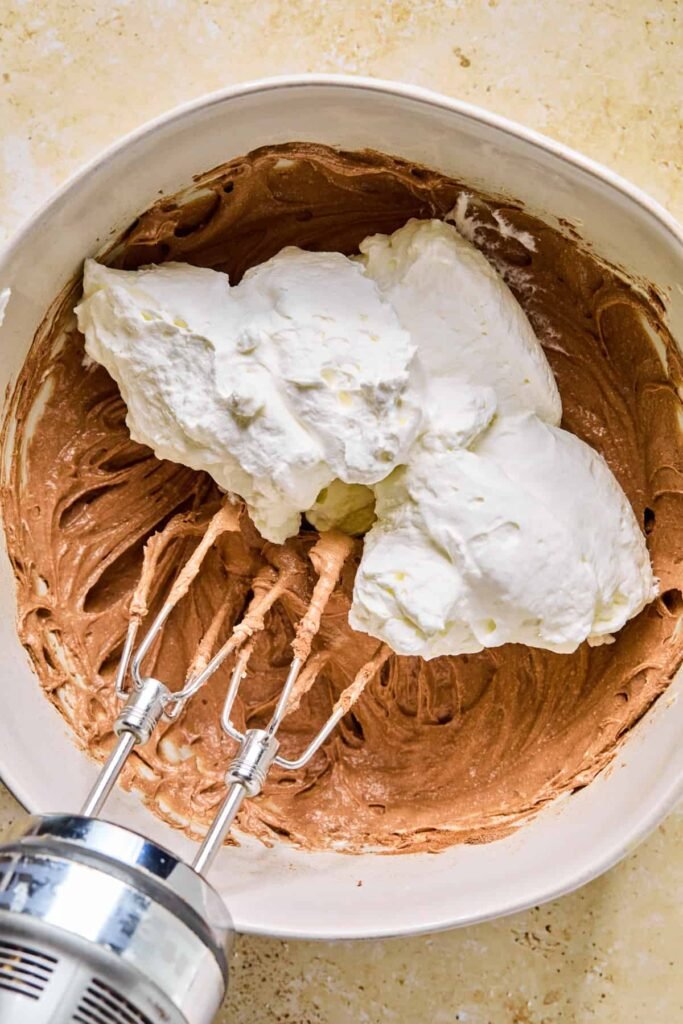
Step 4: Add 2 to 3 cups of the whipped cream to the chocolate mixture.
Step 5: Beat on low speed just until incorporated.
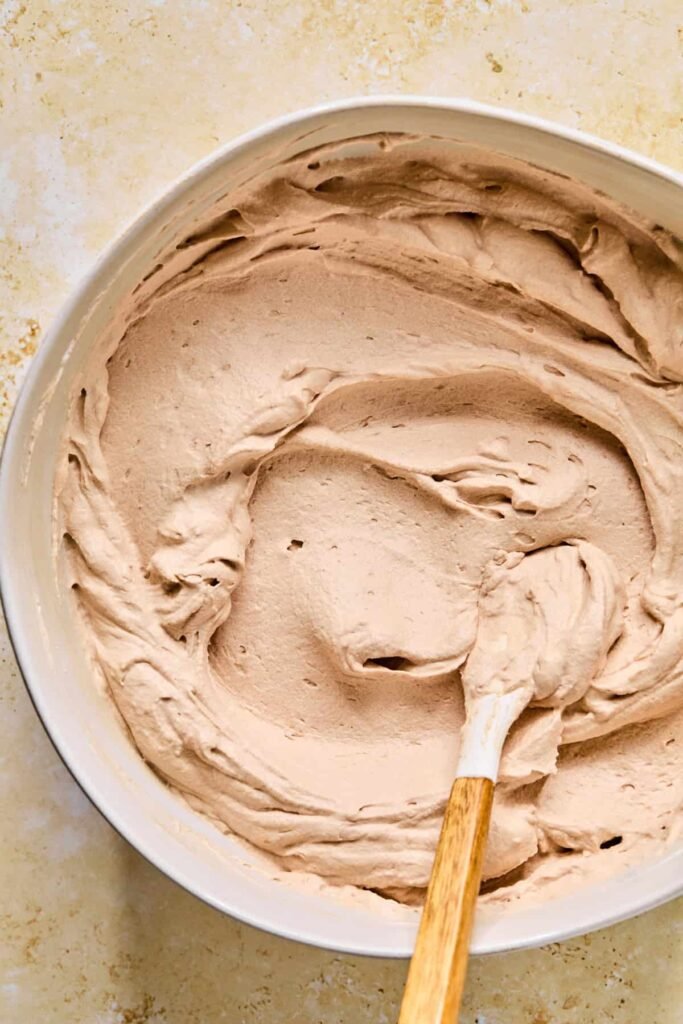
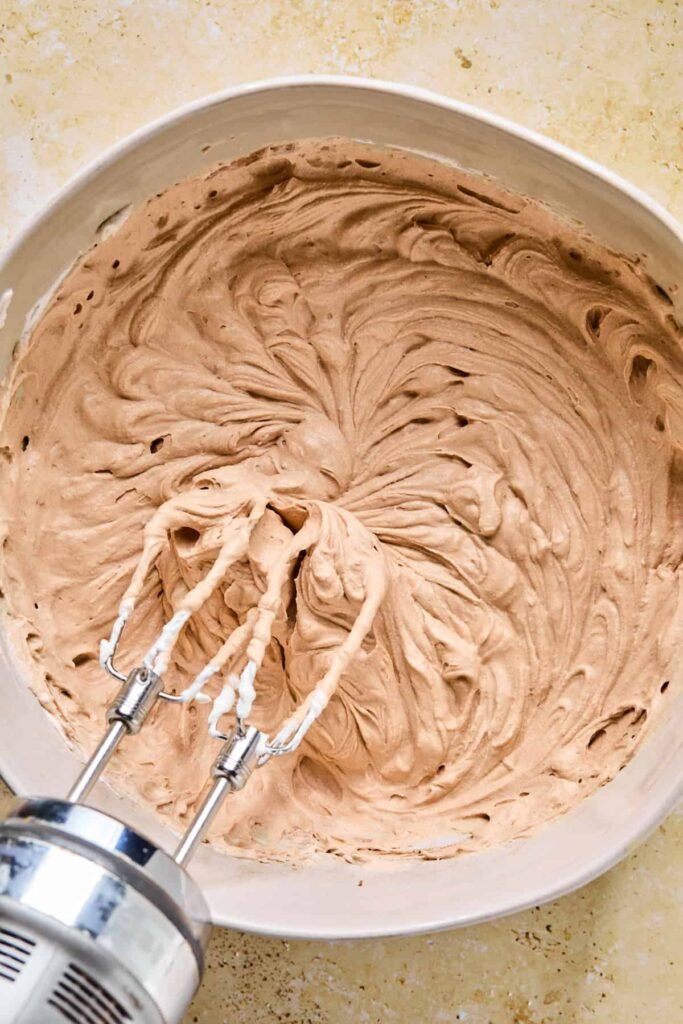
Step 6: Gently fold in the remaining whipped cream by hand, working carefully to keep as much air in the cream as possible. Stop once no white streaks remain.
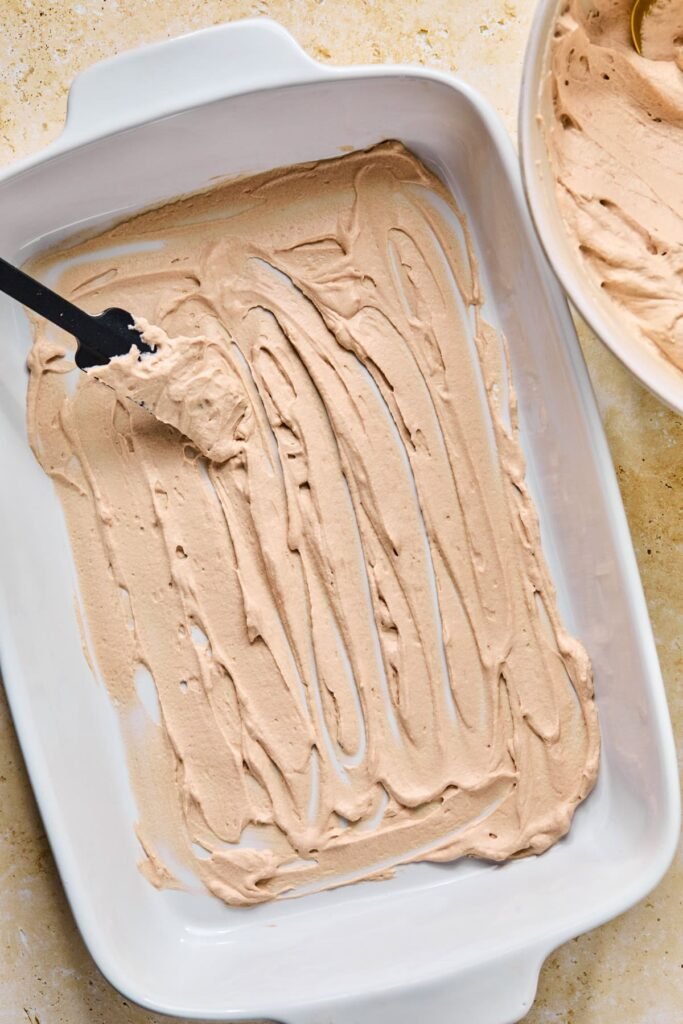
Step 7: Spread a thin layer of the hot cocoa mixture — about 3 to 4 tablespoons — across the bottom of a 9×13-inch pan. This keeps the bottom grahams from sliding around.
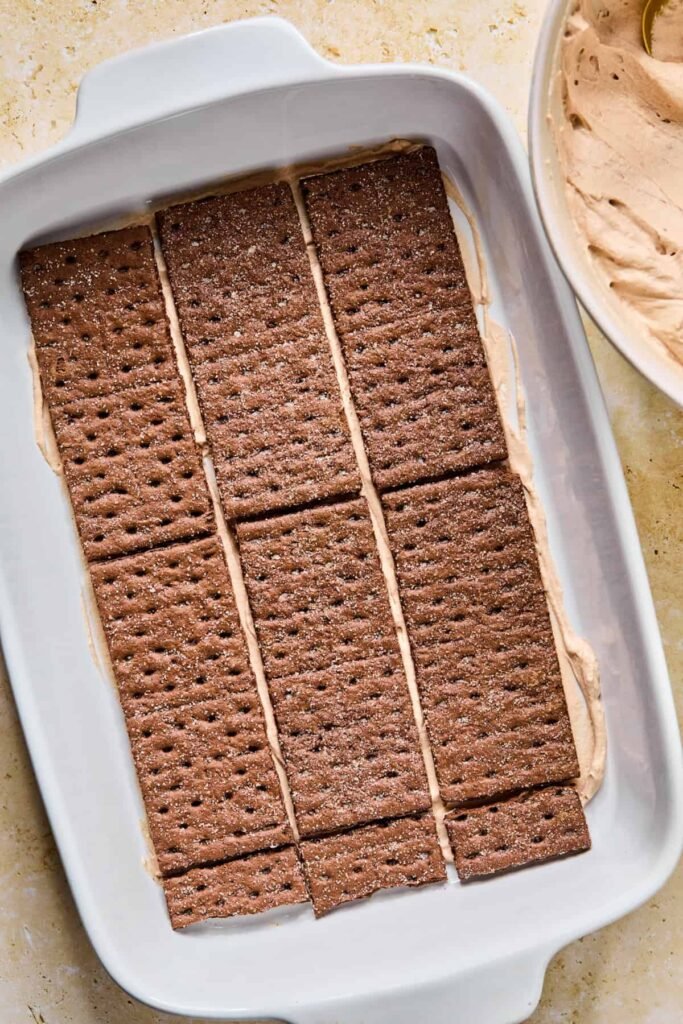
Step 8: Lay down a single, snug layer of chocolate graham crackers. Break pieces as needed to fill in any gaps. Plan on about 7 to 8 sheets per layer, depending on your pan.
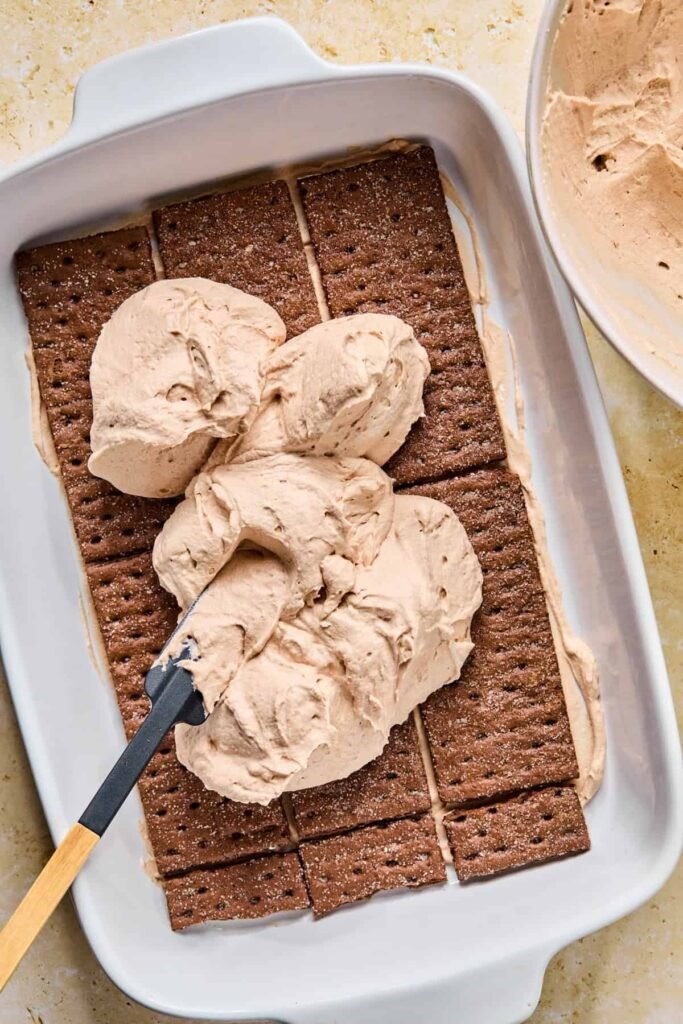
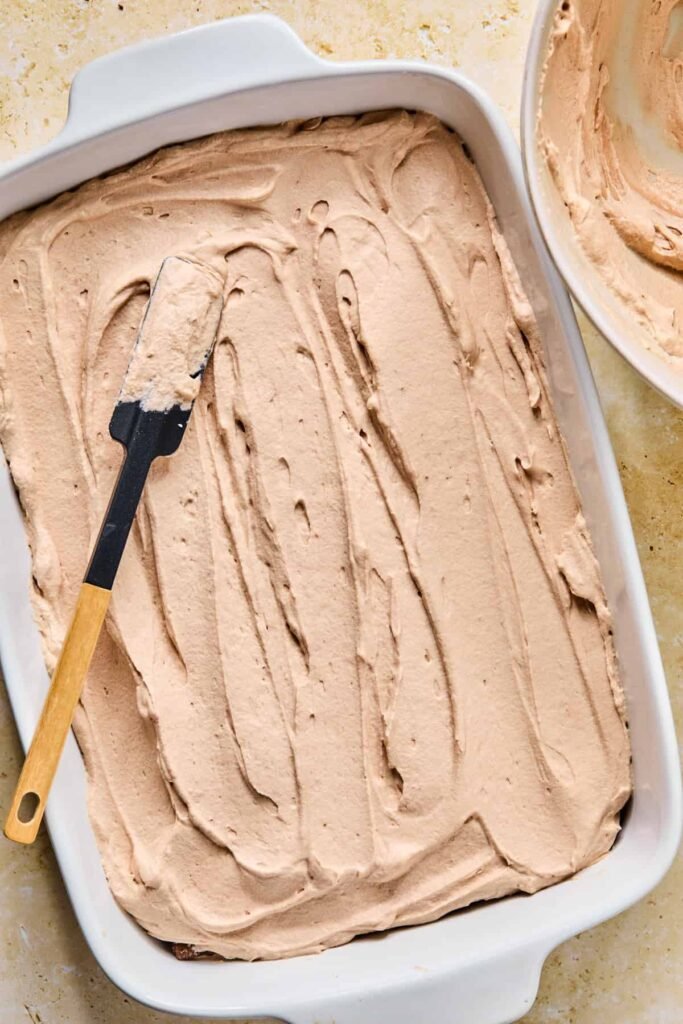
Step 9: Spread roughly 2½ cups of the cocoa cream evenly over the crackers.
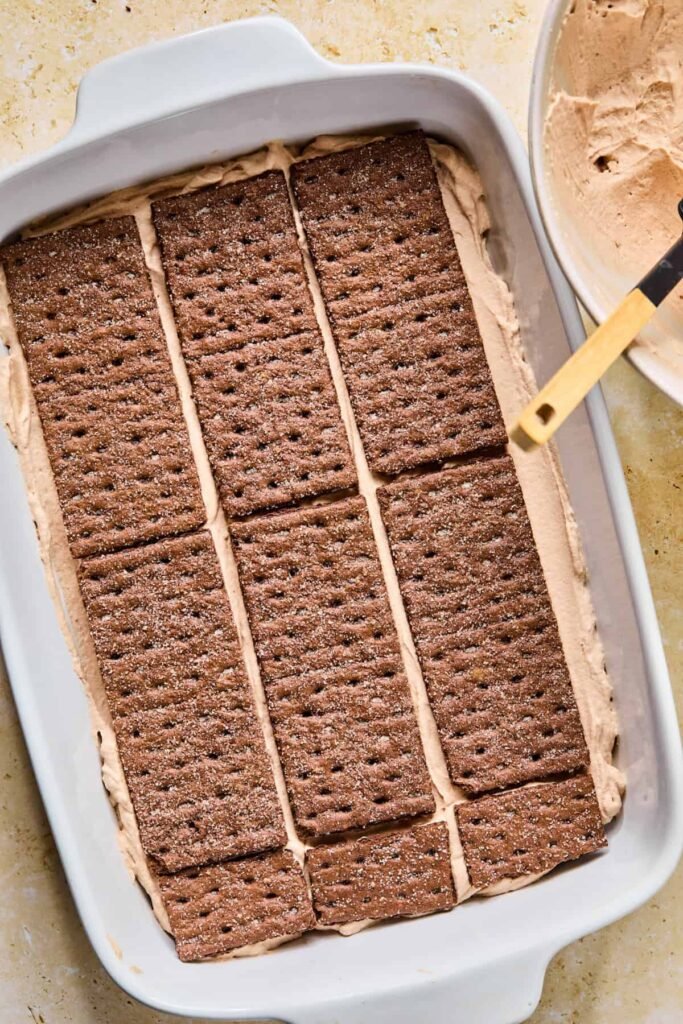
Step 10: Add another layer of chocolate grahams, then spread another 2½ cups of the cream layer over the top.
Step 11: Finish with a final graham layer, then cover with all the remaining cream mixture.
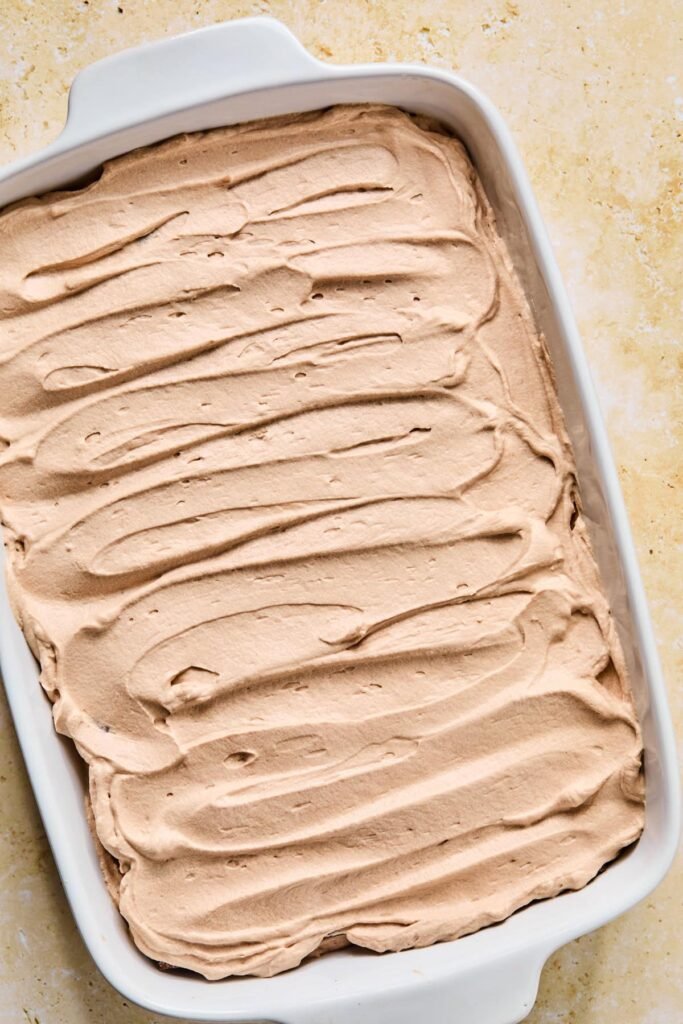
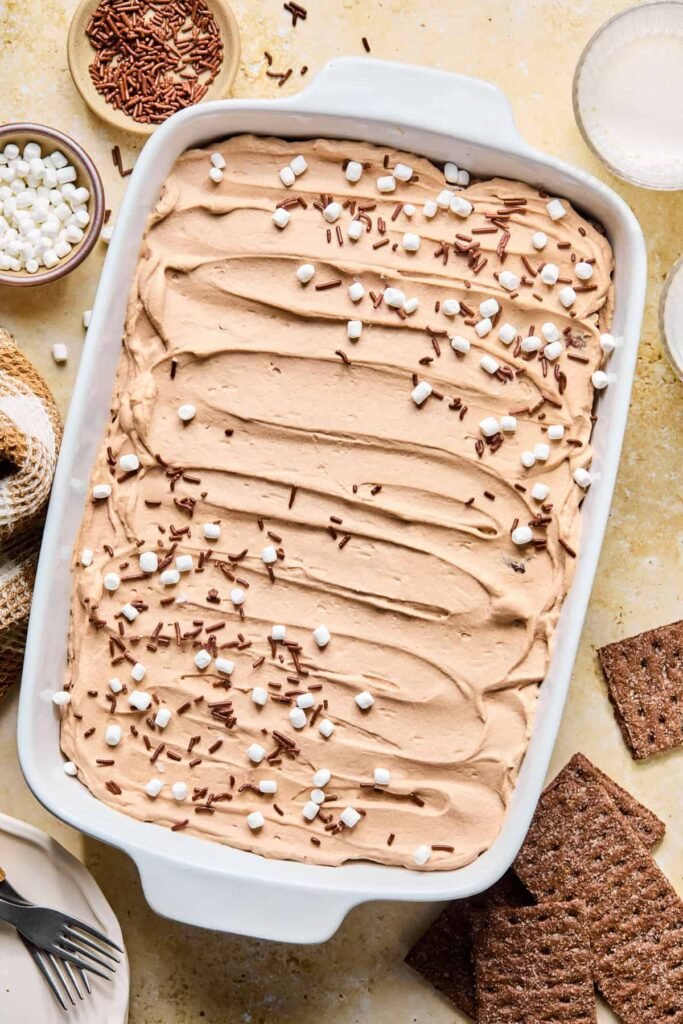
Step 12: Refrigerate for at least 4 to 5 hours, or until the grahams have softened through. For the best, most cake-like texture, chill overnight — about 12 hours is the sweet spot. Before serving, scatter on mini marshmallow bits, chocolate sprinkles, or any toppings you like.
Recipe Tips
Pop the pan in the freezer for 20 to 30 minutes before you plan to slice it — this makes cutting clean, neat portions much easier. Run a sharp knife under hot water before each cut, and wipe the blade clean between slices for the best results.
While the cake is technically ready after 4 to 6 hours, the grahams at the 12-hour mark are perfectly softened — almost like actual cake layers — without being soggy. It’s worth the wait.
Storage
Keep leftover cake covered in the refrigerator for up to 3 to 4 days. The first two days are when the texture is at its absolute peak — after that, it’s still tasty but starts to soften a bit more than ideal.
To freeze, transfer to a freezer-safe container and freeze for up to 3 months. Thaw overnight in the refrigerator before serving.
Frequently Asked Questions
Can I use regular hot cocoa mix, or does it need to be a specific kind?
Any variety works — classic milk chocolate, dark chocolate, or even a flavored blend. The richer the mix, the deeper the chocolate flavor in the final cake..
Can I make this in a different pan size?
Yes — a round springform pan or individual serving cups both work well if you want a different presentation. Just adjust the number of layers to fit your vessel.
Do I have to use marshmallow creme?
It’s not strictly required, but it’s what gives this cake that true hot cocoa identity. Without it, the filling is still delicious — just more of a straight chocolate mousse flavor rather than a hot cocoa experience.
Can I make it dairy-free?
You can experiment with full-fat coconut cream in place of the heavy cream, and a dairy-free cream cheese. The texture will be slightly different but still sets up well. Use a dairy-free hot cocoa mix and check your grahams for dairy too.
How far in advance can I make this?
This cake is ideal when made 12 to 24 hours ahead. You can make it up to 2 days in advance — it still tastes wonderful, though the texture is at its very best within the first 48 hours.
Can I add mix-ins like chocolate chips or crushed cookies inside the layers?
Absolutely. Mini chocolate chips, toffee bits, or even a thin layer of crushed cookies scattered over the cream before adding the next graham layer all add great texture and extra flavor.

Chocolate Icebox Cake
Ingredients
- 2 cups heavy whipping cream cold
- 8 oz cream cheese softened to room temperature
- 1 tsp vanilla extract
- 1 cup powdered sugar
- 1 cup marshmallow creme
- 3 sleeves chocolate graham crackers approx. 21–24 sheets
- mini marshmallow bits for garnish
- chocolate sprinkles for garnish
Instructions
- Group: Make the Whipped Cream1. Using a stand mixer with a whisk attachment or an electric hand mixer, beat the cold heavy whipping cream on medium-high speed until stiff peaks form. Transfer to a separate bowl and set aside.Group: Make the Chocolate Cream Filling2. In a large bowl, beat the softened cream cheese, vanilla extract, and powdered sugar together on medium-high speed until completely smooth and creamy, about 2 minutes.3. Add the marshmallow creme and beat until fully incorporated.4. Add the hot cocoa mix and beat until the mixture is smooth and uniform.5. Add 2 to 3 cups of the whipped cream to the chocolate mixture and beat on low speed just until blended.6. Fold in the remaining whipped cream gently using a rubber spatula, working in slow sweeping motions from the bottom of the bowl upward. Stop folding once no white streaks remain.Group: Assemble the Cake7. Spread a thin layer of the hot cocoa cream (about 3–4 tablespoons) across the bottom of a 9×13 inch pan to anchor the first layer of crackers.8. Lay a single, snug layer of chocolate graham crackers over the bottom of the pan, breaking pieces as needed to fill any gaps. You'll use about 7–8 full sheets per layer.9. Spread approximately 2½ cups of the chocolate cream evenly over the graham crackers.10. Add a second layer of chocolate graham crackers, then spread another 2½ cups of the cream over the top.11. Finish with a final layer of graham crackers, then spread all remaining cream over the top in an even layer.Group: Chill and Serve12. Cover the pan tightly and refrigerate for at least 4–5 hours, or preferably overnight for 12 hours. The grahams will soften to a cake-like texture as they chill.13. Before serving, garnish with mini marshmallow bits and chocolate sprinkles. For the cleanest slices, place the pan in the freezer for 20–30 minutes before cutting. Run a sharp knife under hot water and wipe clean between cuts.
Notes
- For minty variation, add ½ teaspoon peppermint extract to the filling or use a mint hot cocoa mix. Top with crushed candy canes.
- Regular honey grahams, thin chocolate wafers, or thin chocolate sandwich cookies can replace the chocolate graham crackers.
- A drizzle of caramel or hot fudge sauce between the layers adds an extra indulgent touch.
- Store covered in the refrigerator for up to 3–4 days. Best texture within the first 2 days.
- To freeze, store in a freezer-safe container for up to 3 months. Thaw overnight in the refrigerator before serving.
Leave a Reply