
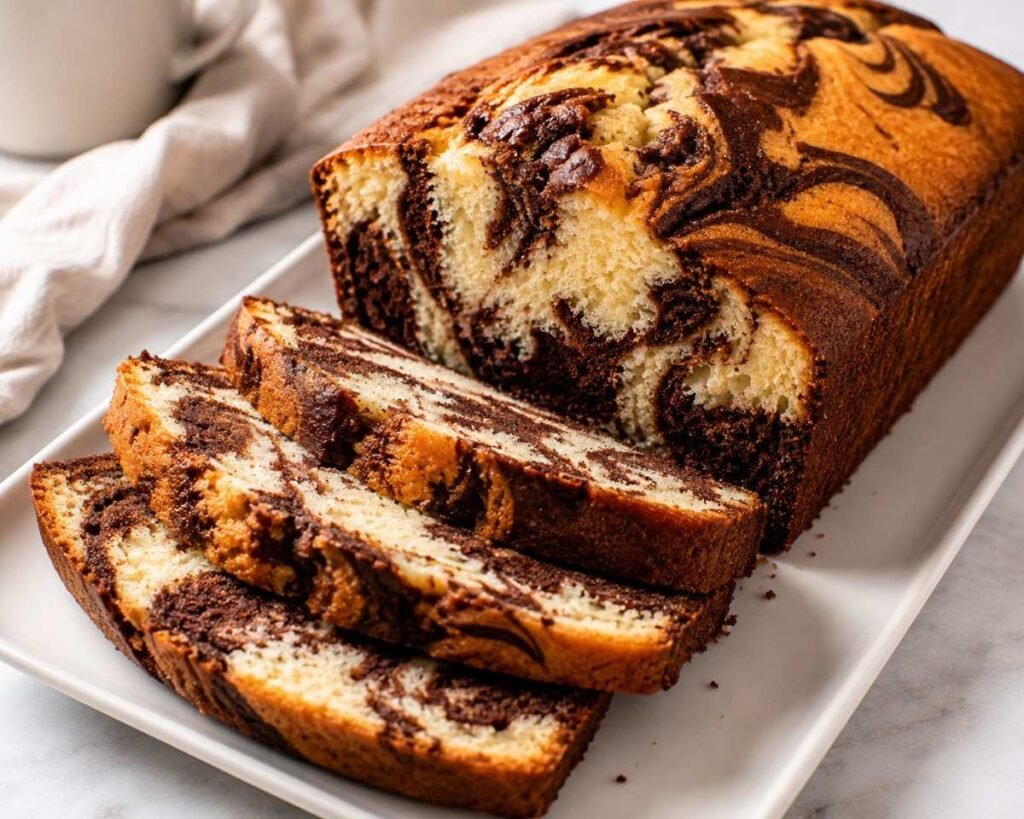
There’s something timeless about a homemade marble cake. The combination of rich chocolate and tender vanilla cake creates those beautiful swirls that make every slice look special. Best of all, you don’t need complicated decorating skills to make it.
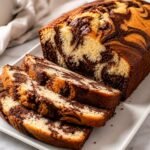
This Moist Marble Cake is soft, buttery, and full of chocolate-vanilla flavor. The two batters are gently swirled together before baking, creating a classic marbled pattern throughout the cake. It’s an easy dessert for weekend baking, family gatherings, afternoon coffee, or whenever you’re craving a homemade treat.
The secret to a truly moist marble cake is using room-temperature ingredients, avoiding overmixing, and baking the cake just until it’s done. Once cooled, you can enjoy it plain, dust it with powdered sugar, or add a simple chocolate glaze for an extra-special finish.
Table of Contents
Why You’ll Love Moist Marble Cake – Easy and Delicious
- Soft and Moist Texture: Every slice has a tender, buttery crumb that stays delicious without feeling heavy or dry.
- Classic Chocolate-Vanilla Flavor: The combination of creamy vanilla and rich chocolate gives this cake a flavor everyone can enjoy.
- Beautiful Without Fancy Decorating: A simple swirl creates an impressive marbled pattern, so you can serve it beautifully with very little effort.
- Perfect for Any Occasion: Enjoy it with coffee for an afternoon treat or serve it as an easy homemade dessert after dinner.
- Simple Pantry-Friendly Ingredients: You can make this classic cake with familiar baking staples you may already have in your kitchen.
Ingredients You’ll Need
This Marble Cake comes together with everyday baking staples, giving you a soft, moist crumb swirled with gorgeous ribbons of vanilla and chocolate. Whether it’s a birthday, afternoon tea, a family get-together, or just a sweet treat to enjoy any day of the week, this cake fits the occasion.
A couple of tips for the best results: let your ingredients come to room temperature before you start, and be careful not to overmix the batter — that’s the secret to keeping the cake light and fluffy.
- All-Purpose Flour – Provides the structure for the cake while keeping the crumb light and tender.
- Granulated Sugar – Adds sweetness and helps create a soft texture.
- Unsalted Butter – Gives the cake a rich, buttery flavor and moist crumb.
- Eggs – Help bind the ingredients together while adding structure and richness.
- Whole Milk – Adds moisture and helps create a smooth, tender batter.
- Vanilla Extract – Brings out the sweet, creamy flavor of the vanilla portion.
- Unsweetened Cocoa Powder – Creates the deep chocolate flavor and color in the chocolate batter.
- Baking Powder – Helps the cake rise evenly and gives it a light texture.
- Salt – Balances the sweetness and enhances both the vanilla and chocolate flavors.
- Sour Cream – Adds extra moisture and gives the cake a wonderfully tender crumb.
Step-By-Step Directions
1. Prepare the Baking Pan
Preheat your oven and prepare your cake pan with butter and a light coating of flour or parchment paper. This helps the finished cake release easily after baking.
2. Cream the Butter and Sugar
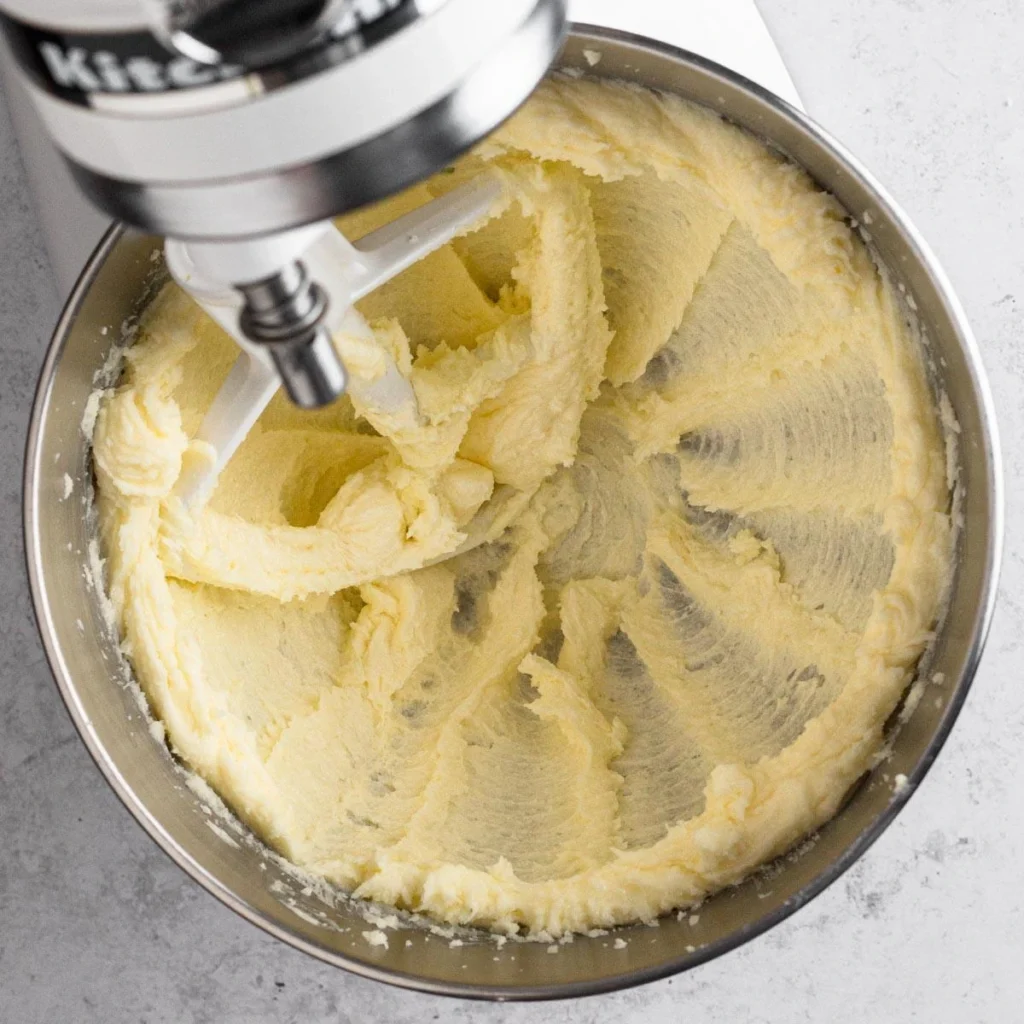
Beat the softened butter with the sugar until the mixture becomes pale, creamy, and fluffy. This step helps incorporate air into the batter and contributes to a lighter cake.
3. Add the Eggs and Vanilla
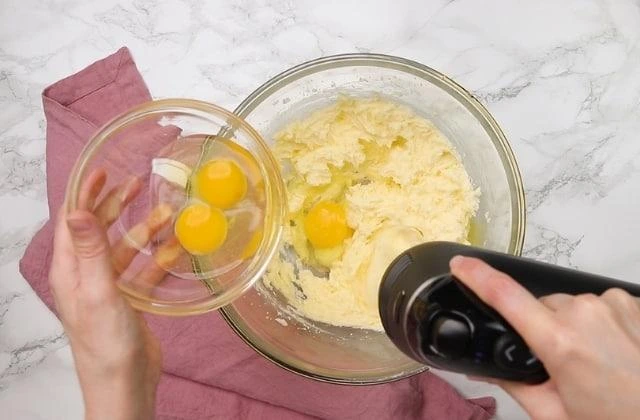
Add the eggs gradually, mixing well after each addition. Stir in the vanilla extract until everything is smooth and well combined.
4. Combine the Dry Ingredients
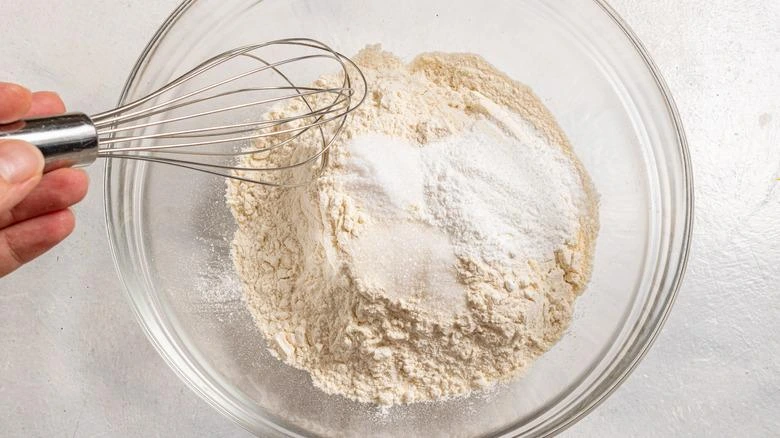
Whisk together the flour, baking powder, and salt in a separate bowl. Keeping the dry ingredients evenly mixed helps them distribute throughout the batter.
5. Combine the Batter
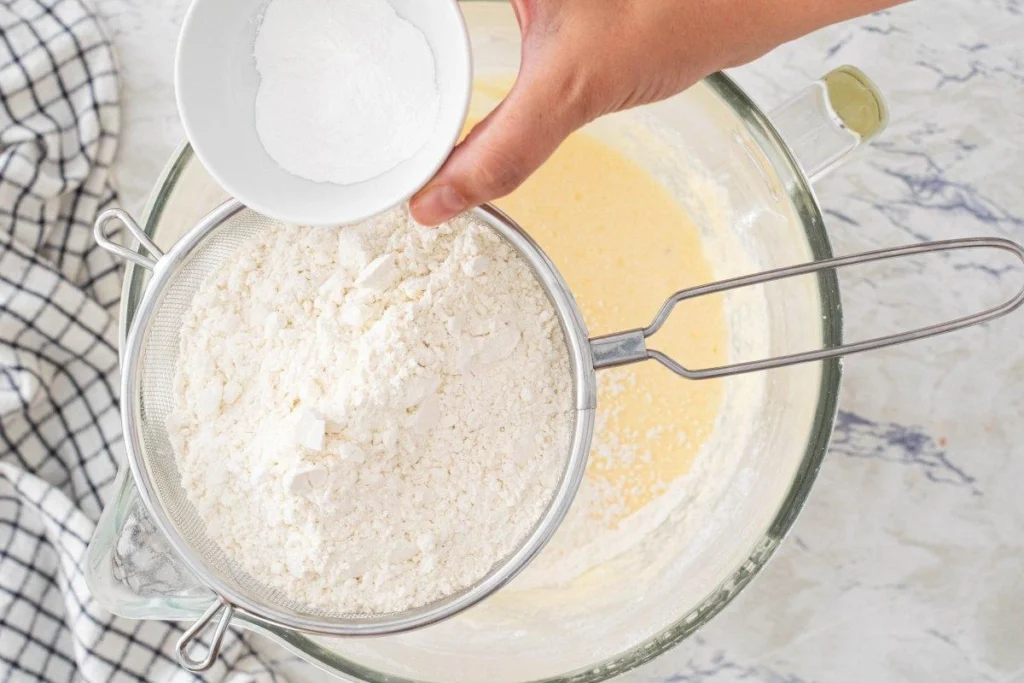
Gradually add the dry ingredients to the wet mixture, alternating with milk and sour cream. Mix gently just until everything is incorporated.
6. Make the Chocolate Batter
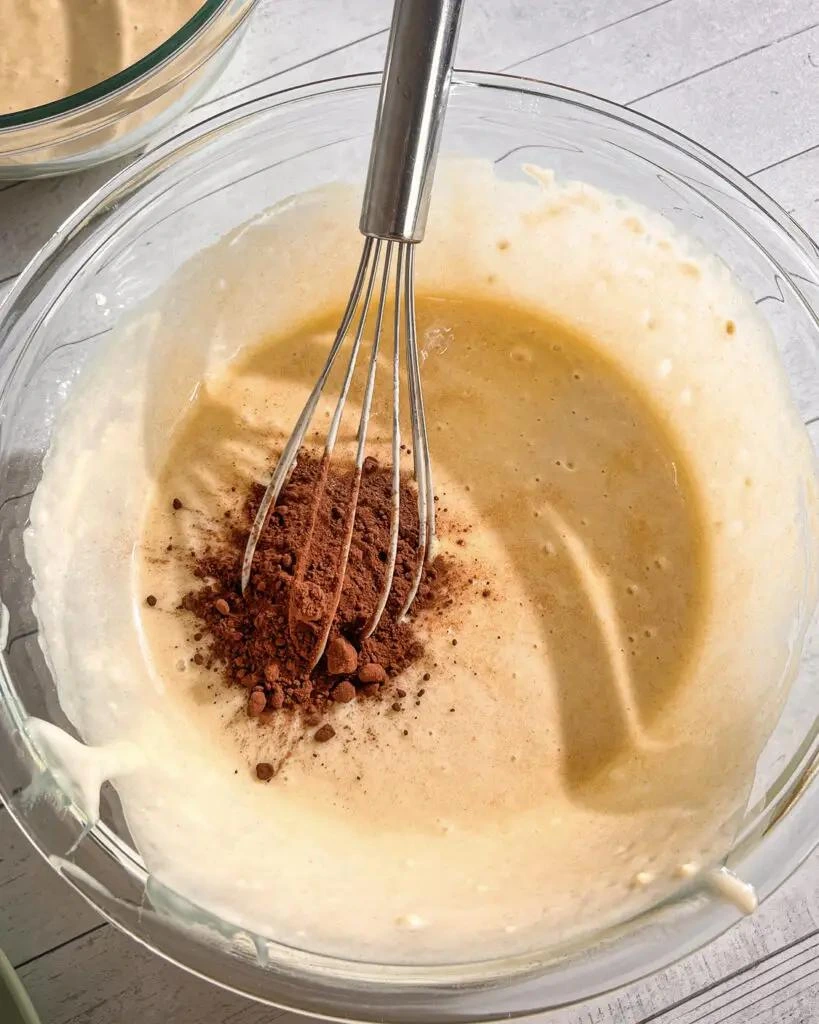
Transfer part of the vanilla batter to another bowl and gently mix in the unsweetened cocoa powder. If the chocolate portion seems too thick, loosen it slightly with a small splash of milk.
7. Layer the Two Batters
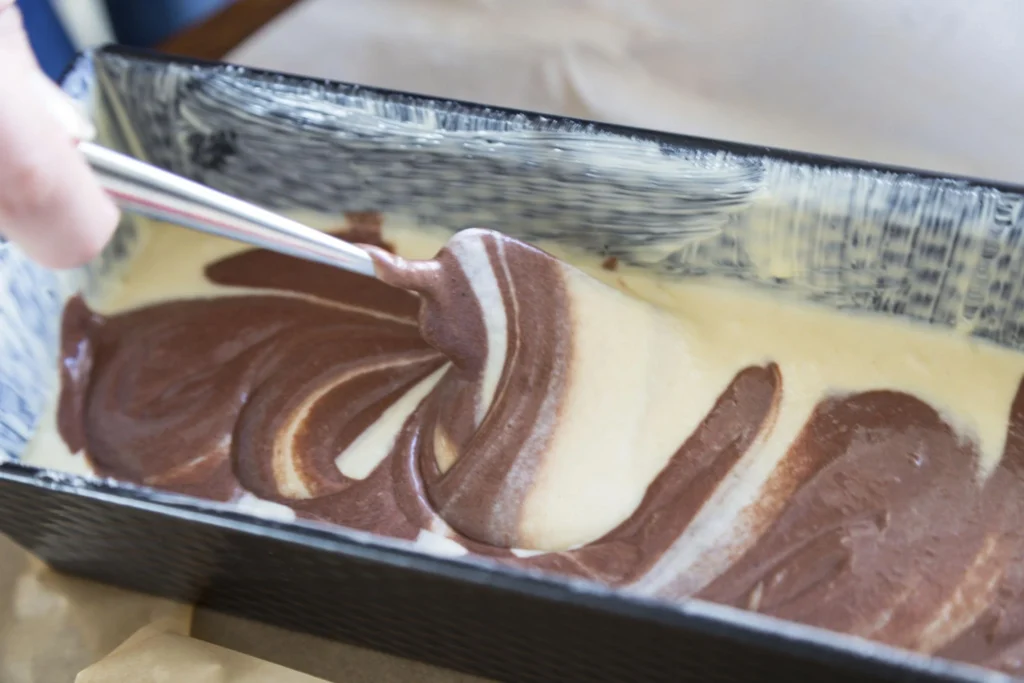
Add alternating spoonfuls of vanilla and chocolate batter to the prepared pan. Try to distribute both batters evenly for a beautiful marble effect.
8. Create the Marble Swirl
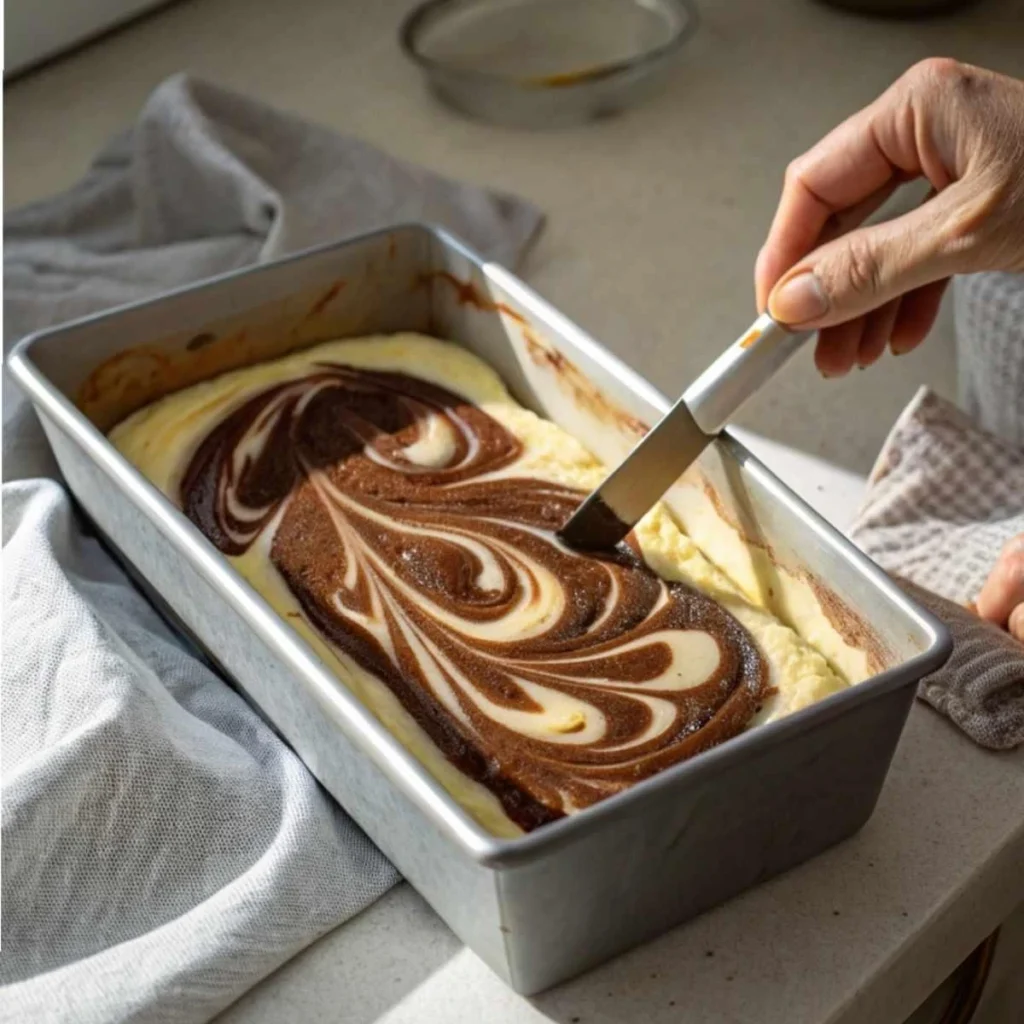
Run a knife or wooden skewer gently through the batter in a few sweeping motions. Don’t over-swirl—the goal is to leave distinct ribbons of chocolate and vanilla.
9. Bake the Cake
Place the pan in a preheated oven and bake until the cake is golden and a toothpick inserted into the center comes out with a few moist crumbs.
10. Slice and Serve
Let the cake cool in the pan briefly, then transfer it to a wire rack. Once completely cool, slice it to reveal the beautiful chocolate and vanilla marble pattern.
Serving Suggestions
- With Coffee or Tea: Serve a slice alongside your morning coffee or afternoon tea for an easy sweet treat.
- With Fresh Berries: Add strawberries, raspberries, or blueberries for a fresh contrast to the rich cake.
- With Whipped Cream: A spoonful of lightly sweetened whipped cream makes the cake feel extra indulgent.
- With Chocolate Glaze: Drizzle a simple chocolate glaze over the cooled cake for a richer dessert.
- With Powdered Sugar: A light dusting of powdered sugar is an easy way to make the cake look elegant.
- As a Dessert: Warm a slice slightly and serve it with vanilla ice cream for a comforting after-dinner treat.
Tips for the Best Results
- Use Room-Temperature Ingredients: Room-temperature butter, eggs, and dairy blend more smoothly and help create a consistent cake batter.
- Don’t Overmix the Batter: Mix only until the ingredients are combined. Overmixing can develop too much gluten and make the finished cake less tender.
- Don’t Over-Swirl: A few gentle passes with a knife are enough to create beautiful chocolate and vanilla ribbons without muddying the colors.
- Check the Cake Before Removing It: Baking times can vary between ovens and pans. A toothpick should come out mostly clean with a few moist crumbs.
- Let It Cool Completely: Allowing the cake to cool before slicing helps the crumb finish setting and makes cleaner, more attractive slices.
Storage Tips
Refrigerator
Store the cooled marble cake in an airtight container or wrap it tightly to prevent it from drying out. It can be refrigerated for several days, although the cake is best when brought back toward room temperature before serving.
Freezer
For longer storage, wrap individual slices or the whole cake tightly in plastic wrap, followed by a freezer-safe bag or container. Thaw it in the refrigerator or at room temperature before serving.
Reheating
If you prefer your cake slightly warm, place an individual slice in the microwave briefly. Heat it gently so the cake becomes soft and warm without drying out.
Moist Marble Cake – Easy and Delicious
Ingredients
- 2 ½ cups all-purpose flour – Provides structure while keeping the cake tender.
- 1 ½ cups granulated sugar – Adds sweetness and helps create a soft crumb.
- 1 cup unsalted butter – Use softened butter for a rich buttery texture.
- 4 large eggs – Adds structure richness, and moisture.
- 1 cup whole milk – Keeps the cake moist and tender.
- ½ cup sour cream – Adds extra moisture and a soft delicate crumb.
- 2 teaspoons vanilla extract – Enhances the classic vanilla flavor.
- 2 ½ teaspoons baking powder – Helps the cake rise and become light.
- ½ teaspoon salt – Balances the sweetness and enhances the flavors.
- ⅓ cup unsweetened cocoa powder – Gives the chocolate portion its rich flavor and color.
Instructions
- Prepare the Pan: Preheat the oven to 350°F (175°C). Grease a 9-inch round cake pan and line the bottom with parchment paper.
- Cream the Butter and Sugar: Beat the softened butter and granulated sugar until pale, creamy, and fluffy. This usually takes a few minutes and helps create a lighter cake texture.
- Add the Eggs and Vanilla: Add the eggs one at a time, mixing well after each addition. Add the vanilla extract and mix until combined.
- Combine the Dry Ingredients: In a separate bowl, whisk together the all-purpose flour, baking powder, and salt.
- Make the Vanilla Batter: Gradually add the dry ingredients to the butter mixture, alternating with the whole milk and sour cream. Mix just until combined. Do not overmix.
- Make the Chocolate Batter: Transfer about one-third of the vanilla batter to a separate bowl. Add the unsweetened cocoa powder and gently mix until smooth.
- Add the Batters to the Pan: Spoon alternating portions of vanilla and chocolate batter into the prepared cake pan. Spread gently so the batter is distributed evenly.
- Create the Marble Effect: Use a butter knife or wooden skewer to gently swirl the two batters together. Make only a few passes to keep the chocolate and vanilla patterns distinct.
- Bake: Bake for approximately 40–45 minutes, or until a toothpick inserted into the center comes out with a few moist crumbs.
- Cool: Let the cake cool in the pan for about 10 minutes. Transfer it to a wire rack and allow it to cool completely.
- Slice and Serve: Once cooled, slice the marble cake and serve. Enjoy it plain, with powdered sugar, whipped cream, fresh berries, or a chocolate glaze.
Notes
Nutrition Facts
- Calories: 380 kcal
- Total Fat: 21 g
- Saturated Fat: 13 g
- Trans Fat: 1 g
- Cholesterol: 105 mg
- Sodium: 270 mg
- Total Carbohydrates: 46 g
- Dietary Fiber: 2 g
- Total Sugars: 25 g
- Protein: 6 g
- Calcium: 60 mg
- Iron: 2 mg
Kitchen Tools You’ll Need
| Product | Amazon Links |
|---|---|
| 9-Inch Round Cake Pan | View on Amazon |
| Electric Hand Mixer | View on Amazon |
| Wire Cooling Rack | View on Amazon |
[…] works beautifully as a light breakfast, a refreshing side dish, or a simple summer dessert. The best part? There’s no complicated cooking involved. Just mix, chill, and […]