
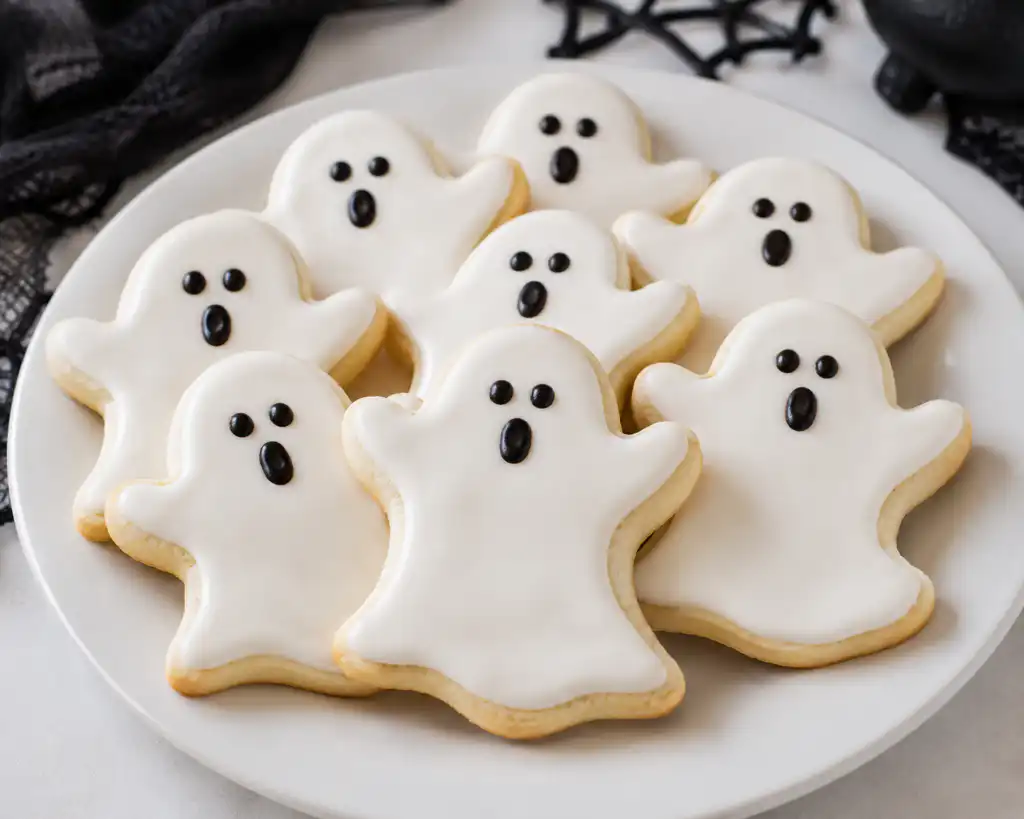
These Ghost Cookies are the kind of Halloween treat that make everyone smile before they even take a bite. They’re soft, buttery, lightly sweet, and decorated to look like adorable little ghosts—perfect for Halloween parties, school treats, bake sales, or a cozy night of spooky baking.
The best part is that you don’t need complicated decorating skills to make them look festive. A simple ghost shape, smooth white icing, and tiny chocolate eyes are all you need to turn an easy cookie recipe into a Halloween favorite.
Table of Contents
Why You’ll Love Ghost Cookies – Soft and Spooky
- Soft & Buttery Texture: These cookies have a tender, melt-in-your-mouth center with just enough sweetness. They stay pleasantly soft instead of becoming overly crisp.
- Perfect for Halloween: The cute ghost design instantly gives your dessert table a spooky-season makeover. They’re festive without requiring elaborate decorating.
- Easy to Decorate: You only need simple white icing and a few chocolate pieces for the faces. Kids can even help decorate their own ghost cookies.
- Great for Parties & Gifting: Arrange them on a Halloween dessert platter or package them in treat bags. They also make a fun homemade gift for neighbors, teachers, and friends.
- Make-Ahead Friendly: The cookies can be prepared ahead of your Halloween celebration. Store them properly and they’ll be ready when you need a sweet spooky treat.
Ingredients You’ll Need
These Ghost Cookies are soft sugar cookies dressed up with sweet white icing and simple spooky-cute details—perfect for Halloween baking.
For the best results, make sure your butter is softened, your eggs are at room temperature, and use a good-quality vanilla extract.
- All-purpose flour – Provides the structure for the cookies while keeping them tender and easy to shape.
- Unsalted butter – Gives the cookies their rich, buttery flavor and soft texture. Let it soften before mixing for a smoother dough.
- Granulated sugar – Adds sweetness and helps create lightly golden edges while keeping the cookies delicate.
- Egg – Helps bind the ingredients together and gives the cookies a soft, cohesive texture.
- Vanilla extract – Adds warm, classic cookie flavor and balances the sweetness of the dough.
- Baking powder – Gives the cookies a gentle lift so they don’t turn out dense.
- Salt – Enhances the buttery sweetness and brings out the flavor of the other ingredients.
- Powdered sugar – Used for the smooth ghost icing. It creates a sweet, easy-to-spread decorating base.
- Milk – Helps loosen the icing to the perfect consistency for coating or piping onto the cookies.
- Chocolate chips or candy eyes – These create the little ghost faces and give the cookies their spooky-cute personality.
Step-By-Step Direction
Step 1: Prepare the Cookie Dough
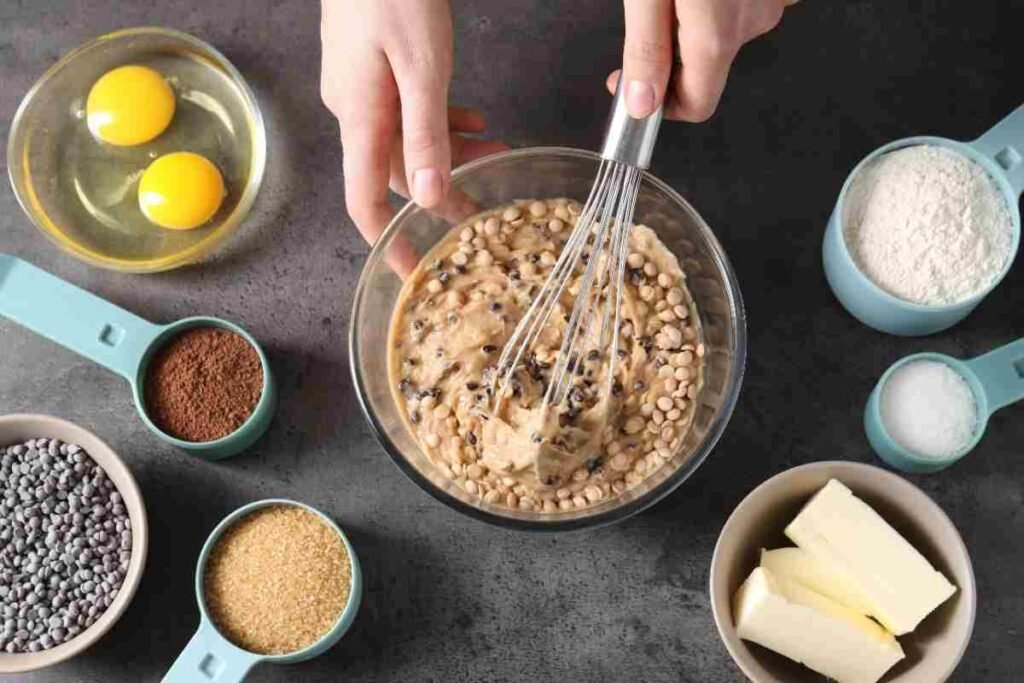
In a large mixing bowl, beat the softened butter and granulated sugar until light and creamy. Add the egg and vanilla extract, then mix until everything is well combined.
In a separate bowl, whisk together the flour, baking powder, and salt. Gradually add the dry ingredients to the butter mixture, mixing just until a soft dough forms.
Step 2: Chill the Dough
Shape the dough into a disk, wrap it, and refrigerate until firm. Chilling makes the dough easier to handle and helps the cookies maintain their shape during baking.
Step 3: Roll and Cut the Cookies
Lightly flour your work surface and roll the chilled dough to an even thickness. Use a ghost-shaped cookie cutter to cut out the cookies.
Transfer each ghost to a parchment-lined baking sheet, leaving a little space between them.
Step 4: Bake Until Lightly Golden
Bake the cookies in a preheated oven until the edges are just beginning to turn lightly golden. Avoid overbaking because the cookies are meant to stay soft.
Let them cool on the baking sheet briefly before transferring them to a wire rack.
Step 5: Make the Ghost Icing
Whisk powdered sugar with a small amount of milk until you have a thick but spreadable icing. Add a little more milk if needed, but avoid making it too runny.
For an especially smooth finish, keep the icing thick enough to stay on the surface of the cookies.
Step 6: Decorate the Ghost Cookies
Spread or pipe the white icing over the cooled cookies, leaving the ghost shape visible. Before the icing sets, add chocolate chips or candy eyes for the face.
Allow the decorated cookies to sit until the icing has set.
Step 7: Let Them Set and Serve
Once the icing is firm, carefully transfer the cookies to a serving platter or airtight container. Your soft and.
Serving Suggestions
Enjoy your Ghost Cookies with:
- Hot chocolate
- Coffee
- Apple cider
- Milk
- Vanilla ice cream
- Fresh fruit
- Pumpkin spice latte
They’re perfect for:
- Halloween parties
- School treats
- Costume parties
- Family baking
- Fall bake sales
- Halloween movie nights
- Spooky dessert tables
Tips for the Best Results
- Don’t Skip Chilling: Chilled dough is much easier to roll and cut into clean ghost shapes. It also helps prevent the cookies from spreading too much in the oven.
- Avoid Overbaking: Take the cookies out when the edges are just lightly golden. Overbaking can turn these soft cookies dry and crumbly.
- Keep the Icing Thick: A thick icing gives you better control when decorating. If it becomes too thin, add a little more powdered sugar.
- Decorate Only After Cooling: Make sure the cookies are completely cool before adding icing. Warm cookies can cause the icing to melt and slide.
- Have Fun With the Faces: Make every ghost a little different by changing the size or position of the eyes. It makes the finished platter look playful and homemade.
Storage Tips
Refrigerator
Store completely cooled and decorated ghost cookies in an airtight container. Place parchment paper between layers if the icing is delicate, and enjoy within several days for the best texture.
Freezer
For longer storage, freeze the undecorated cookies in a freezer-safe container with parchment between the layers. Thaw them at room temperature before decorating.
You can also freeze the cookie dough ahead of time. Wrap it tightly and thaw it in the refrigerator before rolling and cutting.
Reheating
These cookies generally do not need to be reheated. For the softest texture, simply let refrigerated cookies come to room temperature before serving.
If you prefer them slightly warm, gently warm an undecorated cookie for a few seconds in the microwave. Avoid microwaving decorated cookies because the icing and chocolate eyes can melt.

Ghost Cookies – Soft and Spooky
Ingredients
- 2 ½ cups all-purpose flour
- 1 cup unsalted butter softened
- ¾ cup granulated sugar
- 1 large egg
- 2 teaspoons vanilla extract
- 1 teaspoon baking powder
- ¼ teaspoon salt
- 2 cups powdered sugar
- 2-3 tbsp milk
- ½ cup mini chocolate chips
- 1 teaspoon water optional for adjusting icing consistency
Instructions
- Make the Cookie Dough: Beat the softened butter and granulated sugar until light and creamy. Add the egg and vanilla extract and mix until combined. In a separate bowl, whisk together the flour, baking powder, and salt. Gradually mix the dry ingredients into the wet ingredients until a soft dough forms.
- Chill the Dough: Shape the dough into a disk, wrap it tightly, and refrigerate for about 30 minutes, or until firm enough to roll easily.
- Roll and Cut: Lightly flour your work surface and roll the chilled dough evenly. Use a ghost-shaped cookie cutter to cut the cookies, then transfer them to parchment-lined baking sheets.
- Bake: Bake in a preheated oven until the edges are lightly golden and the centers are set. Avoid overbaking to keep the cookies soft.
- Cool: Allow the cookies to cool on the baking sheet for a few minutes, then transfer them to a wire rack. Cool completely before decorating.
- Prepare the Icing: Whisk the powdered sugar with milk until smooth and thick but spreadable. Add milk gradually so the icing doesn’t become too runny.
- Decorate: Spread or pipe the white icing over each cooled ghost cookie. Add two mini chocolate chips for the eyes while the icing is still wet.
- Set and Serve: Allow the icing to set completely before serving or storing the cookies in an airtight container.
Notes
Nutrition Facts
- Calories: Approximately 180 kcal
- Carbohydrates: 26 g
- Protein: 2 g
- Fat: 8 g
- Saturated Fat: 5 g
- Cholesterol: 25 mg
- Sodium: 55 mg
- Potassium: 25 mg
- Fiber: 0.5 g
- Sugar: 15 g
- Calcium: 15 mg
- Iron: 1 mg
Kitchen Tools You’ll Need
| Product | Amazon.com |
|---|---|
| Ghost Cookie Cutter | Shop on Amazon |
| Silicone Baking Mat | Shop on Amazon |
| Halloween Cookie Decorating Supplies | Shop on Amazon |
[…] Brown Butter Cookies are soft, warmly spiced cookies made with pumpkin puree and butter that has been gently cooked until the milk solids turn golden […]