
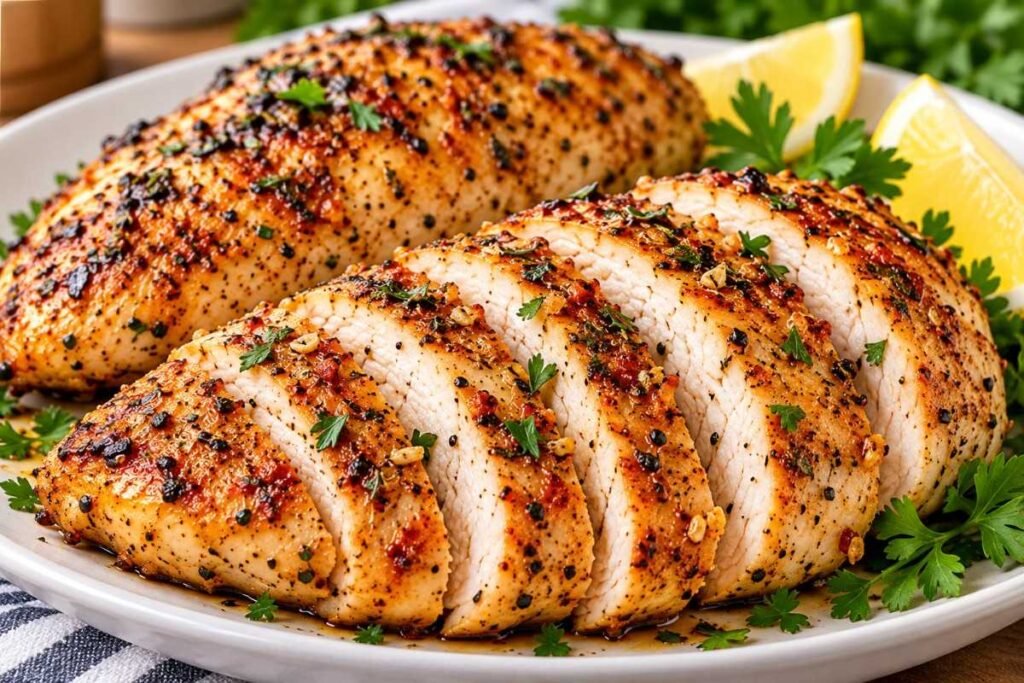
If you’re looking for a quick and delicious way to prepare chicken for dinner, this Air Fryer Chicken Breast recipe is one you’ll want to keep on repeat. It delivers tender, juicy chicken with a beautifully seasoned exterior, using simple ingredients you probably already have in your kitchen.
Cooking chicken breast in the air fryer is a convenient alternative to baking it in the oven or cooking it on the stovetop. The circulating hot air helps the outside develop a lightly golden finish while the inside stays moist when cooked properly. Best of all, you can have dinner ready in about 20 minutes, depending on the thickness of your chicken.
This easy air fryer chicken breast recipe uses boneless, skinless chicken breasts, olive oil, garlic powder, paprika, and a few everyday seasonings. Serve it with roasted vegetables, mashed potatoes, rice, or a fresh salad for a satisfying weeknight meal.
Whether you’re preparing a family dinner, making lunches for the week, or looking for an easy protein to add to your favorite bowls, this recipe is simple, versatile, and delicious.
Table of Contents
Why You’ll Love Air Fryer Chicken Breast
- Juicy and Tender Every Time: With the right cooking temperature and a short resting period, the chicken stays moist and flavorful. A meat thermometer helps you avoid overcooking.
- Quick and Convenient: The air fryer cooks chicken breast efficiently without requiring a large oven or lots of preparation. It’s perfect for busy weeknights when you need dinner on the table quickly.
- Simple Pantry Ingredients: Garlic powder, paprika, olive oil, salt, and pepper create a delicious seasoning blend. You don’t need an elaborate marinade or hard-to-find ingredients.
- Perfect for Meal Prep: Cook extra chicken breasts and slice them for salads, wraps, sandwiches, or grain bowls throughout the week. It’s an easy way to prepare protein ahead of time.
- Easy to Customize: Change the seasonings to suit your preferences, from smoky paprika and Italian herbs to lemon pepper or a little Cajun seasoning. You can enjoy a different flavor every time.
What Makes Homemade Better?
Homemade air fryer chicken breast gives you control over the ingredients, seasoning, and cooking process. Instead of relying on pre-cooked chicken or heavily seasoned packaged options, you can prepare fresh chicken with a simple blend of spices.
You can also adjust the salt, add your favorite herbs, and use just enough olive oil to help the seasonings coat the meat. This makes it easy to create a flavorful meal without complicated preparation.
Another advantage is versatility. One batch of chicken can become several different meals. Serve it whole for dinner, slice it over a salad, tuck it into a sandwich, or add it to a pasta dish.
Most importantly, cooking chicken at home allows you to check its internal temperature for safe and consistent results.
Ingredients You’ll Need
- Boneless, Skinless Chicken Breasts: Choose chicken breasts that are similar in size and thickness so they cook more evenly. Fresh or fully thawed chicken works well.
- Olive Oil: A light coating helps the seasonings stick to the chicken and encourages a delicious golden exterior.
- Garlic Powder: Adds a savory, aromatic flavor that pairs beautifully with chicken.
- Paprika: Gives the chicken a warm color and a mild, smoky-sweet flavor. Smoked paprika is a great alternative if you prefer a deeper taste.
- Onion Powder: Adds a subtle savory sweetness that complements the garlic and paprika.
- Dried Italian Seasoning: Brings together herbs such as oregano, basil, and thyme for extra flavor. You can substitute dried oregano if needed.
- Salt: Enhances the natural flavor of the chicken and brings the seasoning blend together.
- Black Pepper: Adds a gentle peppery kick without overpowering the other ingredients.
- Fresh Lemon: An optional finishing ingredient that adds brightness and balances the savory spices.
- Fresh Parsley: An optional garnish that adds fresh color and a light herbal finish.
Step-by-Step Directions
Step 1: Prepare the Chicken
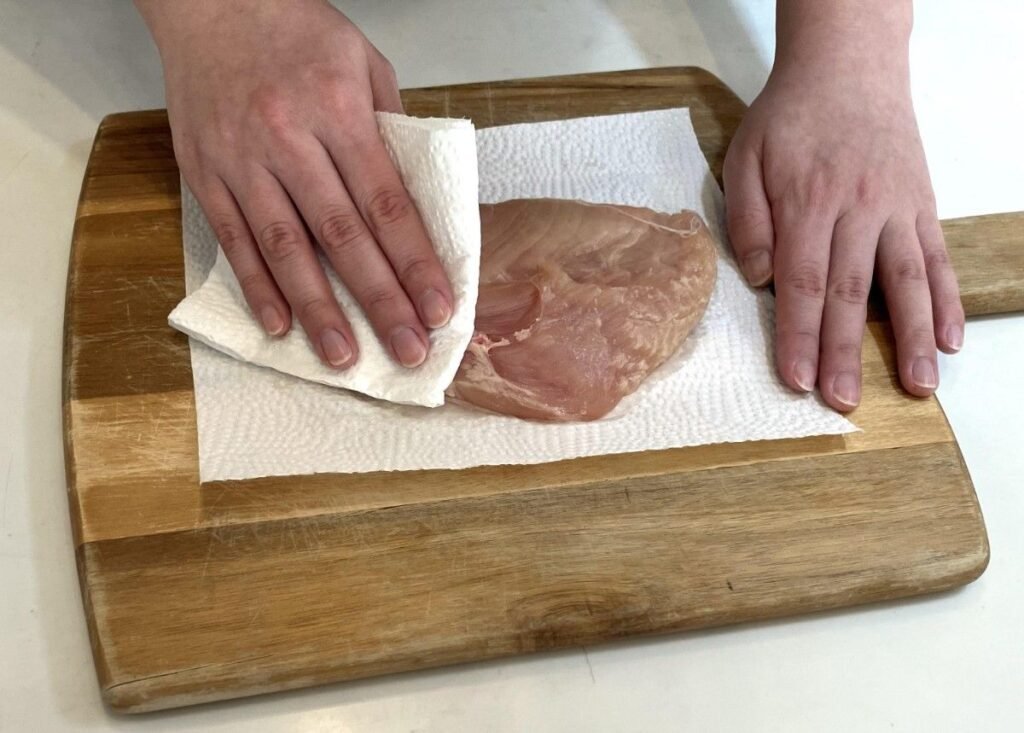
Pat the chicken breasts dry with paper towels. Removing excess surface moisture helps the seasoning stick and encourages better browning.
If the breasts vary significantly in thickness, gently pound the thicker portions until they are more even. This helps the chicken cook at a similar rate without drying out the thinner sections.
Step 2: Season the Chicken
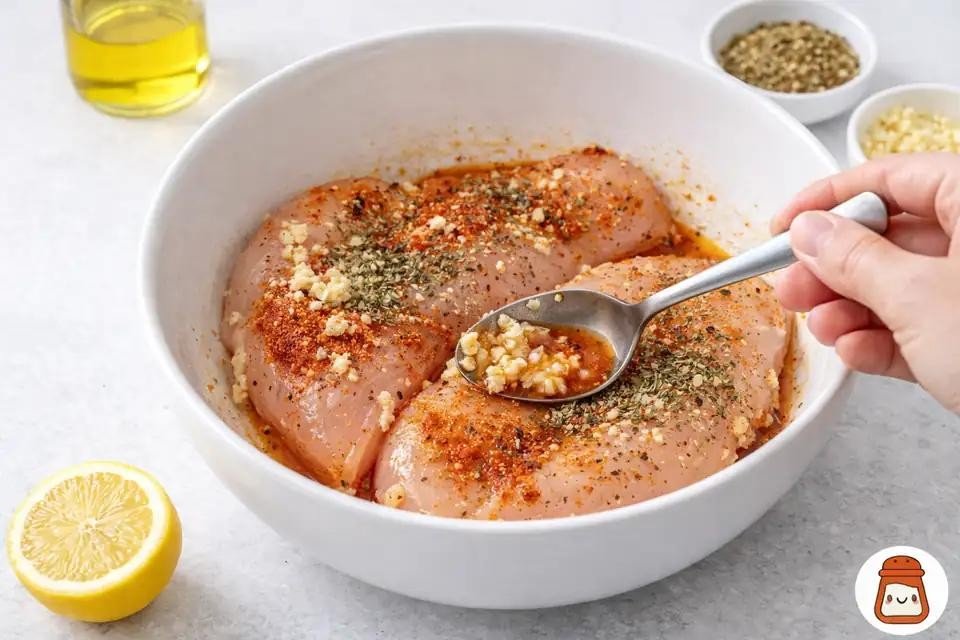
Place the chicken breasts in a bowl and drizzle with olive oil. Sprinkle over the garlic powder, paprika, onion powder, Italian seasoning, salt, and black pepper.
Rub the seasoning over both sides of each breast so every piece is evenly coated. Let the chicken sit briefly while you preheat the air fryer.
Step 3: Preheat the Air Fryer
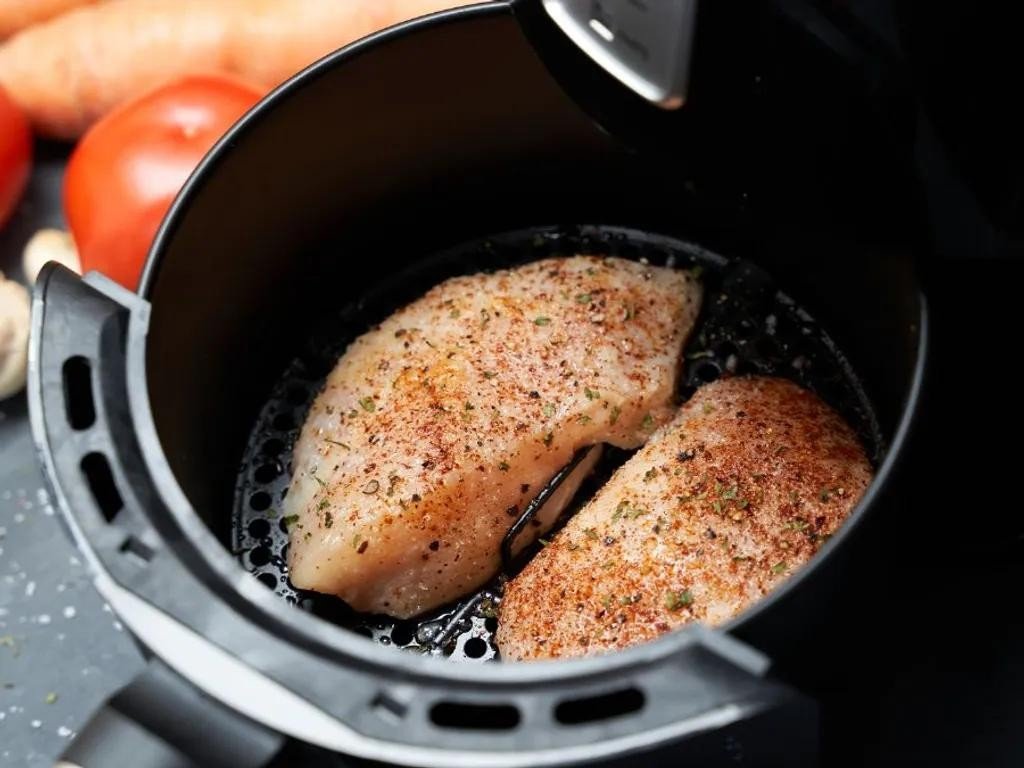
Preheat the air fryer to 375°F (190°C) for approximately 3–5 minutes, if your model recommends preheating.
Preheating helps the chicken begin cooking immediately and can promote more consistent results. Check your appliance instructions because air fryers vary in their heating performance.
Step 4: Arrange the Chicken in the Basket
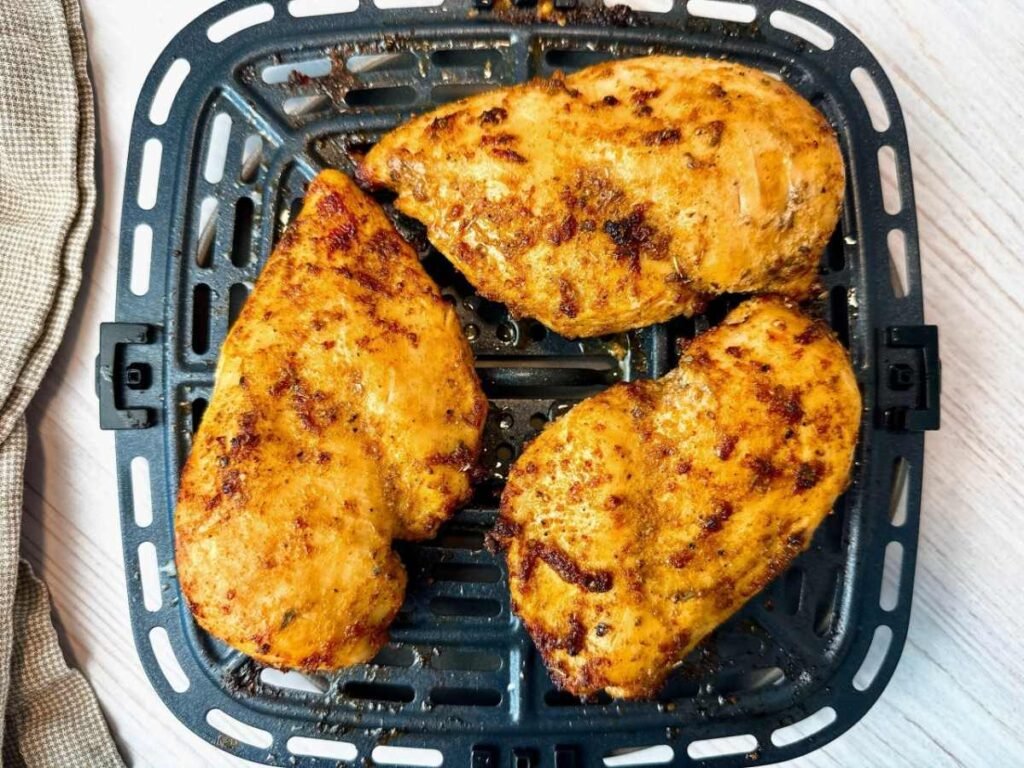
Place the seasoned chicken breasts in a single layer inside the air fryer basket. Leave space between the pieces so hot air can circulate freely.
Avoid stacking or overcrowding the chicken. If you’re cooking several breasts, work in batches rather than squeezing everything into the basket.
Step 5: Air Fry Until Cooked Through
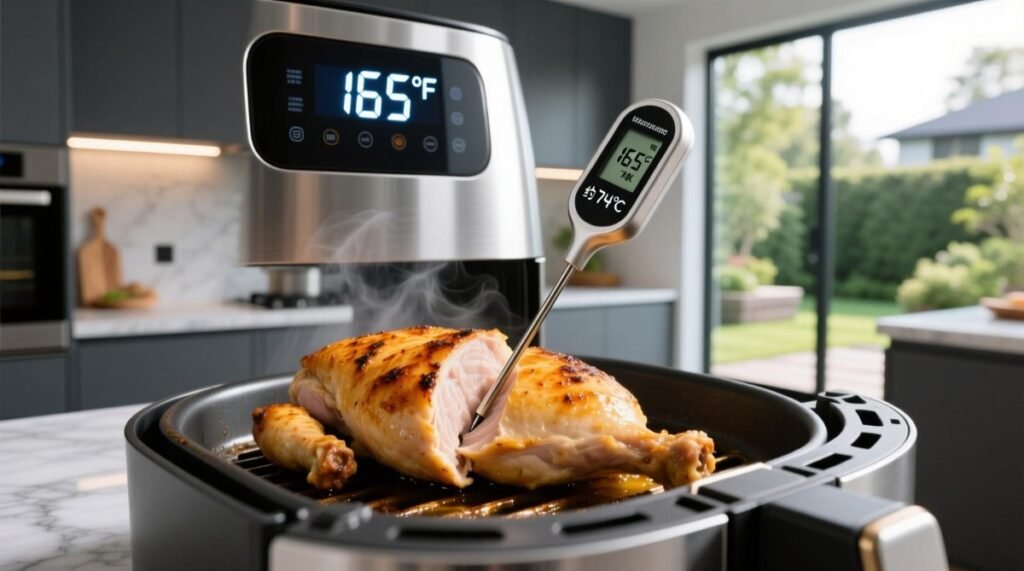
Cook at 375°F (190°C) for approximately 10–18 minutes, depending on the thickness of the chicken and your air fryer. Turn the chicken halfway through cooking for more even browning.
Begin checking thinner breasts early. The most important step is to use an instant-read meat thermometer and make sure the thickest part of each breast reaches 165°F (74°C).
Cooking time is an estimate, not a guarantee of doneness. Larger or thicker breasts may need additional time.
Step 6: Rest, Slice, and Serve
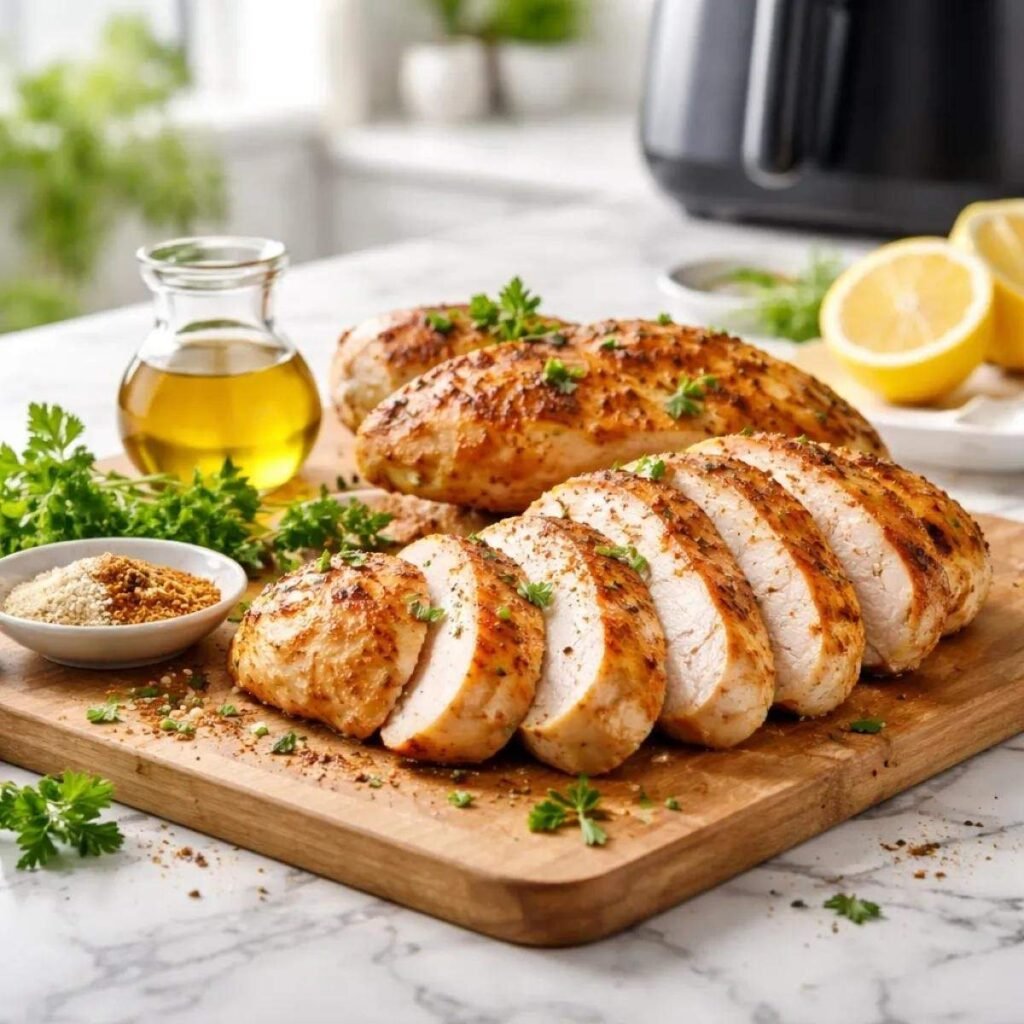
Transfer the cooked chicken to a clean plate and let it rest for about 5 minutes before slicing. Resting allows the juices to settle and helps the meat remain moist.
Finish with a squeeze of fresh lemon juice and a sprinkle of chopped parsley, if desired. Serve whole or slice against the grain for tender pieces.
Serving Suggestions
- Roasted Vegetables: Pair the chicken with broccoli, carrots, green beans, or Brussels sprouts for a colorful dinner.
- Mashed Potatoes: Creamy mashed potatoes make a comforting side that works beautifully with the seasoned chicken.
- Rice or Quinoa Bowls: Slice the chicken and serve it over rice or quinoa with vegetables and your favorite dressing.
- Fresh Garden Salad: Add warm chicken slices to mixed greens, cucumber, tomatoes, and a light vinaigrette for a satisfying lunch.
- Pasta Dishes: Slice the chicken over creamy Alfredo pasta, lemon pasta, or a simple garlic and olive oil pasta.
- Sandwiches and Wraps: Layer the chicken with lettuce, tomatoes, cheese, and your favorite sauce for a quick lunch.
- Meal-Prep Containers: Portion the chicken with grains and vegetables for convenient lunches throughout the week.
Tips for the Best Results
- Choose Chicken Breasts of Similar Thickness: Evenly sized pieces cook more consistently, helping prevent dry edges and undercooked centers. Pound thicker areas gently when necessary.
- Don’t Skip the Meat Thermometer: Check the thickest part of each breast and cook until it reaches 165°F (74°C). This is more reliable than judging doneness by color or cooking time alone.
- Avoid Overcrowding the Basket: Leave enough room for hot air to circulate around the chicken. Cooking in batches is better than placing the breasts too close together.
- Use a Light Coating of Oil: A little olive oil helps the seasoning adhere and supports browning. Too much oil isn’t necessary for flavorful chicken.
- Let the Chicken Rest Before Slicing: Allow approximately 5 minutes of resting time after cooking. Slice only when you’re ready to serve so the chicken retains more of its juices.
Storage Tips
Refrigerator
Allow leftover chicken to cool slightly, then transfer it to an airtight container and refrigerate within 2 hours of cooking. Store it at 40°F (4°C) or below and use it within 3–4 days.
For meal prep, you can keep the breasts whole or slice them into portions. Storing the chicken with a little of its natural juices can help it stay moist.
Freezer
For longer storage, place completely cooled chicken in a freezer-safe container or tightly sealed freezer bag. Remove excess air and label the package with the date.
For the best quality, use frozen cooked chicken within about 2–3 months. Thaw it in the refrigerator overnight before reheating.
Reheating
The air fryer is a convenient way to reheat leftover chicken without making the exterior soggy. Preheat it to around 325°F (163°C), add the chicken, and heat until warmed through, checking frequently to avoid drying it out.
You can also reheat chicken in the microwave. Cover it loosely and use short intervals, adding a small splash of water or broth if needed.
When reheating leftovers, ensure the chicken reaches 165°F (74°C) throughout. Reheat only the portion you plan to eat.
Final Thoughts
This Air Fryer Chicken Breast recipe proves that a simple dinner can still be full of flavor. With a handful of everyday seasonings, a little olive oil, and the convenience of an air fryer, you can prepare chicken that is tender, juicy, and easy to pair with almost any side dish.
Keep the seasoning blend as written for a reliable everyday meal, or experiment with lemon pepper, Cajun spices, or your favorite herbs to make it your own. Once you’ve mastered the basic method, you’ll have a versatile protein ready for salads, sandwiches, pasta, and meal prep.
Save this easy air fryer chicken breast recipe for your next busy weeknight, and enjoy a homemade dinner that is simple, satisfying, and full of flavor.

Air Fryer Chicken Breast – Juicy, Tender & Easy
Ingredients
- 4 pieces boneless skinless chicken breasts (approximately 6–8 ounces each)
- 1 tablespoon olive oil
- 1 teaspoon garlic powder
- 1 teaspoon paprika
- ½ teaspoon onion powder
- 1 teaspoon Italian seasoning
- ½ teaspoon salt
- ¼ teaspoon black pepper
- 1 lemon wedge optional, for serving
- 1 tablespoon fresh parsley chopped (optional, for garnish)
Instructions
- Prepare the Chicken: Pat the chicken breasts dry with paper towels. If the pieces are uneven in thickness, gently pound the thicker portions until they are more uniform. This helps the chicken cook evenly.
- Season the Chicken: Place the chicken in a bowl and drizzle with olive oil. Add garlic powder, paprika, onion powder, Italian seasoning, salt, and black pepper. Rub the seasonings evenly over both sides.
- Preheat and Arrange: Preheat the air fryer to 375°F (190°C) for 3–5 minutes if recommended by your appliance. Arrange the chicken breasts in a single layer, leaving space between each piece.
- Air Fry the Chicken: Cook at 375°F (190°C) for approximately 10–18 minutes, turning halfway through. Cooking time varies according to the thickness of the chicken and the air fryer model.
- Check the Temperature: Insert an instant-read thermometer into the thickest part of each breast. Make sure the internal temperature reaches 165°F (74°C) before removing the chicken from the cooking process.
- Rest and Serve: Transfer the chicken to a clean plate and let it rest for about 5 minutes. Slice against the grain, garnish with fresh parsley and lemon if desired, and serve warm.
Notes
- Cook the chicken in a single layer without overcrowding the air fryer basket.
- Cooking times are estimates; always verify that the internal temperature reaches 165°F (74°C).
- Let the chicken rest for about 5 minutes before slicing to help retain moisture.
- Store leftovers in an airtight container in the refrigerator for 3–4 days.
- For longer storage, freeze cooked chicken in a freezer-safe container.
- Serve with roasted vegetables, mashed potatoes, rice, pasta, or a fresh salad.
- For a flavor variation, try lemon pepper, Cajun seasoning, or smoked paprika.
Nutrition Facts
- Calories: 280 kcal
- Protein: 44 g
- Total Fat: 10 g
- Saturated Fat: 2 g
- Carbohydrates: 2 g
- Fiber: 0 g
- Sugar: 0 g
- Sodium: 450 mg
Note: These are estimates and may vary depending on the size of the chicken breasts and the ingredients used.
Leave a Reply