
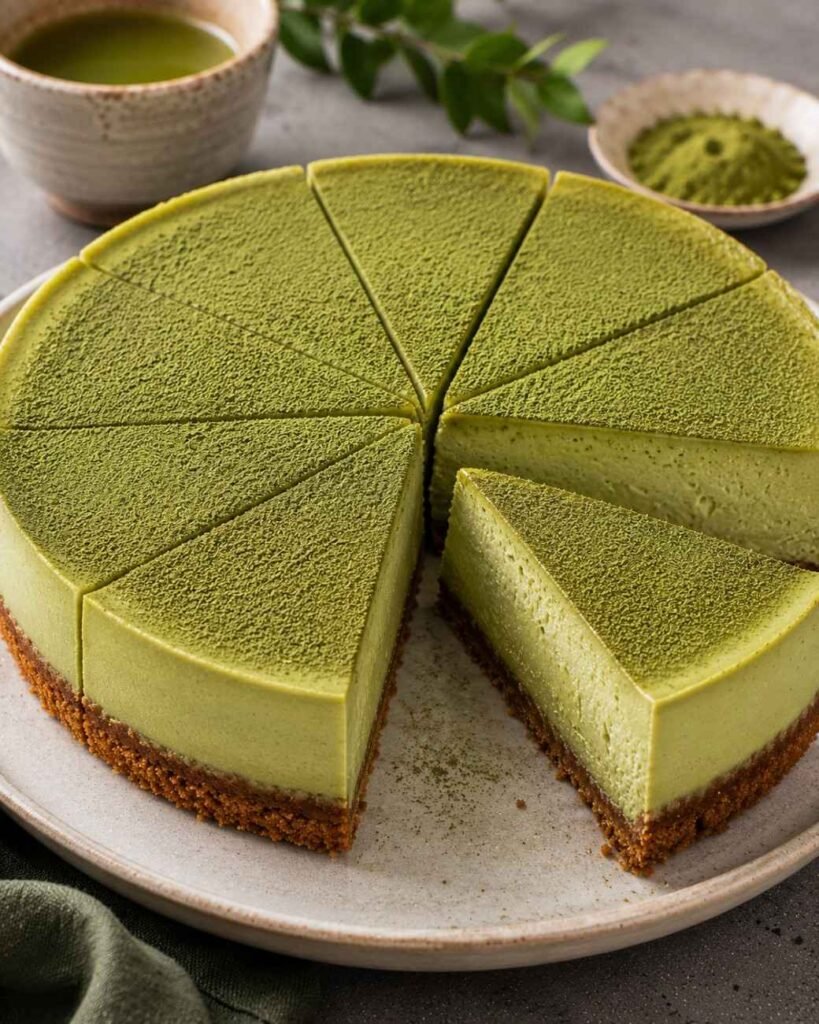
If you love the earthy flavor of matcha and the rich, silky texture of cheesecake, this Creamy Matcha Cheesecake is a dessert worth making. It combines a buttery cookie crust with a smooth cream cheese filling and the delicate bitterness of high-quality matcha for a balanced flavor that feels both elegant and comforting.
This cheesecake is perfect for dinner parties, afternoon tea, holidays, birthdays, or simply when you want to make an impressive homemade dessert. The vibrant green color also makes it naturally eye-catching without needing complicated decoration.
The best part? You don’t need to be a professional baker to make it. With a few simple techniques and a little patience, you can create a cheesecake that is creamy, smooth, flavorful, and beautifully sliceable.
Table of Contents
Why You’ll Love Creamy Matcha Cheesecake Recipe – Smooth and Delicious
- Rich and Creamy Texture: The cream cheese filling bakes into a luxuriously smooth texture that practically melts in your mouth. Every bite feels rich without being overly heavy.
- Delicate Matcha Flavor: Matcha adds an earthy, slightly sweet flavor that pairs beautifully with tangy cream cheese. You can easily adjust the intensity depending on how much matcha flavor you enjoy.
- Beautiful Natural Color: Matcha gives this cheesecake its gorgeous green appearance naturally. It makes a stunning centerpiece for celebrations, brunches, and dinner gatherings.
- Make-Ahead Friendly: Cheesecake benefits from plenty of chilling time, so you can prepare it a day before serving. That makes it especially convenient when you’re entertaining guests.
- Perfect for Matcha Lovers: If you’re already a fan of matcha lattes, matcha desserts, or Japanese-inspired sweets, this cheesecake brings those flavors into a rich and indulgent dessert.
Ingredients You’ll Need
This Matcha Cheesecake pairs a buttery cookie crust with a rich, creamy filling and a smooth, earthy matcha flavor.
For the best results, use good-quality culinary-grade matcha, full-fat cream cheese, and let your ingredients come to room temperature before mixing.
- Cream cheese – Use full-fat cream cheese for the richest, smoothest filling and the best cheesecake texture.
- Granulated sugar – Adds sweetness while helping balance matcha’s naturally earthy and slightly bitter taste.
- Matcha powder – Choose high-quality culinary-grade or ceremonial-grade matcha for a vibrant color and clean, pleasant flavor.
- Eggs – Eggs help bind the filling together and give the cheesecake its soft, creamy structure.
- Heavy cream – Adds extra richness and creates a silky consistency in the finished cheesecake.
- Sour cream – A little tanginess helps balance the richness while keeping the filling tender and creamy.
- Vanilla extract – Adds subtle warmth and rounds out the flavor of the matcha and cream cheese.
- Lemon juice – A small amount brightens the filling and keeps the overall flavor from becoming too rich.
- Cookie crumbs – Graham crackers or digestive-style cookies create a buttery, lightly crisp base.
- Unsalted butter – Melted butter binds the cookie crumbs together and gives the crust a rich, golden flavor.
- Pinch of salt – Enhances the sweetness and helps bring out the matcha and cream cheese flavors.
Step-By-Step Direction
Step 1: Prepare the Crust
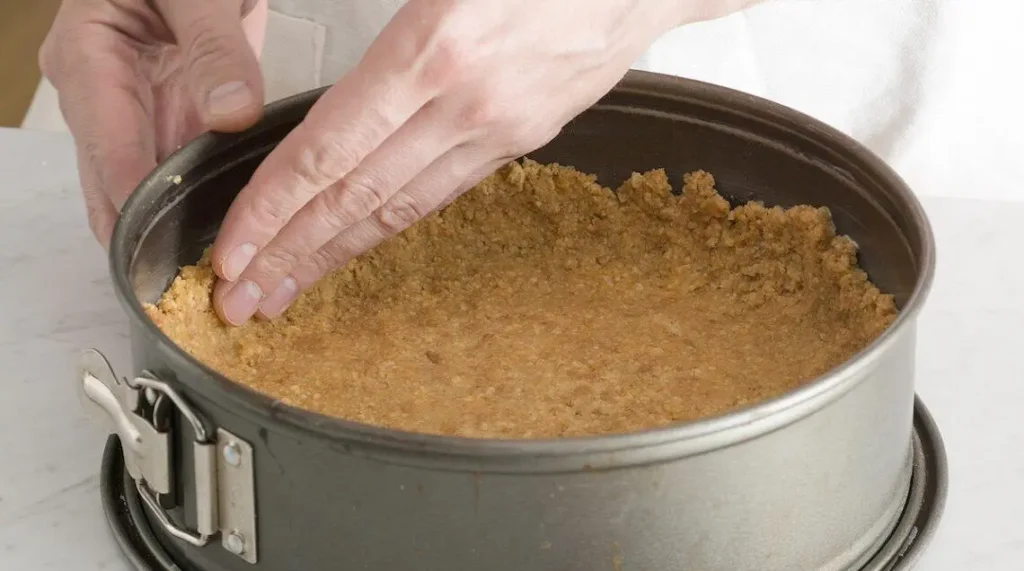
Crush the cookies into fine crumbs and combine them with melted butter and a small pinch of salt. Press the mixture firmly into the bottom of a lined springform pan, creating an even layer.
Bake the crust briefly until lightly set, then allow it to cool while you prepare the filling.
Step 2: Prepare the Matcha
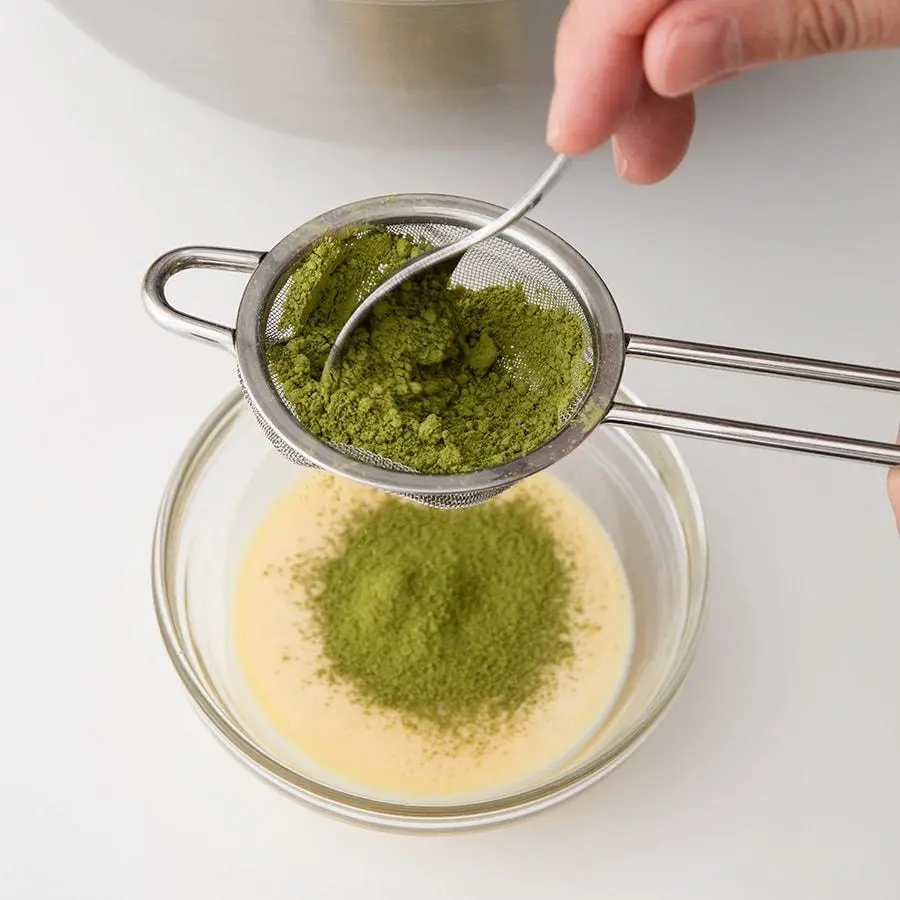
Sift the matcha powder into a small bowl to remove any lumps. Mix it with a small amount of warm liquid until it becomes a smooth paste.
This simple step helps distribute the matcha evenly throughout the cheesecake and prevents unpleasant green clumps in the finished filling.
Step 3: Make the Cheesecake Filling
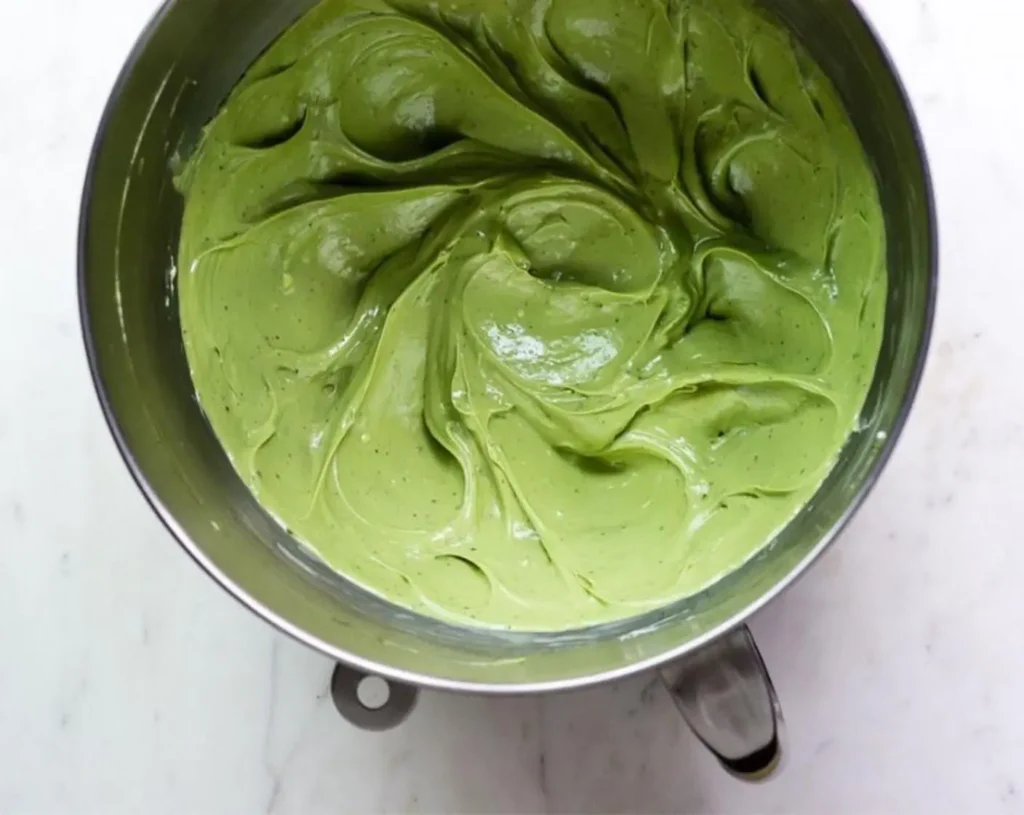
Beat the softened cream cheese and sugar until smooth and creamy. Avoid overmixing, especially once the eggs are added, because incorporating too much air can contribute to cracks during baking.
Add the matcha mixture, sour cream, heavy cream, vanilla, and lemon juice, mixing gently until everything is evenly combined.
Step 4: Add the Eggs
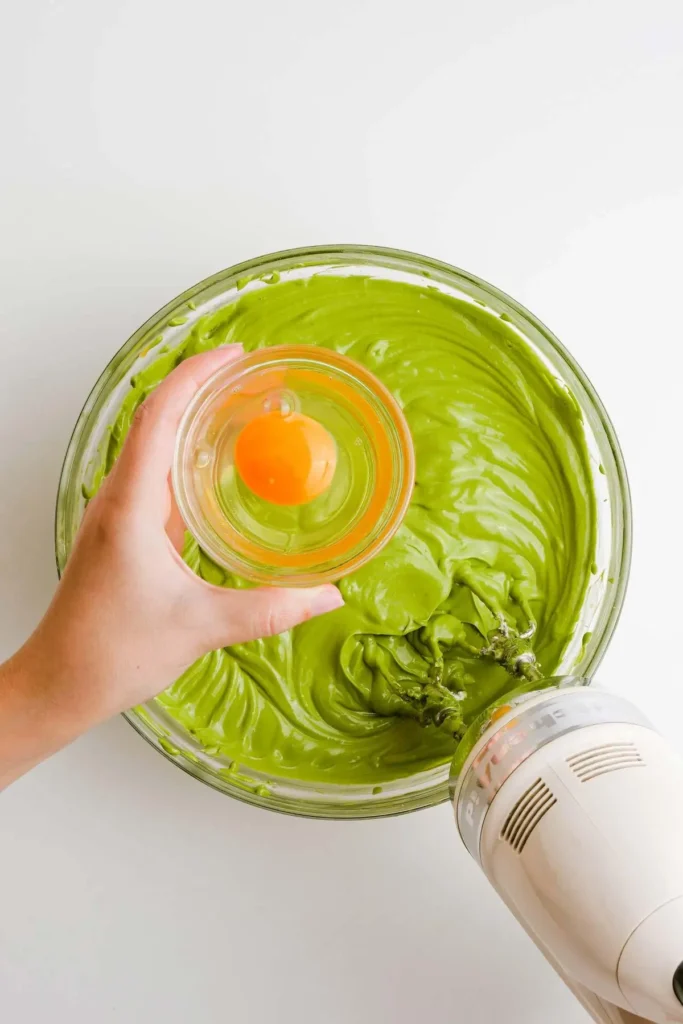
Add the eggs one at a time, mixing gently after each addition. Stop mixing as soon as the batter looks smooth and uniform.
Pour the filling over the cooled crust and gently tap the pan against the counter to release any large air bubbles.
Step 5: Bake the Cheesecake
Bake the cheesecake in a preheated oven until the edges are set while the center still has a gentle wobble.
Avoid baking until the center is completely firm. The residual heat will continue cooking the cheesecake as it cools, helping create the soft, creamy texture you want.
Step 6: Cool and Chill
Turn off the oven and let the cheesecake cool gradually with the oven door slightly open. Once it has cooled, transfer it to the refrigerator.
Chill it thoroughly before slicing. For the best texture and cleanest slices, refrigerate it for several hours or preferably overnight.
Step 7: Slice and Serve
Run a thin, warm knife around the edge before removing the cheesecake from the pan. Wipe the knife clean between slices for neat, professional-looking pieces.
Serve chilled with your favorite toppings or enjoy it simply on its own.
Serving Suggestions
Enjoy your Matcha Cheesecake with:
- Fresh strawberries
- Raspberries
- Whipped cream
- White chocolate
- Matcha tea
- Fresh fruit
- Vanilla ice cream
- A light dusting of matcha
It’s perfect for:
- Afternoon tea
- Dinner parties
- Birthdays
- Holiday desserts
- Brunch
- Family gatherings
- Special occasions
Tips for the Best Results
- Use Softened Cream Cheese: Bring the cream cheese to room temperature before mixing. This makes it much easier to achieve a completely smooth filling without lumps.
- Sift the Matcha First: Matcha can easily form small clumps when added directly to wet ingredients. Sifting it first gives the cheesecake a smoother texture and more even green color.
- Don’t Overmix the Batter: Mix gently once the eggs are added to avoid incorporating excessive air. Too much air can cause the cheesecake to puff up and crack as it cools.
- Avoid Overbaking: The center should still have a slight wobble when the cheesecake comes out of the oven. Overbaking can turn a creamy cheesecake dry and dense.
- Give It Plenty of Chill Time: Cheesecake becomes firmer and more flavorful as it chills. For the best results, let it rest in the refrigerator overnight before serving.
Storage Tips
Refrigerator
Store the cheesecake covered in the refrigerator for up to 4–5 days. Keep it chilled until you’re ready to serve it.
Freezer
For longer storage, freeze individual slices or the whole cheesecake tightly wrapped and placed in an airtight container. It can generally be frozen for up to 1–2 months for the best quality.
Thaw frozen cheesecake overnight in the refrigerator rather than leaving it at room temperature for an extended period.
Reheating
This cheesecake is best served chilled and does not need to be reheated. Reheating can soften the filling excessively and affect its creamy texture.
For the best flavor, simply remove a refrigerated slice shortly before serving and enjoy it cold.
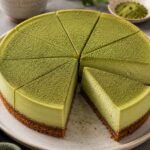
Creamy Matcha Cheesecake Recipe – Smooth and Delicious
Ingredients
For the Crust
- 2 cups graham cracker crumbs
- 6 tbsp unsalted butter melted
- 1 tbsp granulated sugar
- ¼ tsp salt
For the Matcha Cheesecake Filling
- 24 oz full-fat cream cheese softened
- ¾ cup granulated sugar
- 2 tbsp matcha powder sifted
- 3 large eggs room temperature
- ½ cup heavy cream
- ½ cup sour cream
- 1 tsp vanilla extract
- 1 tbsp lemon juice
- 2 tbsp warm water
Optional Garnish
- 1 tsp matcha powder
- ½ cup fresh berries
- ¼ cup whipped cream
Instructions
- Preheat the oven to 325°F. Line the bottom of a 9-inch springform pan with parchment paper and lightly grease the sides.
- Combine the graham cracker crumbs, melted butter, sugar, and salt until the mixture resembles wet sand.
- Press the crust mixture firmly and evenly into the bottom of the springform pan. Bake for about 10 minutes, then remove and let it cool slightly.
- Sift the matcha powder into a small bowl. Add the warm water and whisk until smooth and lump-free. Set aside.
- Beat the softened cream cheese and sugar until smooth and creamy. Scrape down the sides of the bowl as needed.
- Add the matcha mixture, heavy cream, sour cream, vanilla extract, and lemon juice. Mix gently until the filling is evenly combined.
- Add the eggs one at a time, mixing on low speed just until each egg is incorporated. Avoid overmixing the batter.
- Pour the matcha cheesecake filling over the cooled crust. Gently tap the pan against the counter to release large air bubbles.
- Bake for about 50–55 minutes, or until the edges are set and the center still has a slight wobble.
- Turn off the oven and leave the cheesecake inside with the oven door slightly open for about 30 minutes. This gradual cooling helps reduce cracking.
- Remove the cheesecake from the oven and let it cool completely at room temperature.
- Cover and refrigerate for at least 6 hours, preferably overnight, until completely chilled and firm.
- Run a warm knife around the edge before releasing the springform pan. Slice with a clean knife, wiping the blade between cuts.
- Dust lightly with matcha powder and garnish with fresh berries or whipped cream if desired. Serve chilled.
Notes
- For the smoothest cheesecake, make sure the cream cheese, eggs, and sour cream are close to room temperature before mixing. Sifting the matcha prevents lumps and gives the filling a more even color.
- Avoid overmixing after adding the eggs, as excess air can cause the cheesecake to puff and crack during baking.
- The cheesecake is best after several hours of chilling, and the flavor becomes even more balanced overnight.
- Store covered in the refrigerator for 4–5 days. Individual slices can also be wrapped well and frozen for up to 1–2 months. Thaw frozen cheesecake overnight in the refrigerator.
- Pro tip: For a stronger matcha flavor, you can increase the matcha slightly, but use a good-quality matcha to avoid an overly bitter taste.
Nutrition Facts
- Calories: 520 kcal
- Total Fat: 38 g
- Saturated Fat: 21 g
- Cholesterol: 155 mg
- Sodium: 430 mg
- Total Carbohydrates: 36 g
- Dietary Fiber: 1 g
- Total Sugars: 27 g
- Added Sugars: 25 g
- Protein: 9 g
Kitchen Tools You’ll Need
| Product | Amazon.com |
|---|---|
| 9-Inch Springform Pan | Shop On Amazon |
| Fine-Mesh Sieve / Sifter | Shop On Amazon |
| Electric Hand Mixer | Shop On Amazon |

Leave a Reply