
If you’ve been chasing the ultimate brownie — one that hits every note of dense, gooey, chocolatey perfection — these Condensed Milk Brownies are about to become your new obsession. Sweetened condensed milk quietly does the heavy lifting here, lending a caramel-like richness that transforms an already-great brownie into something unforgettable. Best part? You’ll have the batter ready in under 10 minutes flat.
Table of Contents
Why You Will Love These Condensed Milk Brownies:
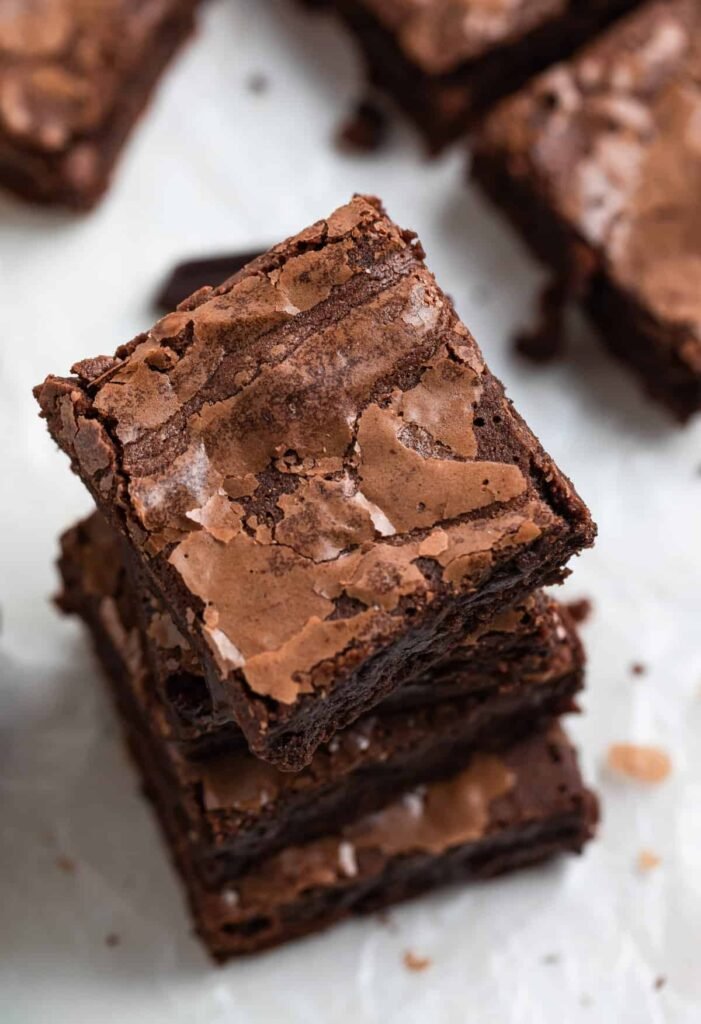
Textural perfection, every single time. The condensed milk doesn’t just add sweetness — it creates this almost molten, melt-on-your-tongue interior that you simply cannot replicate with standard recipes. It’s the secret weapon most home bakers overlook entirely.
Genuinely quick to pull together. We’re talking 10 minutes of active effort, 25 minutes in the oven, and you’re done. No stand mixer required, no complicated steps, no chilling overnight. Brownies that good should not be that easy.
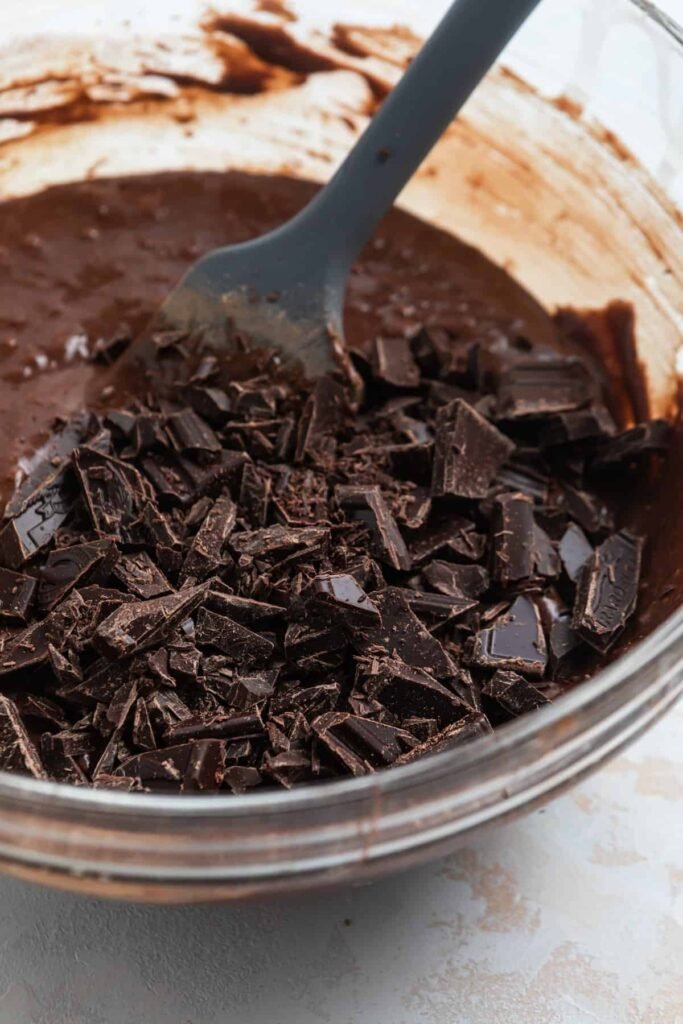
Three forms of chocolate — because once is never enough. Cocoa powder builds the base flavor, melted chocolate chips weave richness through the batter, and chopped dark chocolate creates little molten pockets throughout every slice. It’s a layered chocolate flavor done right.
What You Will Need:
- Unsalted butter — melted and hot. The heat helps dissolve the sugar properly, giving you that beautiful crinkly top.
- Granulated sugar — standard white sugar works perfectly here.
- Pure vanilla extract — the real stuff makes a difference. Skip the imitation if you can.
- Large eggs — bring them to room temperature before starting for the best batter texture.
- Dark chocolate — used two ways: chopped into chunks for fold-in pockets, and a half cup melted directly into the batter.
- Sweetened condensed milk — the undisputed star. Full-fat only — the fat-free version will let you down.
- All-purpose flour — spooned and leveled, not scooped. Overpacking flour is the silent killer of fudgy brownies. King Arthur’s 1:1 gluten-free blend works if needed.
- Cocoa powder — dark cocoa powder gives you an almost espresso-dark depth. Regular cocoa is equally great and always a reliable go-to.
- Sea salt — table salt works in a pinch, but flaky sea salt adds a subtle crunch that plays beautifully against the chocolate.
How To Make These Condensed Milk Brownies:
Making these brownies couldn’t be more straightforward — even on a busy weeknight. A handful of simple steps stand between you and a pan of deeply chocolatey, fudgy perfection.
Step 1: Heat your oven to 350°F. Get that going first so it’s fully preheated by the time your batter is ready.
Step 2: Melt the butter, then whisk with sugar. The butter should be genuinely hot — this is intentional. Whisking hot butter with sugar begins to dissolve it, which creates that coveted shiny, crackled top. Whisk for about a minute until the mixture looks smooth and cohesive.
Step 3: Add eggs and vanilla — then whisk hard. This step matters more than it seems. Whisk vigorously for a full minute until the mixture looks pale and slightly airy. An electric hand mixer works beautifully here if you’d rather not put in the arm workout. Once the eggs are incorporated, stop overworking the batter.
Step 4: Stir in condensed milk and melted chocolate. Add both to the egg mixture and gently whisk until no streaks remain. Take your time — this should be gentle and even.
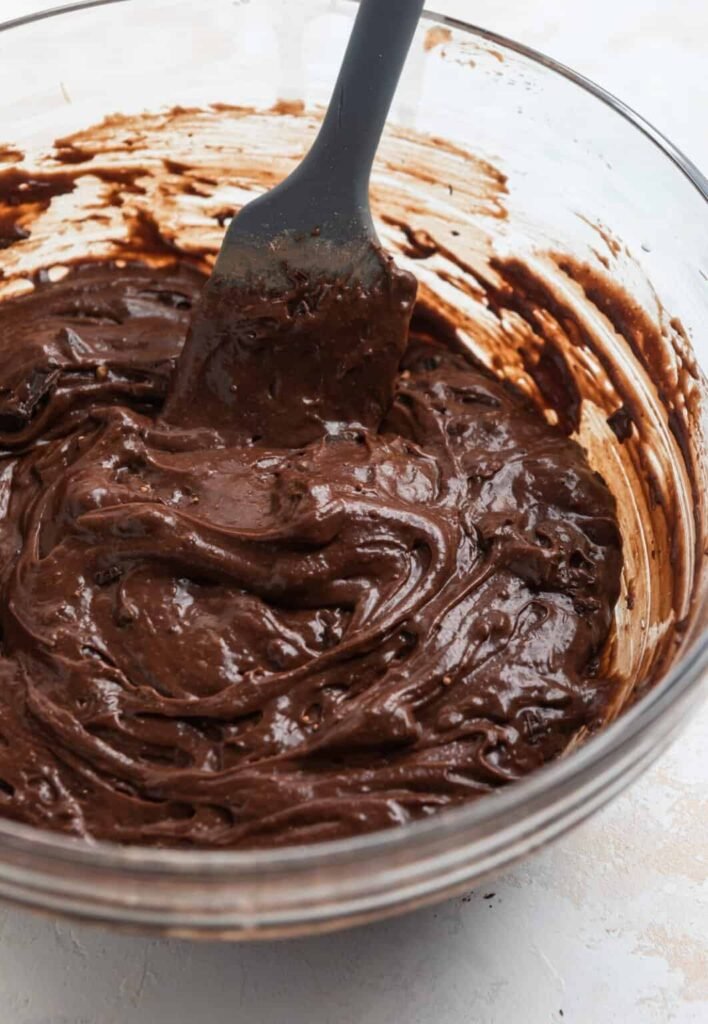
Step 5: Fold in dry ingredients. Cocoa powder, flour, and sea salt go in now. You can whisk them together in a small bowl first, or add them straight in — either approach works. Switch to a spatula and fold until just combined. Do not overmix.


Step 6: Fold in the chopped dark chocolate. Distribute evenly so every slice gets those gooey pockets.
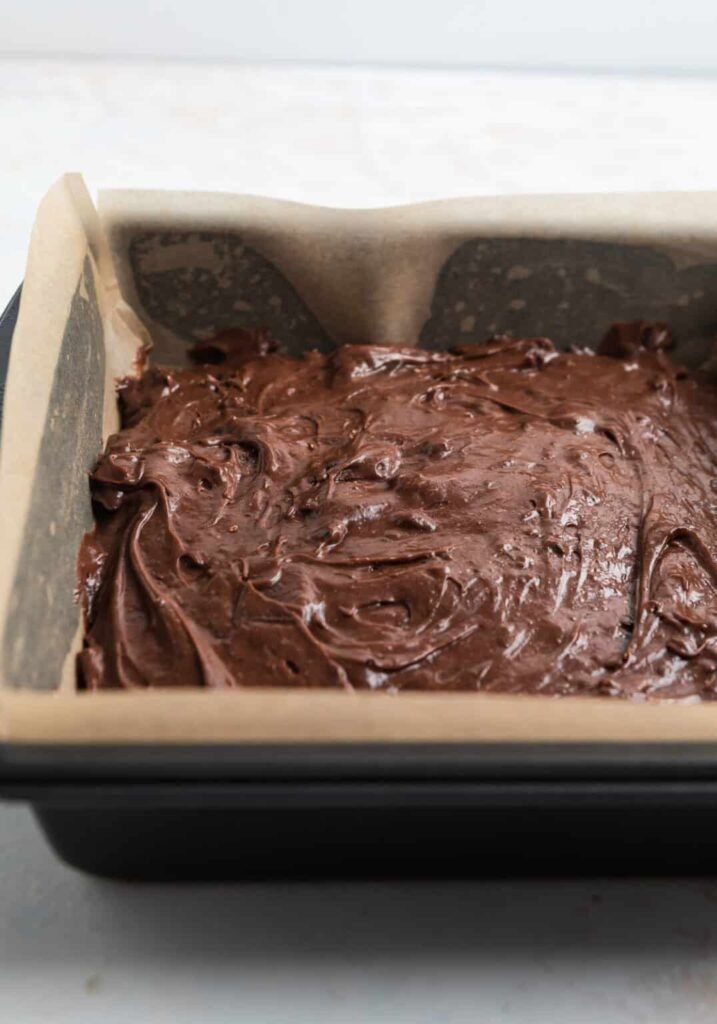
Step 7: Pan and bake. Use a parchment-lined 8×8 inch pan — lightly spray it first so the parchment stays put. A 9-inch pan will spread the batter too thin and overbake quickly. Bake 20–25 minutes. Test with a toothpick in multiple spots — if you hit a chocolate chunk, it’ll look underbaked even when it isn’t. You want moist crumbs on the toothpick, not wet batter.
Step 8: Cool before cutting. Rest in the pan for 10 minutes, then transfer to a wire rack. For clean, even slices, wait until fully cooled and wipe your knife between each cut.
Storing Your Brownies
These are always best within the first day or two — fresh out of the oven (or the following morning) is peak brownie. Stored in an airtight container at room temperature, they’ll stay good for 3–4 days. Cut them only when you’re ready to serve — leaving them whole helps retain moisture longer.
Refrigerating extends shelf life to about a week, though the texture becomes noticeably more dense and firm — not everyone’s preference. Freezing works well for up to 3 months; wrap individual slices so you can thaw just what you need.
One lesser-known trick: tuck a slice of regular sandwich bread into the storage container. The brownies absorb the moisture from the bread and stay soft significantly longer.
Tips For Getting These Right
Don’t overbake — ever. Fudgy brownies will look slightly underdone when they’re actually perfect. The carry-over heat after pulling them from the oven finishes the job. When in doubt, go shorter.
The crinkly top requires real effort during the whisking step. Sugar needs to dissolve into the hot butter, and the eggs need to be beaten into the batter with genuine force. Cut those corners and you’ll lose the shiny crust.
Glass pans run hotter than metal. If that’s what you’re using, start checking at the 18-minute mark and adjust from there.
Variations Worth Trying
- Stir in a teaspoon of espresso powder to deepen the chocolate flavor without it tasting like coffee
- Swap half the dark chocolate for white or milk chocolate chips for contrast
- Add ¼ teaspoon peppermint extract for a cool, minty variation
- Fold in roughly chopped toasted walnuts or pecans for crunch
- Drizzle finished brownies with salted caramel or chocolate ganache
- Serve warm with a generous scoop of vanilla ice cream or a cloud of chocolate whipped cream
Frequently Asked Questions
Can I use a different pan size?
An 8×8 inch pan is strongly recommended. A 9-inch pan spreads the batter too thin, which shortens bake time and changes the texture significantly — you’ll end up closer to cakey than fudgy.
What if I only have fat-free condensed milk?
Skip it for this recipe. The fat in full-fat condensed milk is what creates the rich, fudgy texture. Fat-free versions don’t behave the same way in baked goods and will likely result in a dry or gummy brownie.
Can I make these gluten-free?
Yes — King Arthur’s 1:1 Gluten-Free All-Purpose Flour is a reliable substitute. Measure the same way (spoon and level) and the results should be very close to the original.
Can I double this recipe?
Yes, but use two separate 8×8 pans rather than a 9×13 — the batter depth and bake time will stay consistent that way.
How do I get perfectly clean brownie slices?
Let the brownies cool completely, use a sharp knife, and wipe the blade clean between every single cut. If you refrigerate them for 30 minutes before slicing, the cuts become even cleaner.
Can these be made ahead of time?
Absolutely. Bake them the day before, store uncut in an airtight container at room temperature, and they’ll be in great shape the next day — arguably even better after the flavors settle overnight.
Condensed Milk Brownies
Ingredients
- ½ cup Unsalted butter Melted and hot
- 1 cup Granulated sugar
- 1 tsp Pure vanilla extract
- 2 large Eggs Room temperature
- ½ cup Sweetened condensed milk Full-fat only
- ½ cup Dark chocolate chips Melted
- ½ cup Dark chocolate Roughly chopped
- ½ cup All-purpose flour Spooned and leveled
- cup Cocoa powder Dark or regular
- ¼ tsp Sea salt
Instructions
- Group: Prep1. Preheat your oven to 350°F (175°C). Line an 8×8 inch baking pan with parchment paper and lightly spray with cooking oil to keep it in place.2. Melt the butter until hot. In a large mixing bowl, whisk the hot melted butter with the granulated sugar for about 1 minute until smooth and glossy.3. Add the vanilla extract and eggs. Whisk vigorously for a full minute until the mixture turns pale and slightly airy. You can use a hand mixer on medium speed if preferred.Group: Make the Batter4. Add the sweetened condensed milk and melted dark chocolate chips to the egg mixture. Gently whisk until fully combined with no streaks remaining.5. Add the cocoa powder, flour, and sea salt. Switch to a rubber spatula and fold the dry ingredients in gently — stir only until just combined. Do not overmix.6. Fold in the chopped dark chocolate, distributing evenly throughout the batter.Group: Bake7. Pour the batter into your prepared pan and spread evenly. Bake for 20–25 minutes. Test doneness with a toothpick in several spots — moist crumbs mean fudgy brownies; a clean toothpick means a more cake-like texture. Note: hitting a melted chocolate chunk will make it look underbaked, so test multiple areas.8. Remove from the oven and allow to rest in the pan for 10 minutes. Transfer to a wire cooling rack and cool completely before slicing for the cleanest cuts. Wipe the knife clean between each slice.
Notes
Nutrition
Calories: 296kcal, Carbohydrates: 32g, Protein: 4g, Fat: 19g, Saturated Fat: 12g, Polyunsaturated Fat: 1g, Monounsaturated Fat: 6g, Trans Fat: 0.4g, Cholesterol: 56mg, Sodium: 196mg, Potassium: 87mg, Fiber: 3g, Sugar: 24g, Vitamin A: 358IU, Vitamin C: 0.2mg, Calcium: 35mg, Iron: 1mg Nutrition information is automatically calculated and should only be used as an approximation.Shop This Post:
Baking Pan, 8×8 Inch
Silicone Spatulas
Cocoa Powder
Mixing Bowls
Leave a Reply