
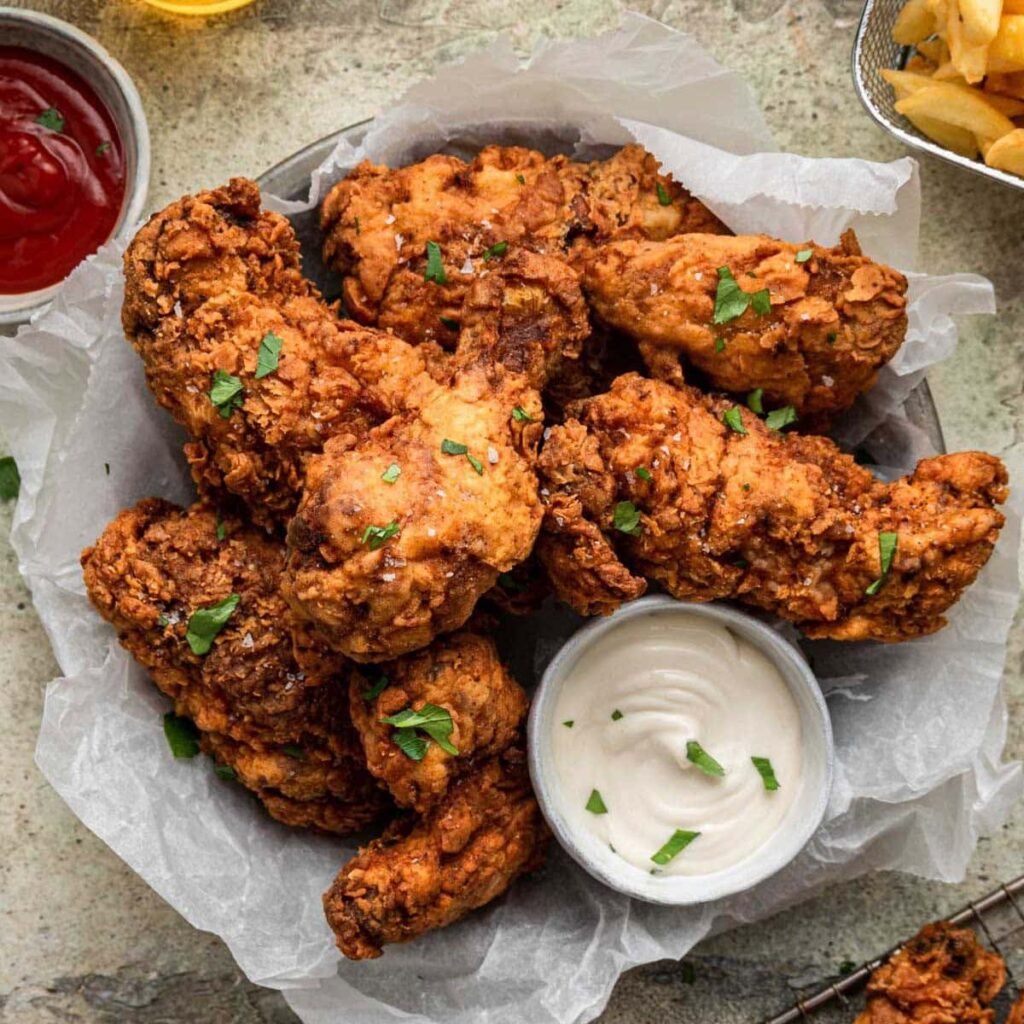
There’s something irresistible about Buttermilk Fried Chicken—crispy, golden, juicy, and packed with savory flavor in every bite. The secret starts with a buttermilk marinade that helps tenderize the chicken while adding a subtle tanginess. A well-seasoned flour coating then creates that crave-worthy crunchy crust.
This homemade fried chicken is perfect for a weekend family dinner, game-day gathering, picnic, or comforting Southern-inspired meal. Serve it hot with your favorite sides and dipping sauces for a meal everyone will want seconds of.
Table of Contents
Why You’ll Love Buttermilk Fried Chicken – Crispy and Golden
- Extra Crispy Coating: The seasoned flour creates a beautifully crunchy crust that stays crisp when served fresh. Each bite gives you that satisfying crunch before reaching the juicy chicken underneath.
- Tender and Juicy Chicken: Buttermilk helps tenderize the chicken while adding plenty of flavor. The result is chicken that stays moist and flavorful instead of becoming dry.
- Big, Savory Flavor: A blend of spices gives the coating a deliciously seasoned, savory taste. You can easily adjust the seasoning to make it milder or more flavorful.
- Perfect Comfort Food: This fried chicken makes an excellent choice for family dinners, parties, and casual gatherings. Pair it with classic sides for a hearty homemade meal.
- Better Than Takeout: Freshly fried chicken has an incredible aroma, texture, and flavor that’s hard to beat. You can also customize the seasoning and spice level to suit your family.
Ingredients You’ll Need
There’s nothing quite like buttermilk fried chicken — juicy on the inside, with a crispy, well-seasoned crust that makes it hard to stop at just one piece. It’s the kind of dish that fits right in at a family dinner, a weekend cookout, or a picnic with friends.
A quick tip: bone-in chicken pieces give you the best flavor and texture, and don’t rush the marinating step — the longer it sits in the buttermilk, the more tender and flavorful it turns out.
- Chicken Pieces — Bone-in chicken thighs, drumsticks, wings, or breasts work well. Using a mix gives everyone a favorite piece.
- Buttermilk — The key ingredient for a tender, flavorful chicken marinade. Its mild tanginess also helps balance the richness of the fried coating.
- All-Purpose Flour — Creates the golden, crunchy exterior. For an especially textured crust, avoid packing the flour too tightly onto the chicken.
- Cornstarch — Helps make the coating lighter and extra crisp when combined with flour.
- Salt — Brings out the flavor of both the chicken and the seasoned coating.
- Black Pepper — Adds a warm, slightly sharp flavor that complements the fried chicken.
- Paprika — Gives the coating a beautiful golden-red color and mild peppery flavor.
- Garlic Powder — Adds savory depth without overpowering the other seasonings.
- Onion Powder — Provides another layer of savory flavor to the crispy crust.
- Cayenne Pepper — Adds heat and can be adjusted depending on your preferred spice level.
- Eggs — Helps the coating adhere to the chicken and creates a sturdy, flavorful crust.
- Cooking Oil — Choose a neutral oil with a high smoke point, such as peanut, canola, or vegetable oil, for frying.
Step-By-Step Direction
1. Marinate the Chicken
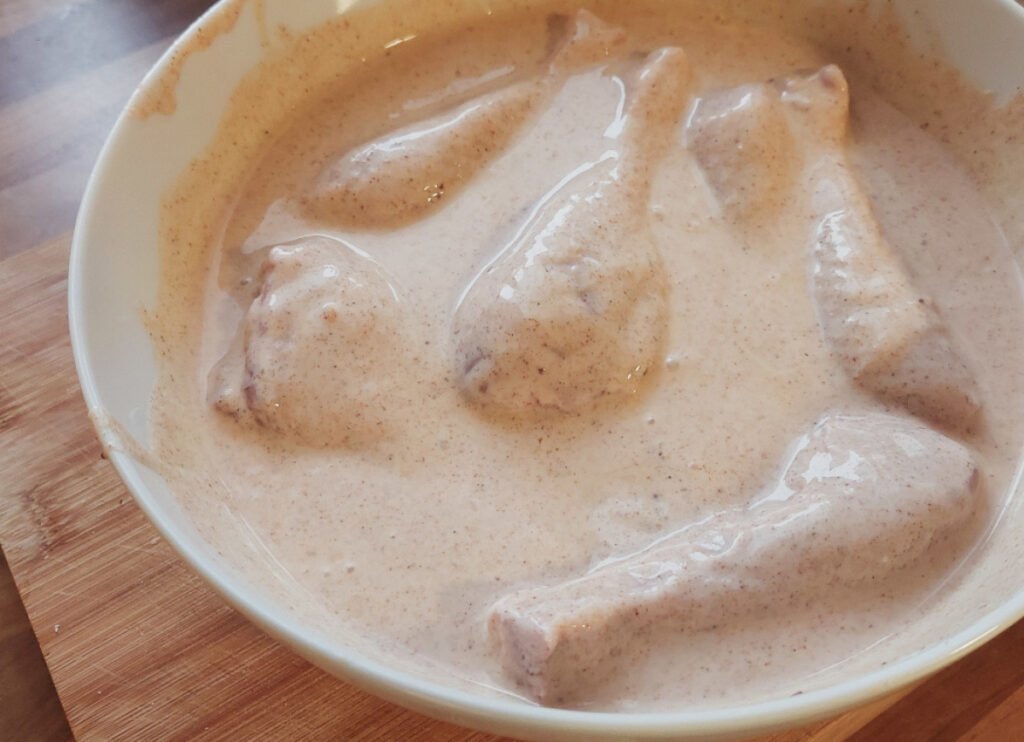
Place the chicken pieces in a large bowl and cover them with buttermilk. Make sure each piece is well coated. Cover and refrigerate for several hours, preferably overnight, so the chicken becomes tender and flavor.
2. Prepare the Seasoned Flour
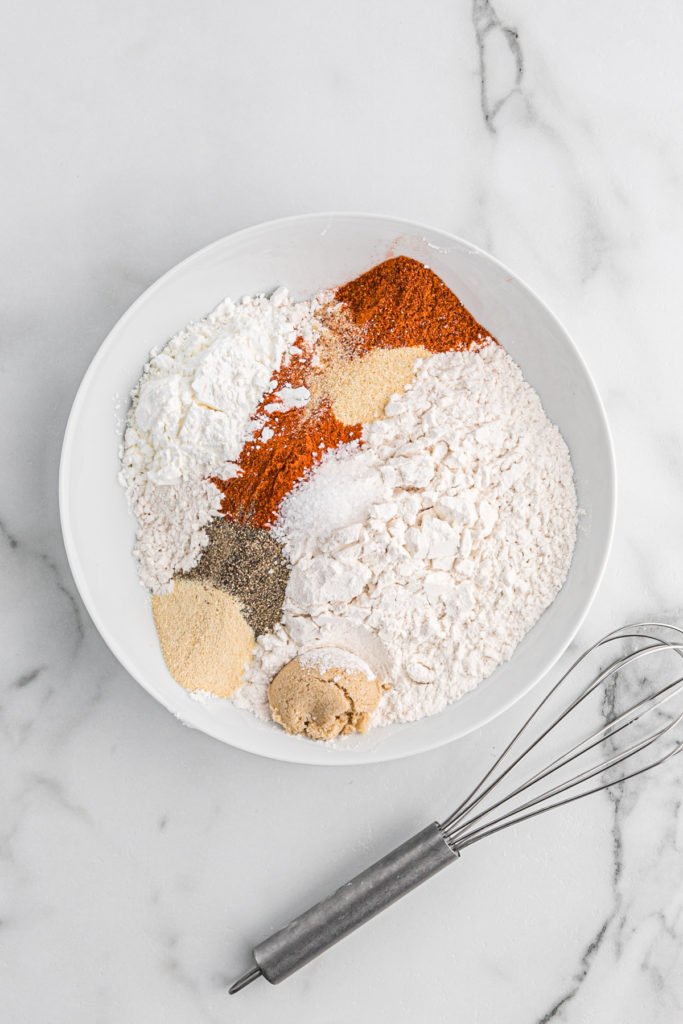
In a separate bowl, combine the all-purpose flour, cornstarch, salt, black pepper, paprika, garlic powder, onion powder, and cayenne pepper. Mix thoroughly so the seasonings are evenly distributed throughout the flour.
3. Coat the Chicken
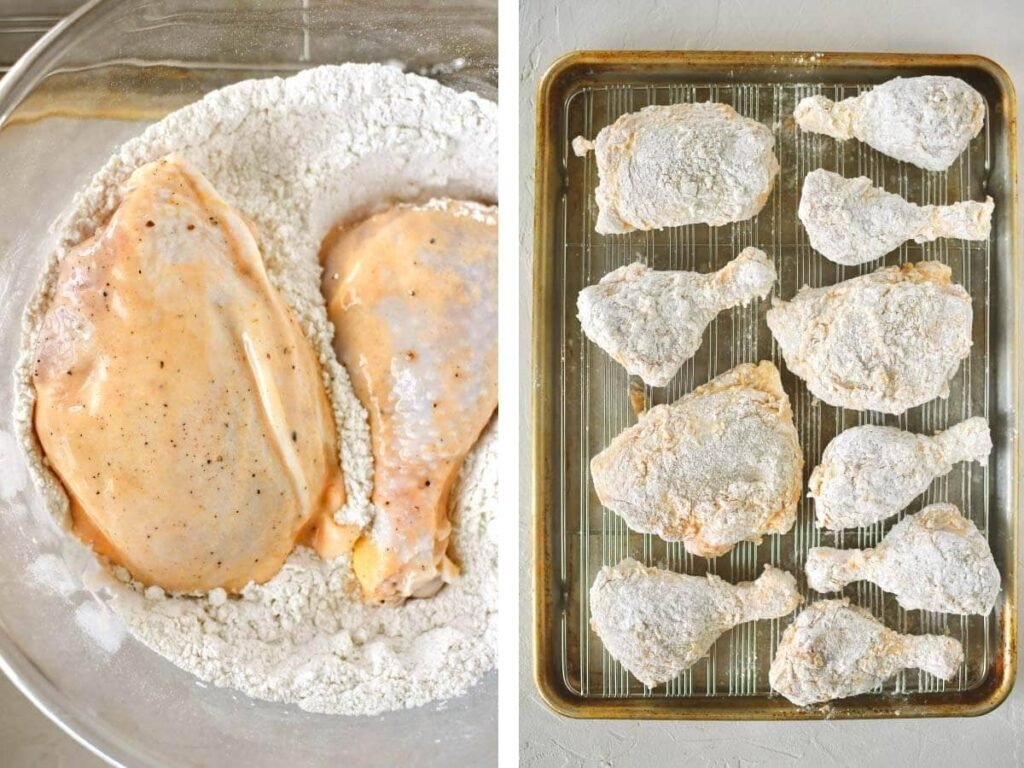
Remove a piece of chicken from the buttermilk and allow the excess to drip off. Dredge it thoroughly in the seasoned flour, pressing the coating gently onto the chicken. For an extra-crispy crust, dip it back into the buttermilk and coat it in the flour mixture again.
4. Heat the Oil
Heat the cooking oil in a heavy-bottomed pot or deep skillet. Use a kitchen thermometer to monitor the temperature and avoid letting the oil become too hot. Proper oil temperature is important for getting a crisp exterior without burning the coating.
5. Fry the Chicken
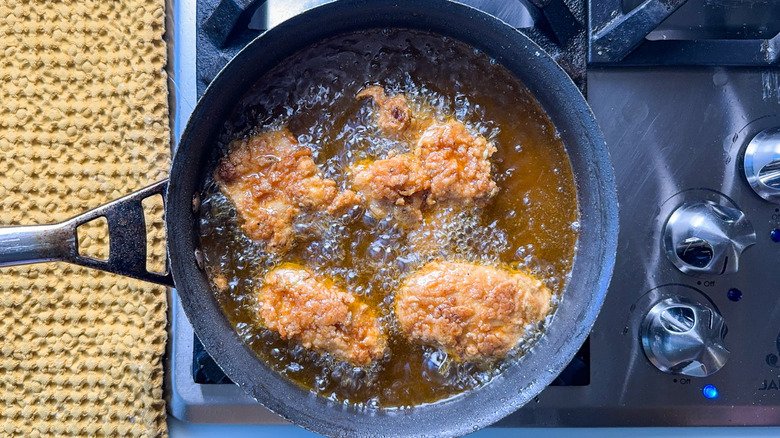
Carefully place the coated chicken into the hot oil without overcrowding the pan. Fry until the outside is deeply golden and crisp and the chicken is fully cooked inside. Work in batches when necessary to maintain a steady oil temperature.
6. Drain and Serve
Transfer the cooked chicken to a wire rack set over a baking sheet. Allowing the excess oil to drain this way helps keep the crust crisp instead of letting the bottom become soggy. Serve while hot and golden.
Serving Suggestions
Buttermilk Fried Chicken pairs beautifully with classic comfort-food sides. Try serving it with:
- Creamy Mashed Potatoes for a hearty dinner.
- Buttermilk Biscuits for a Southern-inspired meal.
- Coleslaw for a cool, crunchy contrast.
- Mac and Cheese for an extra comforting combination.
- Corn on the Cob for a simple family-friendly side.
- Green Beans to add a lighter vegetable option.
- Gravy or Country-Style Sauce for dipping or drizzling.
- Hot Sauce if you enjoy an extra kick of heat.
For casual entertaining, arrange the chicken on a large platter with several dipping sauces and easy sides.
Tips for the Best Results
- Marinate Long Enough: Give the chicken plenty of time in the buttermilk for the best tenderness and flavor. An overnight marinade is especially helpful when preparing bone-in chicken.
- Season Every Layer: Make sure your flour mixture is generously seasoned for flavorful crust in every bite. Don’t rely only on the buttermilk marinade to season the chicken.
- Don’t Skip the Cornstarch: A little cornstarch can help create a lighter, crunchier fried coating. It works especially well when combined with all-purpose flour.
- Maintain the Oil Temperature: Overcrowding the pan can cause the oil temperature to drop and lead to greasy chicken. Fry in batches and allow the oil to return to temperature between batches.
- Use a Wire Rack: Let the finished chicken drain on a wire rack rather than directly on paper towels. This allows air to circulate underneath and helps preserve the crispy crust.
Storage Tips
Refrigerator
Allow the fried chicken to cool before placing it in an airtight container. Refrigerate for up to 3–4 days for the best quality.
Freezer
For longer storage, place completely cooled chicken in a freezer-safe container or bag, separating pieces with parchment paper if needed. Freeze for up to 3 months for best quality.
Reheating
For the crispiest results, reheat the chicken in an oven or air fryer rather than the microwave. Heat until the chicken is hot throughout and the coating becomes crisp again. Avoid covering the chicken tightly while reheating, as trapped steam can soften the crust.

Buttermilk Fried Chicken – Crispy and Golden
Ingredients
- 3 lb chicken pieces — bone-in thighs drumsticks, wings, or breasts
- 2 cups buttermilk — for tenderizing and marinating
- 3 cups all-purpose flour — for the crispy coating
- ½ cup cornstarch — helps create an extra-crispy crust
- 2 tsp salt — adjust to taste
- 1 tsp black pepper — freshly ground if possible
- 2 tsp paprika — adds color and mild flavor
- 2 tsp garlic powder — adds savory flavor
- 1 tsp onion powder — adds depth of flavor
- 1 tsp cayenne pepper — adjust for desired heat
- 2 large eggs — helps the coating adhere
- 6 cups vegetable oil — for deep frying
Instructions
- Marinate the Chicken: Place the chicken pieces in a large bowl and pour the buttermilk over them. Make sure each piece is well coated. Cover and refrigerate for at least 4 hours or preferably overnight.
- Prepare the Seasoned Flour: In a large bowl, combine the flour, cornstarch, salt, black pepper, paprika, garlic powder, onion powder, and cayenne pepper. Mix until evenly combined.
- Prepare the Egg Mixture: Whisk the eggs in a separate bowl until smooth.
- Coat the Chicken: Remove a piece of chicken from the buttermilk and let the excess drip off. Dip it into the egg mixture, then thoroughly coat it with the seasoned flour. Press the flour gently onto the chicken for a thicker crust.
- Heat the Oil: Heat the vegetable oil in a deep skillet or Dutch oven to approximately 350°F (175°C). Use a kitchen thermometer to maintain a consistent temperature.
- Fry the Chicken: Carefully place the coated chicken into the hot oil without overcrowding the pan. Fry in batches until deeply golden and crispy and the chicken reaches a safe internal temperature of 165°F (74°C).
- Drain the Chicken: Transfer the cooked chicken to a wire rack placed over a baking sheet. Allow excess oil to drain while keeping the chicken uncovered so the crust stays crispy.
- Serve: Serve the buttermilk fried chicken hot with your favorite sides, dipping sauces, coleslaw, mashed potatoes, biscuits, or mac and cheese.
Notes
- Marinating the chicken overnight gives the best tenderness and flavor.
- Don’t overcrowd the pan while frying, as this can lower the oil temperature.
- Maintain the oil around 350°F (175°C) for a crisp, golden coating.
- Fry chicken in batches when necessary.
- Use a wire rack instead of placing the chicken directly on paper towels to help preserve the crispy crust.
- For leftovers, refrigerate for up to 3–4 days.
- Freeze-cooked chicken for up to 3 months for best quality.
- Reheat in an oven or air fryer to bring back the crispy texture.
Nutrition Facts
- Calories: 720 kcal
- Protein: 43 g
- Total Fat: 42 g
- Saturated Fat: 8 g
- Trans Fat: 0 g
- Cholesterol: 185 mg
- Sodium: 1,050 mg
- Total Carbohydrates: 42 g
- Dietary Fiber: 2 g
- Total Sugars: 3 g
- Added Sugars: 0 g
- Calcium: 100 mg
- Iron: 4 mg
- Potassium: 550 mg
Kitchen Tools You’ll Need
| Product | Amazon.com |
|---|---|
| Deep Fry / Cooking Thermometer | Shop on Amazon |
| Wire Cooling Rack | Shop on Amazon |
| Cast Iron Dutch Oven | Shop on Amazon |
Leave a Reply