
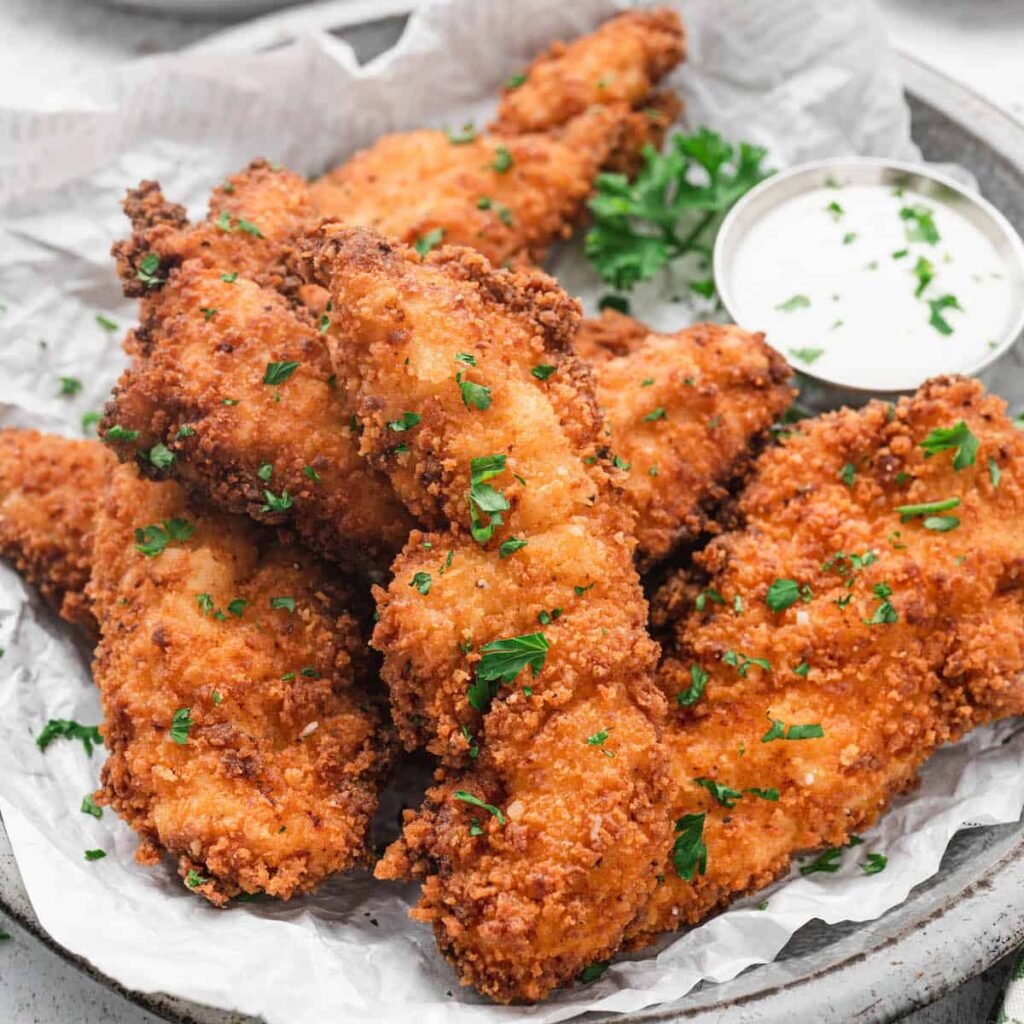
Chicken tenders are one of those easy, family-friendly meals that never seem to go out of style. With juicy, tender chicken on the inside and a golden, crispy coating on the outside, they make a satisfying lunch, dinner, or snack without requiring complicated ingredients.
This homemade version is especially good when you want that classic crispy texture without relying on frozen tenders. Serve them with your favorite dipping sauce, fries, a fresh salad, or roasted vegetables for an easy meal everyone will enjoy.
Table of Contents
Why You’ll Love Chicken Tenders – Crispy and Delicious
- Extra Crispy Coating: A seasoned breadcrumb coating creates a crunchy, golden exterior that stays deliciously crisp after cooking.
- Tender and Juicy Chicken: The chicken stays moist and flavorful inside, giving you the perfect contrast between crispy and tender.
- Easy Family Dinner: These chicken tenders are simple enough for a busy weeknight and are usually a hit with both kids and adults.
- Great for Dipping: Pair them with ranch, honey mustard, barbecue sauce, or your favorite dipping sauce for extra flavor.
- Perfect for Meal Prep: Make a batch ahead of time and enjoy them in wraps, salads, sandwiches, or quick lunches throughout the week.
Ingredients You’ll Need
These chicken tenders come together with just a handful of simple ingredients — think juicy chicken inside and a crispy, golden crust outside. They’re a go-to for busy weeknight dinners, easy lunches, or whenever you’re hosting friends for game night.
A quick tip: fresh chicken breast works best here, and try to cut your strips into roughly the same size. That way everything cooks evenly and you won’t end up with some pieces overdone while others are still pink in the middle.
- Chicken tenders — Use fresh chicken tenderloins for naturally tender pieces that cook quickly and evenly.
- All-purpose flour — Creates the first layer of the coating and helps the crispy breading adhere to the chicken.
- Eggs — The beaten eggs help the breadcrumb mixture stick to every piece of chicken.
- Breadcrumbs — Choose regular or panko breadcrumbs depending on how crunchy you want the coating.
- Paprika — Adds a mild, slightly smoky flavor along with a warm color to the crispy coating.
- Garlic powder — Brings savory garlic flavor without overpowering the chicken.
- Onion powder — Adds another layer of savory flavor to the seasoning mixture.
- Salt — Enhances the natural flavor of the chicken and balances the other seasonings.
- Black pepper — Adds a gentle peppery bite to the coating.
- Cooking oil — Helps the tenders develop a beautifully golden and crispy exterior when cooked.
Step-By-Step Direction
Step 1: Prepare the Chicken
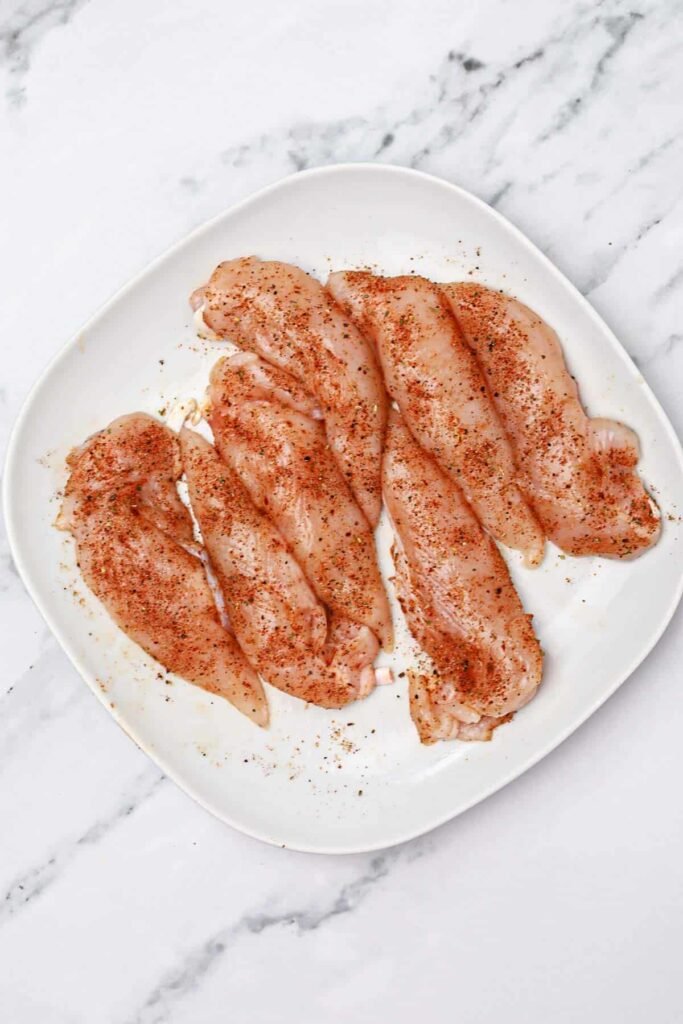
Pat the chicken tenders dry with paper towels. Removing excess moisture helps the coating stick better and encourages a crispier finish.
Step 2: Prepare the Coating Stations
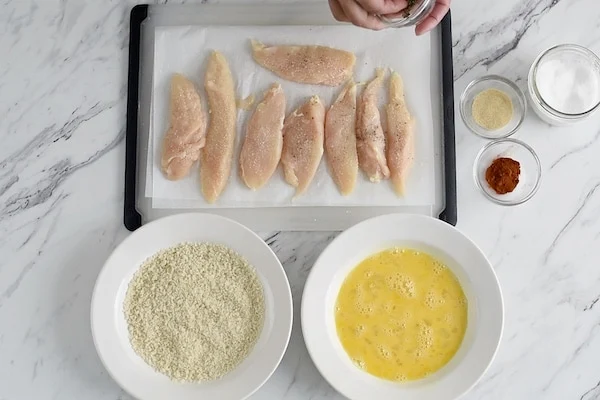
Place flour in one shallow bowl, beaten eggs in another, and seasoned breadcrumbs in a third. This simple setup makes breading the chicken quick and easy.
Step 3: Coat the Chicken
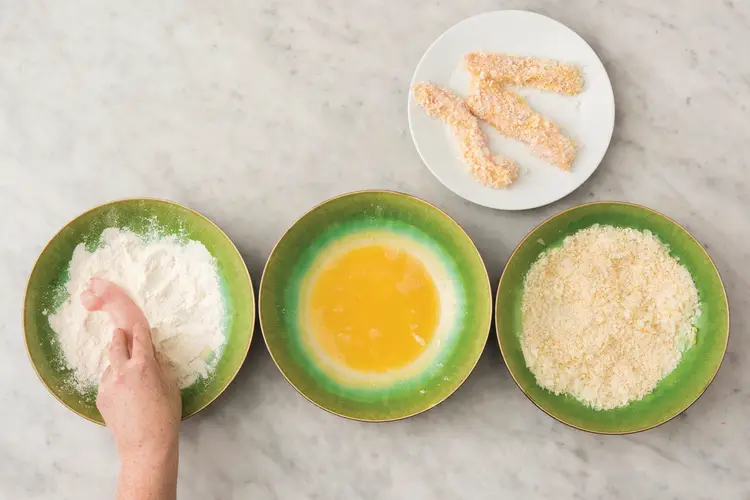
Dip each chicken tender into the flour, shaking off the excess. Next, coat it with egg and then press it firmly into the seasoned breadcrumbs until completely covered.
Step 4: Cook Until Golden
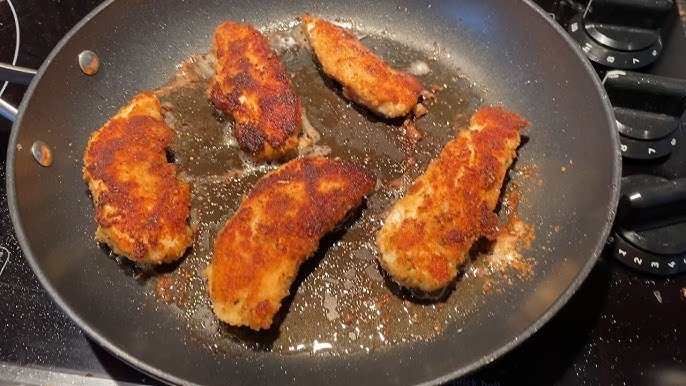
Heat the cooking oil in a skillet over medium heat. Carefully add the breaded tenders and cook until the coating is golden and the chicken is thoroughly cooked.
Step 5: Drain and Serve
Transfer the cooked chicken tenders to a plate lined with paper towels or a wire rack. Let them rest briefly before serving so the coating stays crisp.
Serving Suggestions
Serve these crispy chicken tenders hot with classic dipping sauces such as ranch, honey mustard, barbecue sauce, or ketchup.
For a complete dinner, pair them with:
- Crispy French fries or sweet potato fries
- Creamy coleslaw
- Fresh garden salad
- Roasted broccoli or vegetables
- Corn on the cob
- Mashed potatoes
- Mac and cheese
You can also slice the tenders and add them to a crispy chicken salad, wrap, sandwich, or grain bowl for an easy lunch.
Tips for the Best Results
- Pat the Chicken Dry: Excess moisture can make the coating slide off. Drying the chicken first gives the breading a much better grip.
- Press in the Breadcrumbs: Gently press the breadcrumbs onto each tender instead of simply rolling them through the mixture. This helps create a thicker, crunchier crust.
- Avoid Overcrowding: Give the chicken enough room while cooking so the temperature stays consistent and every tender can crisp properly.
- Watch the Cooking Temperature: Keep the heat around medium and avoid letting the oil become excessively hot. A steady temperature helps the coating brown without burning.
- Check the Center: The chicken should be fully cooked before serving. For the safest result, use an instant-read thermometer and cook chicken to 165°F (74°C) internally.
Storage Tips
Refrigerator: Allow the chicken tenders to cool completely before placing them in an airtight container. Refrigerate for up to 3–4 days.
Freezer: Freeze cooled tenders in a single layer before transferring them to a freezer-safe bag or container. They can be stored for about 2–3 months for the best quality.
Reheating: For the crispiest results, reheat the tenders in an air fryer or oven rather than the microwave. Heat until warmed through and the coating becomes crisp again.

Chicken Tenders – Crispy and Delicious
Ingredients
- 1 lb chicken tenderloins — fresh boneless and skinless
- 1 cup all-purpose flour — for the first coating
- 2 large eggs — beaten
- 1 cup breadcrumbs — panko recommended for extra crunch
- 1 tsp paprika — adds mild smoky flavor and color
- 1 tsp garlic powder — adds savory flavor
- 1 tsp onion powder — adds depth of flavor
- 1 tsp salt — adjust to taste
- ½ tsp black pepper — freshly ground if possible
- ½ cup cooking oil — for frying
Instructions
- Prepare the Chicken: Pat the chicken tenderloins dry with paper towels. This removes excess moisture and helps the coating stick properly.
- Prepare the Breading Stations: Place the flour in one shallow bowl, beaten eggs in a second bowl, and breadcrumbs mixed with paprika, garlic powder, onion powder, salt, and black pepper in a third bowl.
- Coat the Chicken: Dip each chicken tender into the flour, shaking off the excess. Dip it into the beaten egg, then press it into the seasoned breadcrumbs until completely coated.
- Heat the Oil: Heat the cooking oil in a large skillet over medium heat. The oil should be hot enough to create a crisp golden coating without burning the breadcrumbs.
- Cook the Chicken Tenders: Carefully place the breaded chicken into the skillet without overcrowding it. Cook until golden brown on both sides and the chicken reaches an internal temperature of 165°F (74°C).
- Drain and Rest: Transfer the cooked chicken tenders to a wire rack or paper towel-lined plate. Allow them to rest briefly before serving.
- Serve: Serve warm with ranch, honey mustard, barbecue sauce, ketchup, or your favorite dipping sauce.
Notes
Nutrition Facts
- Calories: 520 kcal
- Total Fat: 24 g
- Saturated Fat: 4 g
- Trans Fat: 0 g
- Unsaturated Fat: 18 g
- Cholesterol: 135 mg
- Sodium: 850 mg
- Total Carbohydrates: 40 g
- Dietary Fiber: 2 g
- Total Sugars: 2 g
- Protein: 38 g
- Calcium: 55 mg
- Iron: 3 mg
- Potassium: 520 mg
Kitchen Tools You’ll Need
| Product | Amazon Links |
|---|---|
| Instant-Read Meat Thermometer | View on Amazon |
| Breading Station / Breader Bowl | View on Amazon |
| Wire Cooling Rack | View on Amazon |
[…] tender chicken pairs beautifully with the natural sweetness of mango, while the savory glaze adds just enough […]